How to Diagnose Yard Drainage Problems on a Site Walk
Every yard tells a story about water — where it comes from, where it goes, and where it gets stuck. A drainage site walk is the most effective first step in understanding that story. Whether you're a homeowner noticing soggy patches after every rain, a contractor scoping a new project, or an inspector evaluating a property, walking the site with trained eyes can reveal problems that no amount of desktop analysis can match.
The concept behind a yard drainage diagnosis is straightforward: you systematically observe the physical landscape, looking for evidence of how water moves across, through, and around the property. You're reading the terrain the way a detective reads a crime scene — every stain, every erosion channel, every patch of unusual vegetation is a clue. This guide walks you through the complete process, from preparation to documentation, so you can identify drainage problems accurately and prioritize solutions effectively.
Why a Drainage Site Walk Is the Essential First Step
Before you spend money on French drains, regrading, or sump pumps, you need to understand what's actually happening on your property. Too many homeowners jump straight to solutions — installing a drain line where they see water — without understanding the full picture. A drainage site walk prevents this by giving you a comprehensive view of the entire water management system on your lot.
The site walk serves multiple purposes simultaneously. First, it identifies the sources of excess water: roof runoff, surface flow from neighboring properties, rising groundwater, or irrigation overspray. Second, it maps the pathways water takes as it moves across the landscape. Third, it pinpoints the failure points where water accumulates, infiltrates where it shouldn't, or causes damage. Without understanding all three elements, any drainage fix risks being incomplete or even counterproductive.
Professional drainage consultants and civil engineers have long relied on site walks as the foundation of their assessment process. Even with modern tools like LiDAR elevation data and GIS mapping — resources available through programs like the USGS 3D Elevation Program — there is no substitute for physically walking the ground. Digital elevation models might miss a 2-inch lip at a patio edge that's damming water against a foundation, or a subtle soil color change that reveals a seasonal high water table. The site walk captures what technology cannot.
Finally, a thorough site walk creates a baseline record. When you document conditions systematically, you can track changes over time, communicate clearly with contractors, and make informed decisions about which problems to address first. This documentation becomes especially valuable if you're buying or selling a property, filing an insurance claim, or applying for a grading permit.
Get Your Drainage Intelligence Report™
Start a free trial and generate reports on demand.
Preparing for Your Drainage Site Walk
Preparation separates a productive drainage site walk from an aimless stroll around the yard. Before you step outside, gather the right tools, review available information, and choose your timing carefully.
Essential Tools and Equipment
You don't need expensive surveying equipment for a homeowner-level drainage site walk, but you do need a few key items. Bring a tape measure (at least 25 feet), a 4-foot carpenter's level or a reliable smartphone level app, and a screwdriver or soil probe for testing soil conditions. A garden hose is invaluable for simulating water flow in dry conditions. Carry a camera or smartphone for photos and video, and a clipboard or tablet for notes and sketches.
For more advanced assessment, consider a line level and string for checking grade over longer distances, a rain gauge to correlate observations with rainfall amounts, and marking flags or spray paint to mark problem areas. If you have access to a laser level, it dramatically improves your ability to read subtle grade changes across the yard.
Timing Your Walk
The single most important preparation decision is when to conduct your walk. Ideally, you'll perform two walks: one during or immediately after a significant rainfall event (0.5 inches or more within a few hours), and one during dry conditions.
The wet-weather walk reveals active water behavior — where puddles form, where water flows, where soil is saturated, and where drainage systems are overwhelmed. You'll see things that are completely invisible in dry weather: sheet flow across a lawn, water backing up at a downspout connection, or a swale that's supposed to carry water but instead spills over its banks.
The dry-weather walk reveals the evidence that water leaves behind. Staining on foundation walls, mineral deposits on hardscapes, erosion ruts in soil, and patterns of vegetation health all tell you what happens during storms even when the sun is shining. Algae growth, moss, and certain weed species are reliable indicators of chronic moisture.
Review Available Information First
Before walking the site, review any available property documentation. This includes your lot survey or plat map (which shows property boundaries, easements, and sometimes drainage easements), your home inspection report (if you have one), and any grading plans from the original construction. Understanding the intended drainage design helps you identify where reality has diverged from the plan.
Check your local soil conditions using the NRCS Web Soil Survey, which provides detailed soil maps for any address in the United States. Knowing your soil's hydrologic group — whether it's well-drained sandy soil (Group A) or poorly drained clay (Group D) — fundamentally shapes your interpretation of what you observe on the walk.
The Systematic Walk: Where to Look and What to See
A productive drainage site walk follows a deliberate sequence. Rather than wandering randomly, work from the house outward, then walk the property perimeter, and finally examine the interior landscape. This systematic approach ensures nothing gets missed.
Start at the Foundation
Begin at the foundation because this is where drainage failures cause the most expensive damage. Walk the entire perimeter of the house, examining the grade at the foundation line. The International Residential Code specifies a minimum 6-inch drop over the first 10 feet from the foundation — a 5% slope. Use your level and tape measure to check this at multiple points.
Look for these specific warning signs at the foundation:
- Negative grade (ground sloping toward the house rather than away)
- Soil settlement adjacent to the foundation, creating a trough where water collects
- Mulch or landscaping beds that have been built up against the foundation, trapping moisture
- Staining or efflorescence (white mineral deposits) on the foundation wall, indicating water contact
- Cracks in the foundation that show water infiltration staining
- Window wells that lack proper drainage or have debris accumulation
- Basement or crawlspace vents positioned below grade
Pay special attention to inside corners of the foundation — where an L-shaped house creates a corner, or where a garage meets the main structure. These corners naturally concentrate water flow and are among the most common failure points in residential drainage.
Evaluate the Roof Drainage System
Roof runoff is the single largest contributor to residential drainage problems. A 1,000-square-foot roof section generates approximately 620 gallons of water from a 1-inch rainfall event. That water has to go somewhere, and your site walk needs to trace its path from gutter to final discharge point.
Examine every downspout and ask these questions:
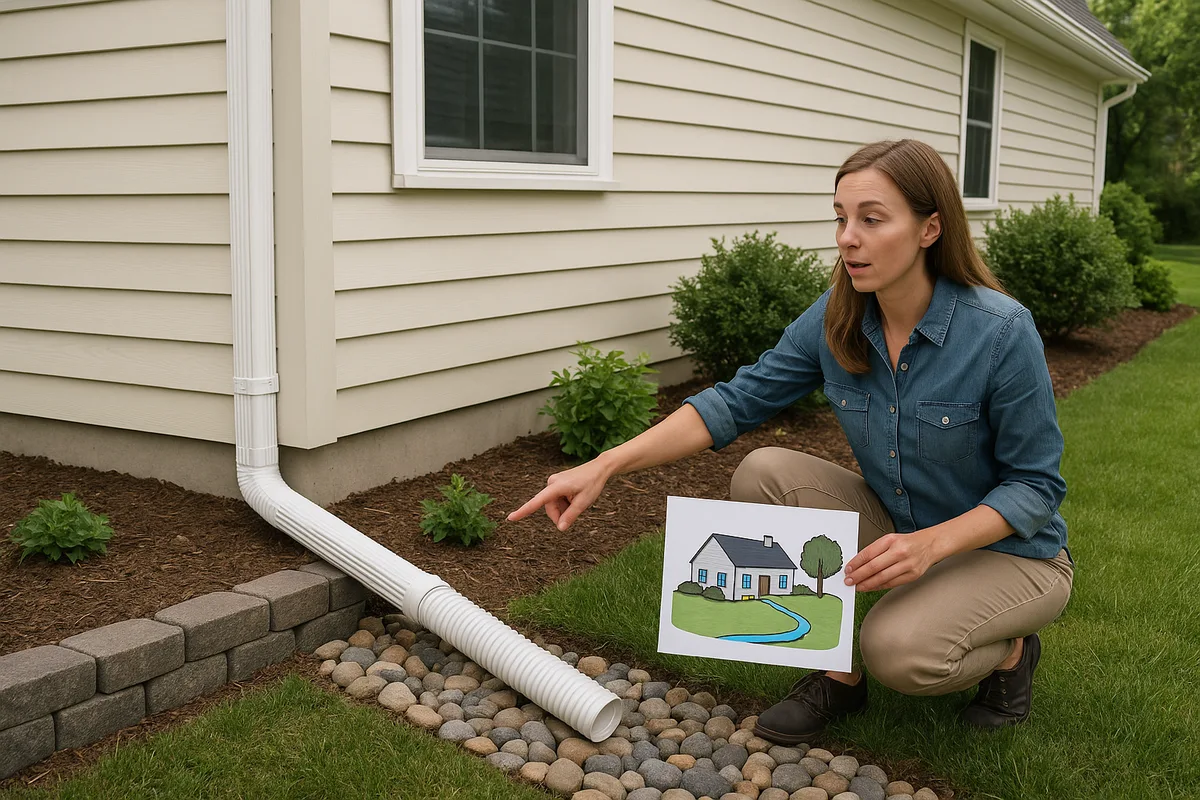
- Where does each downspout discharge? Follow the water path from each downspout. Does it discharge onto a splash block, into an underground pipe, or directly against the foundation?
- How far from the foundation does the water travel? Downspout extensions should carry water at least 4–6 feet from the foundation, and ideally 10 feet or more.
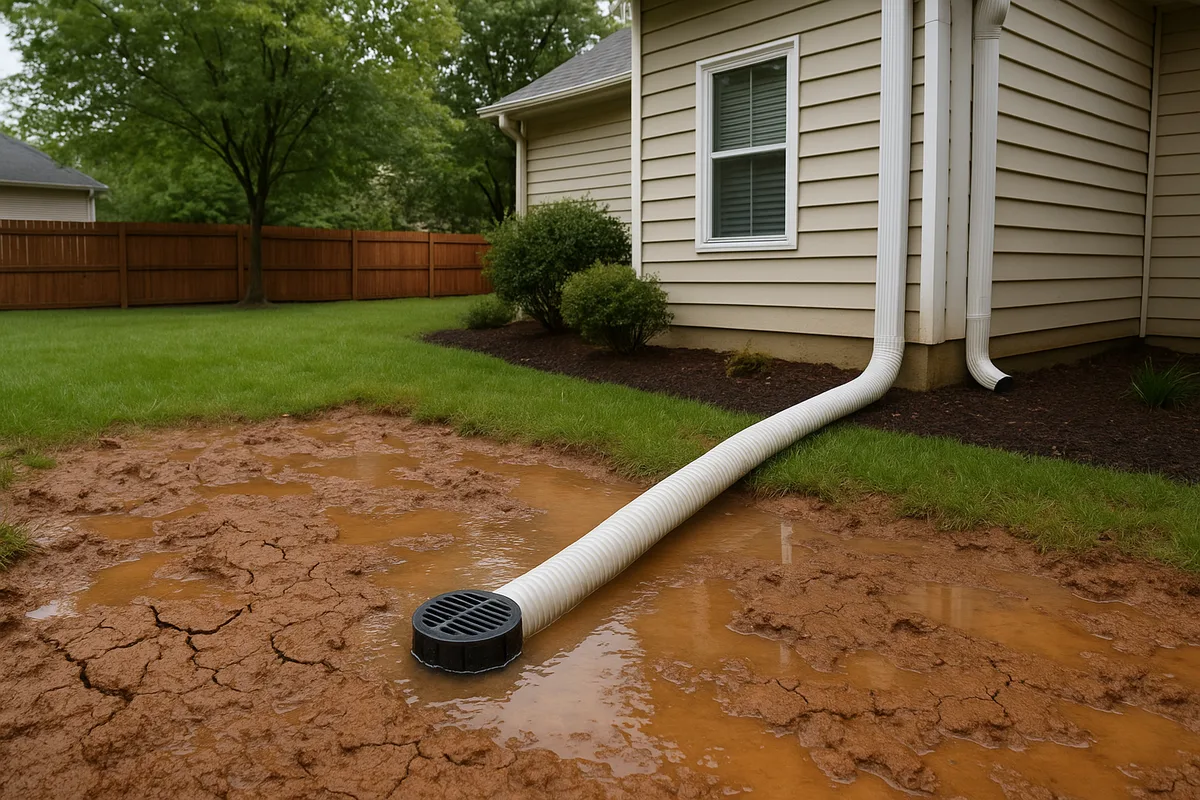
- Are underground downspout drains functional? If downspouts connect to buried pipes, check the discharge point. Clogged underground lines are extremely common and can cause water to back up and saturate soil near the foundation.
- Are gutters sized appropriately? Standard 5-inch K-style gutters handle most residential roofs, but long runs, steep roof pitches, or high-rainfall areas may require 6-inch gutters or additional downspouts.
During a wet-weather walk, watch for gutters overflowing at corners, seams leaking, and downspouts that can't keep up with flow volume. These observations are impossible to make in dry conditions.
Read the Grading and Slopes
After examining the foundation and roof drainage, step back and assess the broader grading of the yard. You're looking for the overall drainage pattern: where are the high points, where are the low points, and do the slopes between them create a logical path for water to flow away from structures and toward an appropriate discharge point (street, storm drain, drainage easement, or natural drainage course)?
Use your level and visual observation to identify:
- Flat areas where water has no directional encouragement. Even a seemingly level lawn should have at least a 1–2% slope to prevent ponding.
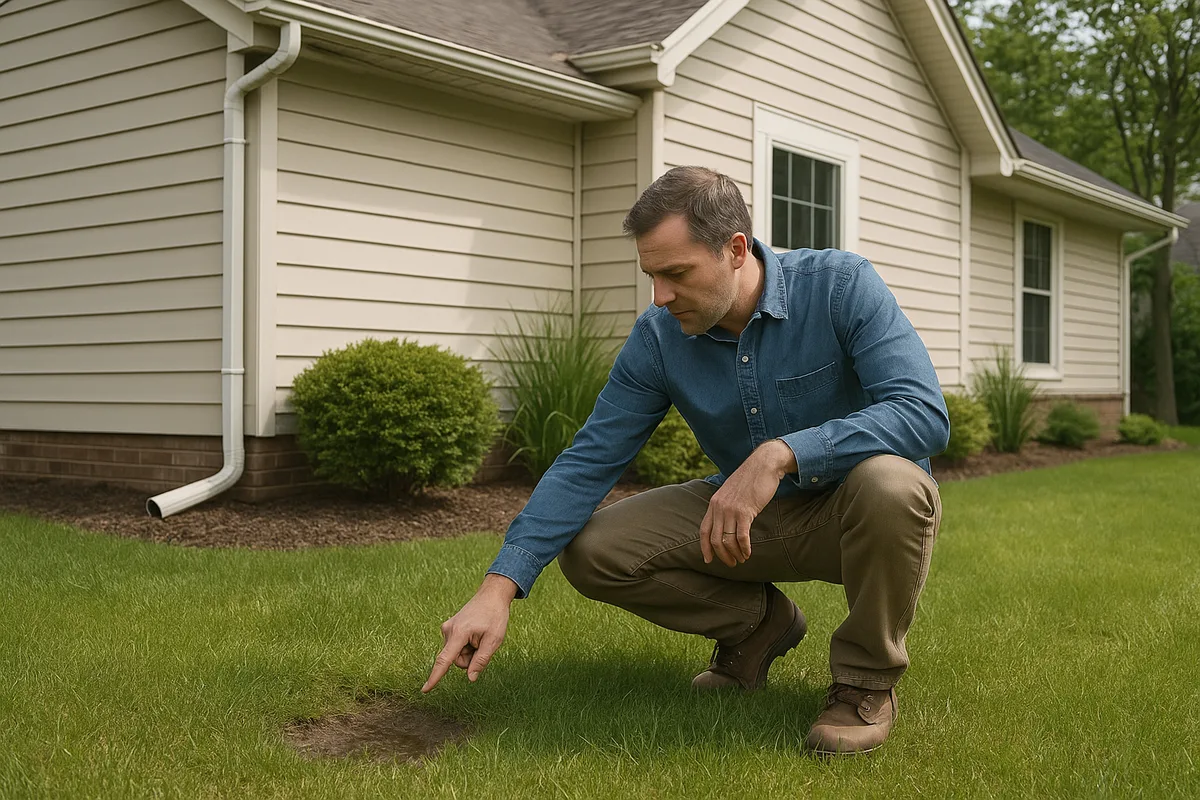
- Low spots or depressions that trap water. These are often visible as darker, lusher grass surrounded by stressed turf, or as areas with standing water or muddy soil.
- Berms or ridges that block water flow. These can be intentional (landscape berms) or unintentional (soil pushed up during construction or by tree roots).
- Swales — shallow, wide channels designed to carry surface water. Check whether they have adequate slope (minimum 1% longitudinal grade) and whether they've silted in or been disrupted by landscaping.
One of the most common grading problems is lot-to-lot drainage conflict. If a neighboring property has been regraded, had a pool installed, or added an accessory structure, it may have redirected water onto your lot. During your site walk, observe the grade along your property lines and look for evidence of water entering from adjacent properties.
Reading the Evidence: Clues Water Leaves Behind
Water is a persistent storyteller. Even when it's not raining, the landscape is full of evidence about drainage performance. Learning to read these clues is the core skill of yard drainage diagnosis.
Soil and Surface Clues
Push your screwdriver or soil probe into the ground at various locations around the property. In well-drained areas, the soil should offer moderate resistance and the probe should come out relatively clean. In areas with chronic drainage problems, you'll notice:
- Saturated soil that offers little resistance and produces muddy residue on the probe, even days after the last rain
- Compacted soil that's extremely hard to penetrate — this indicates poor infiltration, which causes surface ponding
- Soil color changes visible when you pull the probe out: gray or blue-gray soil indicates prolonged saturation and anaerobic conditions (a sign of high water table or chronic poor drainage)
- Hydric soil indicators like rust-colored mottling (orange and gray patches mixed together), which indicates seasonal water table fluctuations
On hardscaped surfaces, look for water staining patterns. Concrete, pavers, and stone all show watermarks that reveal flow direction and depth. Dark staining at the base of a retaining wall tells you water is pooling there. Mineral deposits on a patio surface show you where standing water evaporates regularly. Algae or moss growth on hardscapes is a reliable indicator of persistent moisture.
Vegetation Indicators
Plants are excellent long-term moisture monitors. During your drainage site walk, observe vegetation patterns across the property:
- Unusually lush, dark green grass in specific areas often indicates excess moisture or even a broken irrigation line
- Moss growth in lawn areas signals chronic moisture and shade — both common in poorly drained zones
- Sedges, rushes, or cattails appearing in a residential yard are strong indicators of wetland-like conditions
- Dead or stressed trees and shrubs with root rot may indicate waterlogged soil that's suffocating root systems
- Fungal growth (mushrooms, toadstools) in recurring patterns suggests subsurface moisture
- Bare soil patches where grass won't grow may indicate either too much water (drowning the turf) or too much flow velocity (washing seeds and soil away)
Pay attention to tree roots as well. Surface roots from mature trees can redirect water flow, create dams that trap water, and infiltrate drainage pipes. A drainage site walk should note the location and extent of major root systems, especially those near foundation drains, French drains, or sewer lines.
Erosion Patterns
Erosion is water's signature — it tells you exactly where concentrated flow occurs and how powerful it is. During your walk, catalog every erosion feature you find:
- Sheet erosion: A thin, uniform layer of soil removed from a slope, often visible as exposed root crowns on plants or soil splatter on the lower portions of siding and fences
- Rill erosion: Small channels (less than 1 inch deep) carved by concentrated flow, often seen on bare slopes or at the edges of impervious surfaces
- Gully erosion: Deeper channels (several inches to several feet) indicating significant concentrated flow, often found where downspouts discharge without adequate energy dissipation
- Sediment deposits: Fans of deposited soil at the bottom of slopes or at transitions from steep to flat ground, indicating material being transported from upslope
- Undermining: Soil washed out from beneath sidewalks, driveways, patios, or retaining walls, creating voids that lead to structural failure
The location and direction of erosion features tell you where water concentrates and which direction it flows. This information is critical for designing corrective drainage systems.
Evaluating Existing Drainage Infrastructure
Most developed properties have some drainage infrastructure in place, whether it's as simple as gutters and downspouts or as complex as a network of French drains, catch basins, and underground piping. Your drainage site walk must assess the condition and performance of every drainage component.
Surface Drainage Systems
Locate and evaluate all surface drainage features:
- Swales and ditches: Check for adequate depth, proper slope, and evidence of silting or vegetation overgrowth that reduces capacity. A properly functioning swale should have a smooth, consistent bottom grade with no low spots that trap water.
- Channel drains (trench drains): Common at garage entrances, driveway edges, and patio transitions. Check that grates are clear of debris and that the drain body hasn't settled or shifted, creating low spots or reverse slopes.
- Catch basins and area drains: Remove grates and inspect the interior. Check for sediment accumulation (more than 25% full indicates maintenance is overdue), root intrusion, and structural damage. Verify that outlet pipes are connected and flowing.
- Dry creek beds: Decorative but functional drainage features. Verify that the rock sizing is appropriate for flow velocity, that filter fabric (if used) isn't clogged, and that the bed hasn't shifted or been disrupted.
Subsurface Drainage Systems
Subsurface systems are harder to evaluate on a site walk, but you can still gather significant information:
- French drains: Locate the beginning and end of each French drain run. Check the outlet for flow during or after rain. If there's no flow despite wet conditions, the drain may be clogged with sediment or root-bound. Look for surface saturation directly above the drain trench — this indicates the drain is no longer functioning.
- Foundation drains (footing drains): These are typically buried and connected to a sump pump or daylight outlet. Check the sump pump operation and the discharge point. If the sump runs constantly or the basement shows moisture, the footing drain system may be compromised.
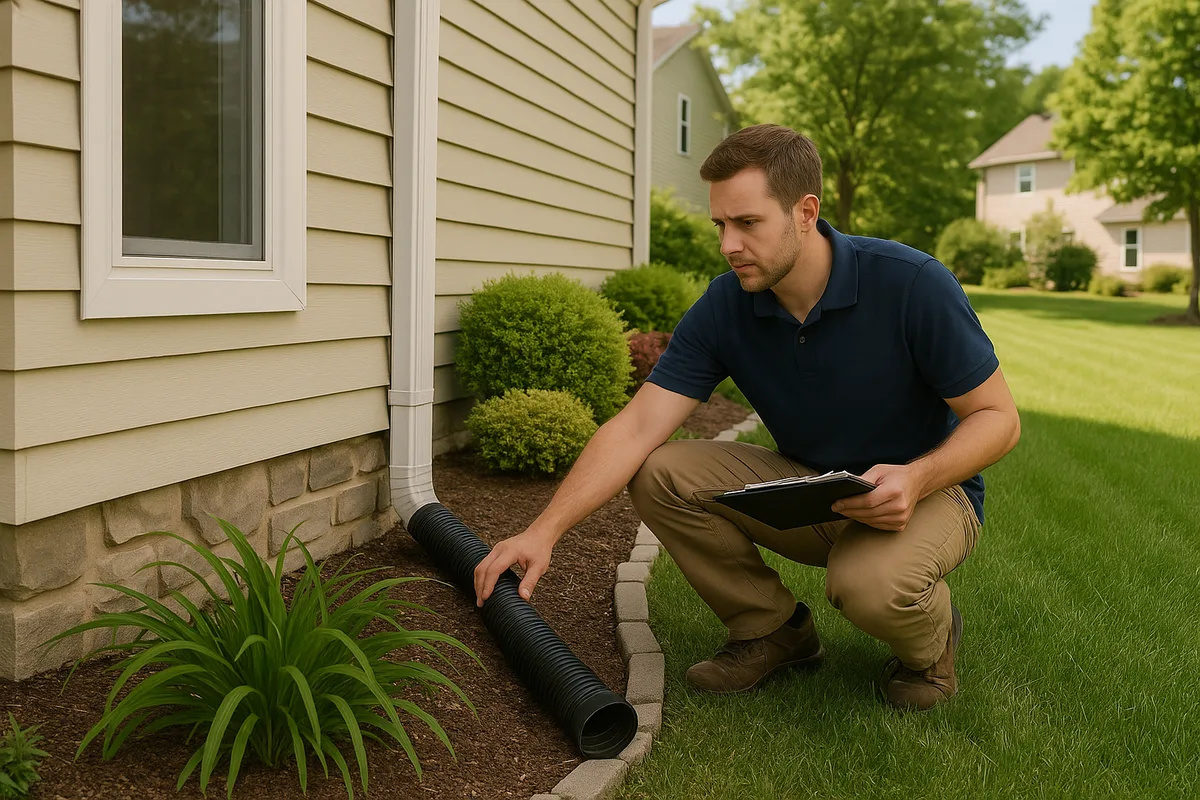
- Downspout drain lines: As noted earlier, trace each underground downspout connection to its outlet. Use a garden hose to flush water through each line and verify it reaches the discharge point. Blockages are extremely common, especially in lines that are 10+ years old.
- Curtain drains and interceptor drains: These are installed upslope to intercept groundwater or surface flow before it reaches a structure. Verify their location and check outlet points for flow.
Common Infrastructure Failures
During your walk, be alert to these frequently encountered drainage infrastructure failures:
- Crushed or collapsed pipes from vehicle traffic, root intrusion, or soil settlement
- Disconnected pipe joints where sections have separated due to ground movement
- Pipes with insufficient slope (less than 1% grade) that allow sediment to accumulate and eventually block flow
- Corroded metal pipes (especially corrugated metal) that have rusted through
- Improper connections where multiple drainage systems tie together without adequate capacity
- Missing or damaged cleanouts that prevent maintenance access
- Backflow from municipal systems where private drainage connects to public storm drains that surcharge during heavy rain
Documenting Your Findings
A drainage site walk is only as valuable as the documentation it produces. Thorough documentation allows you to communicate with contractors, prioritize repairs, track changes over time, and maintain a record for property transactions.
Create a Site Sketch
Draw a simple overhead sketch of the property showing:
- The house footprint and all other structures (garage, shed, retaining walls, patios, driveways)
- Property boundaries and neighboring structures near the boundary
- All downspout locations and discharge points
- Observed water flow directions (use arrows)
- Problem areas (ponding, erosion, saturation) with approximate dimensions
- Existing drainage infrastructure (drains, swales, pipes, catch basins)
- Elevation relationships (mark high and low points)
- Trees and major landscaping features that affect drainage
This sketch doesn't need to be architecturally precise — it's a working document that captures spatial relationships. Many professionals use graph paper or a tablet drawing app to maintain rough scale.
Photographic Documentation
Take photos systematically, not randomly. For each problem area, capture:
- A wide shot showing the problem area in context with surrounding features
- A close-up showing the specific condition (crack, stain, erosion, standing water)
- A reference shot with a tape measure, level, or other object for scale
During wet-weather walks, video is especially valuable. A 30-second video of water flowing across a yard, backing up at a foundation corner, or overflowing a swale communicates the problem far more effectively than a still photo.
Label each photo with location, direction faced, and date. If you're using a smartphone, geotagging is automatic, but adding notes to each image ensures clarity when you review them later.
Prioritize and Rate Issues
Not all drainage problems are equally urgent. As you document findings, assign a priority level:
- Critical: Water entering the structure, active foundation undermining, or erosion threatening structural elements. These require immediate attention.
- High: Negative grading at the foundation, failed drainage infrastructure, or chronic ponding within 10 feet of the structure. Address within the current season.
- Moderate: Ponding in yard areas away from structures, minor erosion, or partially functional drainage systems. Plan repairs within the next 6–12 months.
- Low: Cosmetic issues, minor inefficiencies in drainage flow, or areas that pond briefly but drain within 24 hours. Monitor and address as part of routine landscape maintenance.
Advanced Diagnostic Techniques
Beyond visual observation, several additional techniques can deepen your yard drainage diagnosis during a site walk.
The Hose Test
A garden hose is one of the most underrated diagnostic tools. Use it to simulate rainfall on specific areas and observe water behavior in real time. Run the hose at the top of a slope and watch where water flows. Discharge it near the foundation and see if water moves away properly. Flush it through underground drain lines to verify they're clear. The hose test lets you investigate specific questions that arose during your visual walk without waiting for the next rainstorm.
When conducting hose tests, let the water run long enough for the soil to saturate — usually 10–15 minutes for a localized test. Initial water behavior on dry soil can be misleading because even compacted soil absorbs some water initially. You want to see what happens when the soil reaches saturation, which is what occurs during a sustained rain event.
Probe Testing for Subsurface Conditions
A soil probe or even a simple piece of rebar can reveal subsurface conditions that affect drainage. Push the probe into the ground at regular intervals across problem areas. Note:
- Depth to refusal (how deep you can push before hitting rock, hardpan, or extremely compacted soil). Shallow refusal depth means water can't infiltrate deeply and is forced to flow on the surface.
- Depth to saturation (how deep before the probe hole fills with water). This indicates the current water table level.
- Soil layers felt through the probe — transitions from soft to hard or from dry to wet indicate changes in soil type or compaction.
In areas where you suspect a perched water table or clay layer, probe testing at multiple points can map the extent of the problem and help determine whether a subsurface drain is needed and at what depth it should be installed.
Checking Slope with Simple Tools
For homeowners without surveying equipment, you can check slope using a string line and line level. Drive a stake at the high point and another at the low point. Stretch a string between them and level it with the line level. Measure the distance from the string to the ground at the low point — this is your total elevation change. Divide by the horizontal distance to get the slope percentage.
For example, if the string is 6 inches above the ground at the low stake and the stakes are 10 feet apart, you have a 5% slope (6 inches ÷ 120 inches = 5%). This simple measurement can confirm or refute your visual assessment of grading adequacy.
Smartphone apps with inclinometer functions can also provide rough slope readings, though they're less precise than physical measurements. They're useful for quick screening during the walk, with critical areas verified using more accurate methods.
Tracing Underground Utilities and Drainage
Before any drainage work begins, you need to know what's underground. During your site walk, note the location of:
- Utility cleanouts and meters (sewer, water, gas)
- Irrigation valve boxes and controller locations
- Visible utility markings from previous locates
- Septic system components (if applicable) — tank, distribution box, and drain field
Always call 811 (the national utility locate service) before any digging. During the site walk, you're simply noting what's visible to inform future planning.
Putting It All Together: From Diagnosis to Action Plan
A completed drainage site walk gives you a comprehensive picture of your property's water management performance. The final step is synthesizing your observations into an actionable plan.
Start by mapping the complete water story for your property. Where does water enter the property (roof, overland flow from neighbors, groundwater)? How much enters (you can estimate roof runoff from roof area and local rainfall data)? Where is it supposed to go (per the original grading plan or natural topography)? Where does it actually go (per your observations)? Where does it fail (the problem areas you documented)?
With this story clear, solutions often become obvious. Negative grading at the foundation calls for regrading or the addition of a swale. Disconnected downspouts need reconnection and extension. A low spot that traps water needs either filling and regrading or the installation of a drain to carry water out. A failed French drain needs replacement with properly sized pipe and aggregate.
Prioritize solutions based on the severity ratings you assigned during documentation. Address critical and high-priority issues first, particularly anything directing water toward the foundation. Foundation repairs from water damage can cost tens of thousands of dollars — preventive drainage work is almost always a fraction of that cost.
For complex situations involving multiple interrelated drainage problems, significant regrading, or subsurface water issues, consider engaging a professional drainage consultant or civil engineer. The documentation from your site walk will make any professional consultation more efficient and productive, since you'll be able to show exactly what you've observed and where.
A thorough drainage site walk is something every homeowner should conduct at least annually, ideally in spring when snowmelt and spring rains reveal the worst-case drainage performance. Properties with known issues should be walked after every significant storm to monitor conditions and verify that repairs are performing as intended.
At Low Point Labs, we specialize in turning the kind of observations described in this guide into precise, data-driven drainage intelligence. Our topographic analysis tools help homeowners and professionals move from diagnosis to solution with confidence. If your site walk has revealed drainage concerns — or if you want professional-grade analysis of your property's drainage performance — explore our drainage assessment services to get the detailed, actionable insights your property needs.
Get Your Drainage Intelligence Report™
Start a free trial and generate reports on demand.
Frequently Asked Questions
Related Articles
What Is a Drainage Assessment and Why Do You Need One?
How Clay Soil Affects Yard Drainage: Problems, Signs & Solutions