Reading a Property's Topography Before You Bid: A Complete Guide
Whether you're a contractor bidding on a grading project, a homebuyer evaluating a listing, or an investor assessing a development parcel, reading a property's site topography before committing money is one of the most consequential skills you can develop. The shape of the land dictates where water flows, where it pools, and where it eventually causes damage. A thorough drainage site assessment performed before you bid can mean the difference between a profitable project and a costly mistake.
Yet most people skip this step. They walk the lot on a sunny day, see green grass and a level-looking yard, and assume everything is fine. What they miss are the subtle swales, the reverse grades, the buried low points that only reveal themselves during a heavy rain — or after they've already signed the contract. This guide will teach you how to read the land like a professional, using free tools, field observation, and data-driven analysis to understand exactly what a property's topography is telling you.
Why Site Topography Is the First Thing You Should Evaluate
Topography is the three-dimensional shape of the land surface. It encompasses elevation, slope, aspect, and the relationship between high points and low points across a property. While most buyers and contractors focus on structures, finishes, and square footage, topography is the underlying variable that influences nearly every other condition on the site — from foundation integrity to landscaping costs to long-term insurance premiums.
A property that slopes toward the house rather than away from it will funnel stormwater against the foundation. A lot that sits at the bottom of a watershed will collect runoff from neighboring properties. A building pad carved into a hillside without proper benching will experience hydrostatic pressure against below-grade walls. These are not hypothetical problems; they are predictable outcomes of topographic conditions that can be identified before you ever make an offer.
For contractors, understanding site topography before bidding is essential to accurate estimating. A grading project on a lot with 8% cross-slope requires significantly more earthwork than one on a 2% slope. A drainage installation bid that doesn't account for a high water table or clay soils will blow its budget. The topography tells you what you're getting into — but only if you know how to read it.
The Cost of Ignoring Topographic Signals
The financial consequences of misreading or ignoring topography are well-documented. Foundation repairs caused by poor drainage average $5,000 to $15,000 nationally, and complex cases involving structural underpinning can exceed $50,000. Basement waterproofing retrofits typically run $3,000 to $10,000. For contractors, underestimating earthwork volumes by even 20% on a grading project can eliminate the entire profit margin.
Beyond direct costs, there are liability considerations. A contractor who bids a drainage project without performing a proper drainage site assessment may inherit responsibility for pre-existing conditions. A homebuyer who purchases a property without understanding its topographic vulnerabilities may discover that their homeowner's insurance doesn't cover surface water damage. In both cases, the information was available — it just wasn't sought.
Get Your Drainage Intelligence Report™
Start a free trial and generate reports on demand.
Free Tools for Preliminary Topographic Analysis
Before you ever set foot on a property, you can learn a remarkable amount about its topography using publicly available data. Modern elevation datasets, aerial imagery, and soil maps provide a foundation of intelligence that informs your field visit and sharpens your assessment.
LiDAR and Digital Elevation Models
The most powerful free tool for topographic analysis is LiDAR-derived elevation data. The USGS 3D Elevation Program (3DEP) has collected high-resolution LiDAR data covering the vast majority of the continental United States. This data can be accessed through the USGS National Map or downloaded for analysis in GIS software. LiDAR data typically provides elevation accuracy within 10 centimeters (about 4 inches), which is sufficient to identify drainage patterns, low points, and slope gradients at the residential lot scale.
For a pre-bid assessment, you don't necessarily need to become a GIS expert. Several online viewers allow you to visualize elevation data with contour overlays. Look for contour intervals of 1 to 2 feet, which will reveal the general drainage direction, any depressions or ridgelines on the property, and the relationship between the subject lot and surrounding terrain. Pay particular attention to whether contour lines indicate flow toward or away from the building footprint.
Aerial Imagery and Historical Photos
Aerial imagery provides context that elevation data alone cannot. Google Earth's historical imagery feature lets you scroll through years of satellite photos to observe how a property has changed over time. Look for evidence of standing water, erosion channels, or changes in vegetation patterns that suggest moisture problems. A patch of darker or lusher vegetation in an otherwise uniform lawn often indicates a subsurface drainage issue or a low point where water collects.
Historical imagery is especially valuable for properties that have been recently regraded or landscaped. Fresh sod, new retaining walls, or recently placed fill material may be covering drainage problems that the seller or previous contractor attempted to address cosmetically. If the imagery from three years ago shows a visibly wet area where today you see new landscaping, that's a red flag worth investigating.
Soil Survey Data
The NRCS Web Soil Survey provides detailed soil mapping for virtually every parcel in the United States. For a drainage site assessment, the most critical data points are the soil's hydrologic group classification and its saturated hydraulic conductivity. Soils are classified into four hydrologic groups:
- Group A: Sandy, well-drained soils with high infiltration rates (greater than 0.30 inches per hour)
- Group B: Moderately well-drained soils with moderate infiltration (0.15–0.30 inches per hour)
- Group C: Soils with slow infiltration rates (0.05–0.15 inches per hour), often with a layer that impedes downward movement
- Group D: Clay-heavy soils with very slow infiltration (less than 0.05 inches per hour) and high runoff potential
A property sitting on Group D soils will behave fundamentally differently during a storm event than one on Group A soils. The same topographic configuration that drains adequately on sandy soil may cause chronic ponding on clay. Understanding the soil type before you bid allows you to calibrate your expectations and your estimate accordingly.
The Field Walk: What to Look for on the Ground
Desktop analysis gives you a hypothesis. The field walk gives you confirmation. When you visit a property for a pre-bid assessment, you're looking for physical evidence that either validates or contradicts what the elevation data and soil maps told you. Train yourself to see the landscape as a drainage system, not just a yard.
Reading Slope with Your Eyes and Simple Tools
The human eye is surprisingly poor at estimating slope, especially on large, open lots. What looks flat may actually have a 1–2% grade — enough to move significant volumes of water over time. Conversely, what appears to slope away from a building may actually have a subtle reverse grade near the foundation that traps water against the wall.
Bring a 4-foot builder's level and a tape measure. Place the level on the ground with one end at the foundation wall and the other extending outward. Lift the outer end until the bubble centers, then measure the gap between the level's end and the ground. A 1-inch gap over 4 feet equals approximately a 2% slope — the minimum recommended grade away from a foundation per most building codes and the International Residential Code. Repeat this measurement at multiple points around the structure. It takes five minutes and reveals more than most formal inspections.
For larger areas, a string level or a laser level on a tripod provides accurate slope measurements across 50 to 100 feet. You're looking for the overall drainage direction, any areas where slope reverses, and any low points where water would naturally collect.
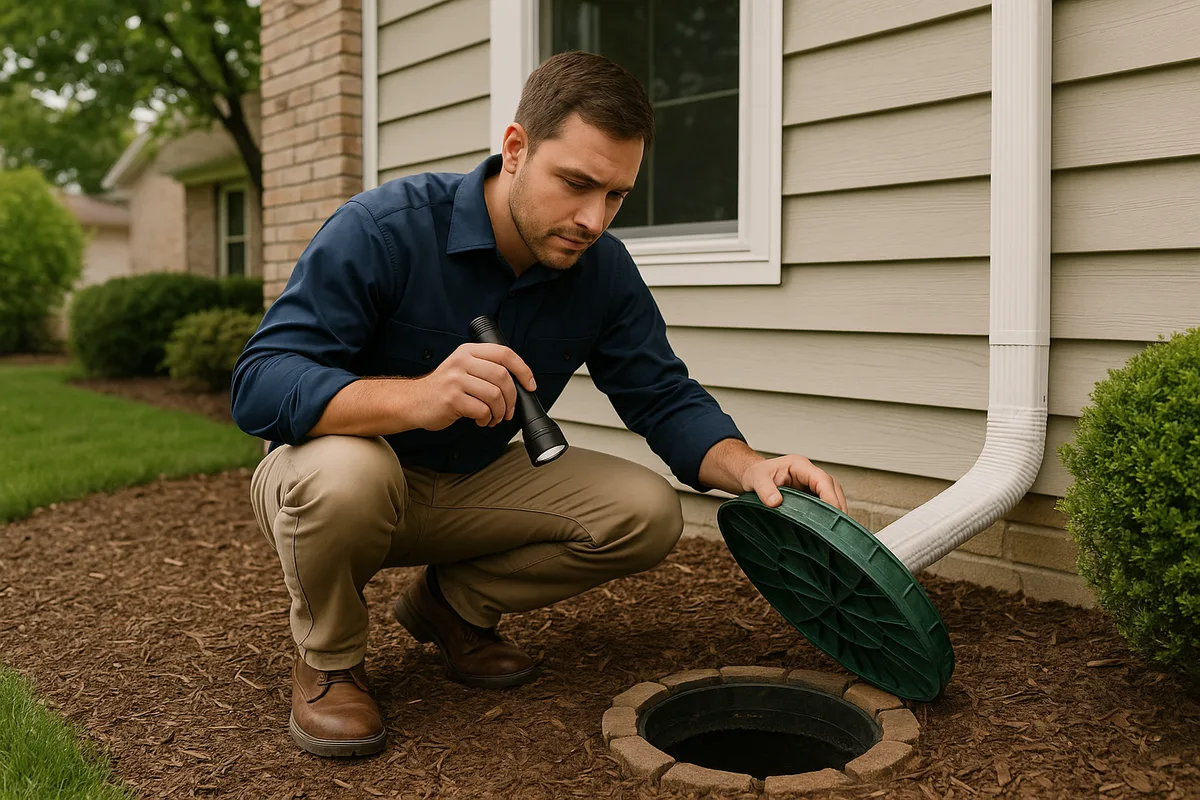
Identifying Drainage Indicators
The land leaves evidence of its drainage behavior. Learning to read these indicators is the core skill of a pre-bid topographic assessment. Here's what to look for:
Staining and mineral deposits: White or gray mineral deposits (efflorescence) on foundation walls, retaining walls, or hardscaping indicate repeated wetting and drying cycles. Water carries dissolved minerals to the surface, where they precipitate as the water evaporates. The height of these deposits tells you the typical water level during wet periods.
Erosion patterns: Look for rills, gullies, or sediment fans in the landscape. Even small erosion channels indicate concentrated flow paths. Sediment deposited at the base of a slope or against a wall tells you where water is arriving and how much energy it carries.
Vegetation clues: Certain plant species thrive in wet conditions. If you see cattails, sedges, willows, or unusually lush grass in a localized area, you're likely looking at a low point with persistent moisture. Conversely, bare or thin vegetation on a slope may indicate erosion from concentrated runoff.
Foundation clues: Cracks in foundation walls, especially horizontal cracks in block foundations or stair-step cracks in brick veneer, can indicate hydrostatic pressure from water-saturated soil. Bowing basement walls almost always have a drainage component. While structural assessment is beyond the scope of a topographic evaluation, these signs should prompt deeper investigation.
Downspout discharge points: Follow every downspout to its termination point. Are they discharging directly against the foundation? Do they connect to underground drains, and if so, where do those drains daylight? A property with four downspouts dumping water within 2 feet of the foundation is a property with a drainage problem, regardless of what the grading looks like.
Analyzing Watershed Relationships and Off-Site Drainage
One of the most common mistakes in a drainage site assessment is evaluating the property in isolation. Every lot exists within a larger watershed. Water doesn't respect property lines. Understanding where water comes from — not just where it goes on the subject property — is essential to an accurate pre-bid evaluation.
Upstream Contributing Area
Using topographic data or contour maps, trace the drainage area that contributes runoff to the subject property. In a typical suburban neighborhood, this might include portions of adjacent lots, street surfaces, and even properties several lots uphill. The larger the contributing area, the more water the subject property must handle during a storm event.
A useful rule of thumb: every 1,000 square feet of impervious surface (roofs, driveways, patios) in the contributing watershed generates approximately 620 gallons of runoff during a 1-inch rainfall event. If the subject property receives runoff from its own 2,500-square-foot roof, a neighbor's 2,000-square-foot roof, and 1,500 square feet of shared driveway, that's roughly 3,720 gallons of water that must be managed during a single inch of rain. In areas where NOAA Atlas 14 data shows a 10-year, 1-hour rainfall intensity of 2.5 inches, the volumes become substantial.
Downstream Discharge and Legal Considerations
Equally important is understanding where the property discharges its stormwater. Most jurisdictions follow the common-law principle that a property owner cannot alter the natural drainage pattern in a way that increases the volume or concentration of runoff onto a neighboring property. If your bid involves regrading, adding impervious surfaces, or redirecting drainage, you need to understand the existing discharge points and ensure your proposed work doesn't create liability.
Look for existing drainage easements, storm sewer connections, or natural drainage courses along property boundaries. If the property relies on sheet flow across a neighbor's lot to reach a storm drain, that arrangement may be fragile — especially if the neighbor decides to build a fence, install a retaining wall, or regrade their own property.
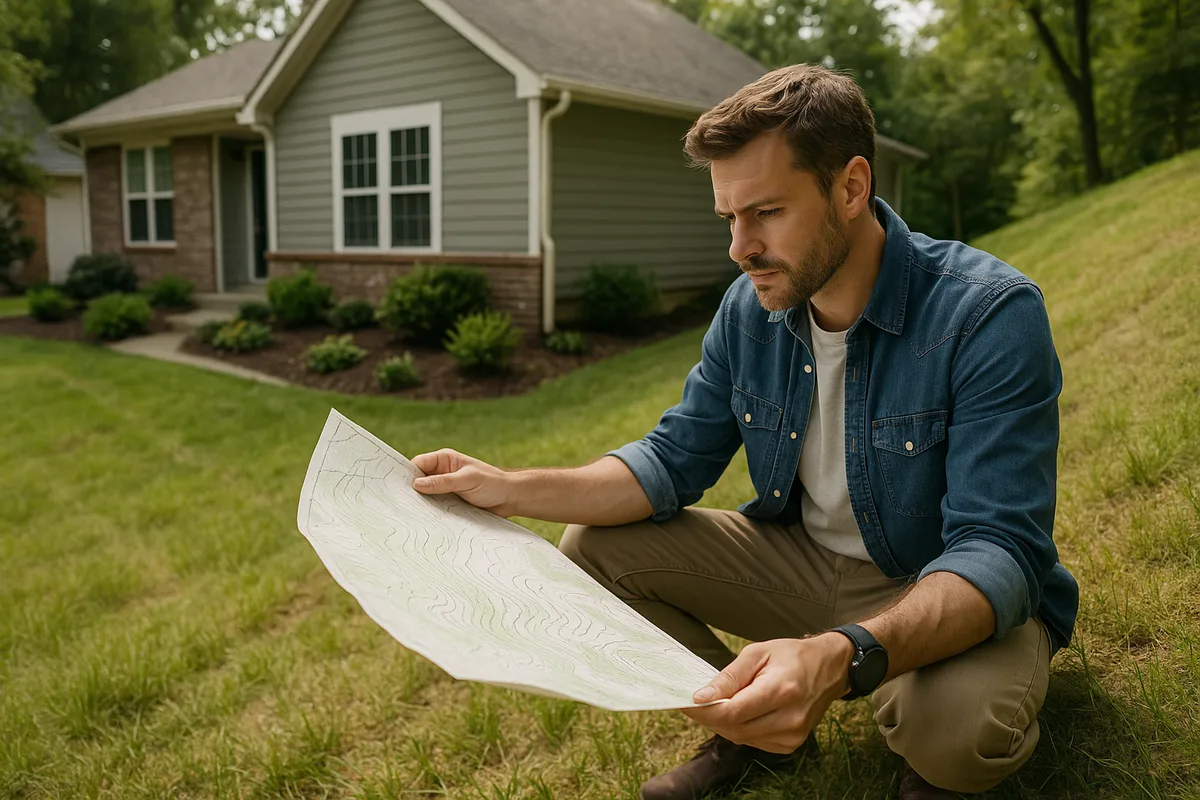
Interpreting Topographic Surveys and Plat Maps
If the property has an existing topographic survey, it's the single most valuable document for your pre-bid assessment. Understanding how to read it efficiently can save hours of field work and dramatically improve the accuracy of your bid.
Reading Contour Lines
Contour lines connect points of equal elevation. The fundamental rules for interpreting them are:
- Closely spaced contours indicate steep slopes. If 1-foot contour lines are packed tightly together, the terrain changes elevation rapidly.
- Widely spaced contours indicate gentle slopes or flat areas. Large gaps between contour lines mean the ground is relatively level.
- Contour lines that form a V pointing uphill indicate a valley or drainage swale. Water flows down the axis of the V.
- Contour lines that form a V pointing downhill indicate a ridge. Water flows away from the ridge in both directions.
- Closed contour loops indicate either a hilltop (if elevations increase inward) or a depression (if elevations decrease inward). Depressions are sometimes marked with hachure marks — small tick marks pointing inward.
For residential drainage assessment, focus on the contours within 10 to 20 feet of the building footprint. The contours should show a consistent downward slope away from the foundation in all directions. Any location where contours indicate flow toward the building is a potential trouble spot.
Spot Elevations and Benchmarks
Beyond contour lines, topographic surveys typically include spot elevations — specific points with their exact elevation noted. These are especially useful at critical locations like building corners, driveway edges, swale inverts, and property corners. The difference between spot elevations at the foundation and at a point 10 feet away tells you the exact grade percentage.
For example, if the foundation grade is 100.00 feet and a spot elevation 10 feet away reads 99.83 feet, the slope is 0.17 feet over 10 feet, or 1.7%. That's below the recommended 2% minimum, and it's the kind of marginal condition that might look fine on a sunny day but causes problems during sustained rainfall.
Plat Maps and Drainage Plans
Subdivision plat maps often include drainage arrows, easement locations, and designed flow paths that were part of the original development plan. These are particularly valuable because they tell you how the property was intended to drain, which you can compare against how it actually drains today. Divergence between the two often indicates settlement, unauthorized grading, or failed drainage infrastructure.
Many municipalities maintain these records in their planning or engineering departments, and they're often available online through the county recorder's GIS portal. Fifteen minutes of research can reveal drainage easements, stormwater detention requirements, or grading restrictions that directly affect your bid.
Quantifying Risk: Turning Observations into Bid Adjustments
The goal of reading site topography before you bid isn't just to identify problems — it's to quantify them so you can adjust your bid, your offer, or your scope of work accordingly. Every topographic observation should translate into a cost implication.
Creating a Drainage Risk Matrix
Develop a systematic approach to categorizing the drainage risks you identify. A simple matrix might include:
| Risk Factor | Low Risk | Moderate Risk | High Risk |
|---|---|---|---|
| Slope away from foundation | >5% for 10+ feet | 2–5% for 6–10 feet | <2% or negative grade |
| Soil hydrologic group | Group A or B | Group C | Group D |
| Contributing watershed | Only subject lot | 1–2 adjacent lots | Multiple lots or street drainage |
| Downspout management | Extended 6+ feet, connected to storm system | Extended 4–6 feet | Discharging at foundation |
| Evidence of past water intrusion | None visible | Minor staining | Active moisture, efflorescence, cracks |
| Flood zone status | Zone X (minimal) | Zone X (shaded, moderate) | Zone A, AE, or V |
Each "High Risk" rating should trigger a specific cost contingency in your bid. For a contractor, a negative grade at the foundation might mean adding $2,000–$5,000 for regrading to the scope. For a homebuyer, multiple high-risk factors might justify a price reduction request or a requirement for the seller to address drainage before closing.
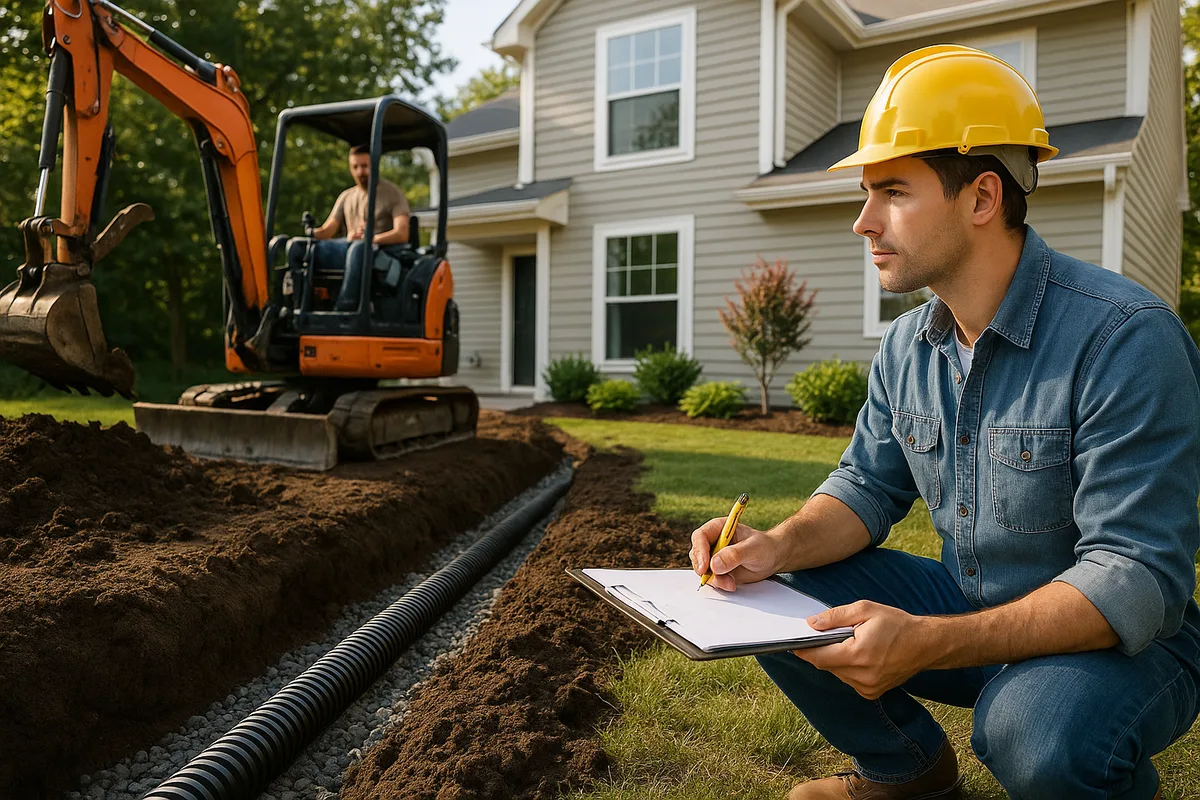
Estimating Earthwork and Drainage Costs
When your topographic assessment reveals the need for corrective grading, you can use the elevation data to estimate earthwork volumes. The basic calculation is straightforward:
- Determine the existing grade at the problem area (from survey data or field measurements)
- Determine the desired grade (typically 2% minimum slope away from foundation for 10 feet, then 1% minimum beyond)
- Calculate the volume of fill or cut required to achieve the desired grade
- Apply a unit cost for earthwork (typically $5–$15 per cubic yard for small residential projects, including material, labor, and compaction)
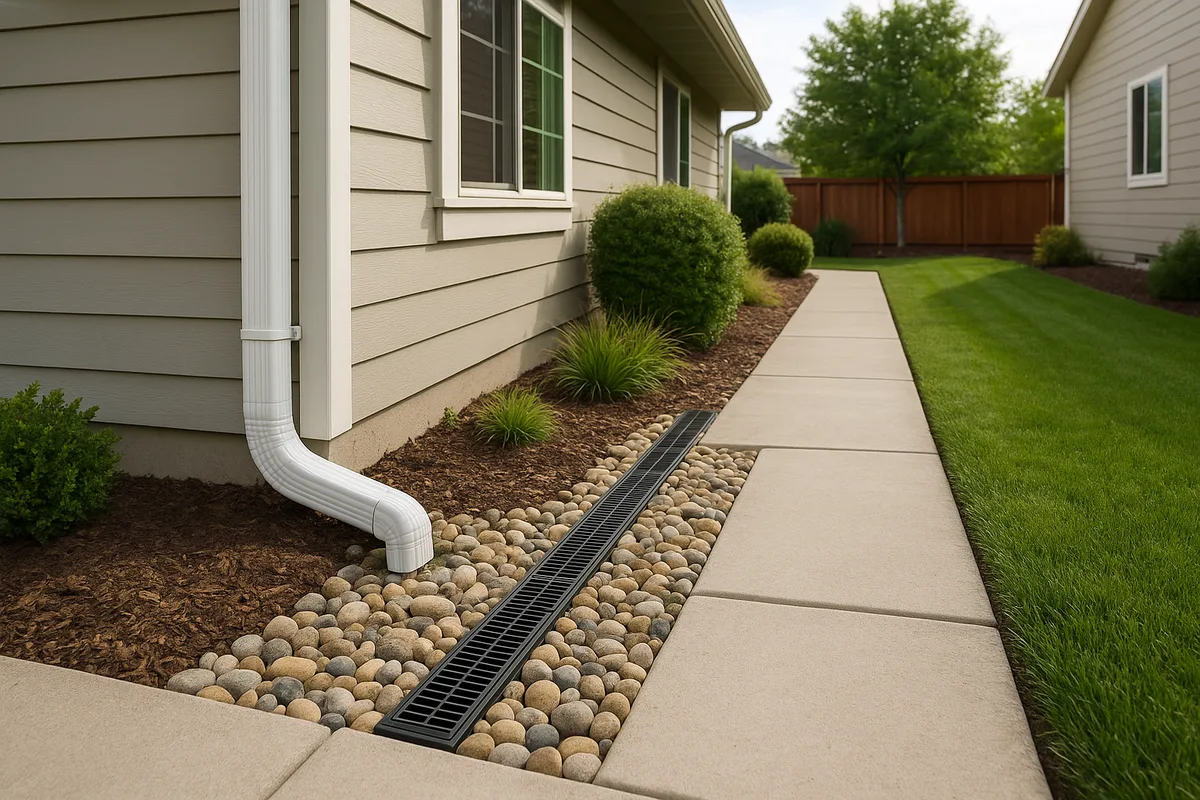
For drainage infrastructure, common cost ranges for residential projects include:
- French drain installation: $25–$60 per linear foot
- Surface swale construction: $5–$15 per linear foot
- Catch basin installation: $500–$1,500 per unit
- Corrugated drain pipe (4-inch): $8–$15 per linear foot installed
- Regrading within 10 feet of foundation: $500–$3,000 per side of house
- Sump pump installation: $1,000–$3,000
These numbers allow you to translate topographic observations into dollar figures that inform your bid or your purchase offer.
Common Topographic Red Flags That Change the Equation
Certain topographic conditions are so consequential that they should fundamentally alter your approach to a bid. These aren't minor adjustments — they're deal-changers that require careful consideration before proceeding.
The Bowl Lot
A bowl lot sits lower than all surrounding properties, creating a natural collection basin for neighborhood runoff. These lots are surprisingly common in subdivisions where builders cut and fill to create building pads without adequate attention to inter-lot drainage. From above, the contour lines form concentric closed loops around the property, with the house sitting near the center of the depression.
Bowl lots are among the most expensive drainage problems to solve because you can't simply regrade to create positive drainage — there's nowhere for the water to go. Solutions typically involve sump systems, pumped discharge to a storm sewer (if permitted and available), or extensive French drain networks with dry wells. Budget accordingly: a comprehensive drainage solution for a bowl lot can easily run $10,000–$30,000.
The Hillside Cut
Properties built on hillsides often have a cut bank behind the house where the builder excavated into the slope to create a level building pad. This configuration creates a natural funnel that directs surface water and subsurface seepage toward the back of the house. The cut face also exposes soil layers that may have different permeability characteristics, creating seep zones where groundwater emerges at the surface.
Look for retaining walls with weep holes (good) or retaining walls without them (bad). Check for a drainage swale or interceptor drain at the toe of the cut slope. If neither exists, water from the hillside is almost certainly reaching the foundation. A proper hillside drainage system typically includes a curtain drain behind the retaining wall, a surface swale at the top of the cut, and potentially a subdrain system beneath the building pad.
The Flat Lot with Clay Soils
A lot that appears perfectly flat might seem like a dream — no grading issues, no erosion concerns. But flat lots on clay soils are drainage nightmares. Without adequate slope to move water away from the foundation, and with soil that resists infiltration, stormwater simply sits. It ponds in the yard, saturates the soil around the foundation, and creates hydrostatic pressure against basement walls.
The minimum 2% slope recommendation exists precisely for this scenario, but on a truly flat lot, achieving 2% for 10 feet in all directions around the foundation requires raising the building pad or lowering the surrounding grade — both of which have implications for neighboring properties, driveways, and utilities. If the soil survey shows Group C or D soils and the topographic data shows less than 1% slope, factor in significant drainage infrastructure costs.
Evidence of Fill Material
If your field walk reveals inconsistent soil types, debris mixed into the soil, or areas where the ground feels unusually soft or spongy, you may be dealing with uncompacted fill material. Fill settles over time, and as it settles, it changes the drainage pattern. A grade that was positive when the house was built can become negative after years of fill settlement.
This is particularly common around foundations, where builders backfill the over-dig with loose soil that compresses over the first few years. The result is a trough running along the foundation wall — exactly where you don't want water collecting. Probing with a soil rod or rebar can help you identify the depth and extent of fill material.
Putting It All Together: A Pre-Bid Assessment Workflow
To systematize your pre-bid topographic evaluation, follow this workflow for every property you assess. The entire process takes 2–4 hours and can save multiples of that in avoided costs and accurate bidding.
Step 1: Desktop Research (30–60 minutes)
- Pull LiDAR-derived elevation data or contour maps from USGS resources
- Review soil survey data from the NRCS Web Soil Survey
- Check FEMA flood maps for flood zone designation
- Review aerial imagery, including historical photos
- Search for subdivision plat maps and drainage plans from the local planning department
- Note any drainage easements, wetland boundaries, or stormwater facilities on or near the property
Step 2: Field Observation (60–90 minutes)
- Walk the entire property perimeter, noting slope direction and steepness
- Measure grade at the foundation using a level at 8–12 points around the structure
- Trace all downspout discharge paths to their termination points
- Look for staining, erosion, mineral deposits, and vegetation indicators
- Identify all hardscape features that affect drainage (retaining walls, patios, driveways, walkways)
- Check for evidence of fill material, especially adjacent to the foundation
- Photograph all findings with location context
Step 3: Watershed Analysis (15–30 minutes)
- Identify the upstream contributing area using topographic data
- Estimate impervious surface area in the contributing watershed
- Locate downstream discharge points and any constraints
- Note any neighboring properties with drainage directed toward the subject lot
Step 4: Risk Quantification (30–45 minutes)
- Complete the drainage risk matrix for the property
- Estimate corrective earthwork volumes if regrading is needed
- Price drainage infrastructure for identified deficiencies
- Calculate contingency amounts for unknown conditions
- Adjust your bid or offer based on findings
Step 5: Documentation (15–30 minutes)
- Compile findings into a brief report with photos
- Note conditions that require further investigation (e.g., subsurface exploration, structural evaluation)
- Document assumptions and limitations of your assessment
- Archive for future reference
This systematic approach transforms topographic assessment from a gut feeling into a data-driven process. It protects you from underbidding, strengthens your negotiating position, and demonstrates professionalism to clients and sellers alike.
Make Topographic Intelligence Part of Every Decision
Reading a property's site topography before you bid isn't an optional step for sophisticated buyers and contractors — it's a fundamental practice that separates professionals from amateurs. The land tells a story about where water goes, and that story has direct financial implications for anyone who owns or works on the property.
A thorough drainage site assessment conducted before you commit money gives you the information you need to bid accurately, negotiate effectively, and plan proactively. It identifies problems that are invisible on a sunny afternoon but devastating during a spring storm. It quantifies risks that would otherwise be surprises. And it gives you confidence that your decision — whether to bid, to buy, or to walk away — is grounded in evidence rather than assumption.
At Low Point Labs, we specialize in turning topographic data into actionable drainage intelligence for residential properties. Our assessment tools analyze elevation data, soil characteristics, and watershed relationships to give you a clear picture of how water interacts with any property. Whether you're evaluating a potential purchase, preparing a contractor bid, or investigating a drainage complaint, explore how Low Point Labs can provide the topographic clarity you need to make informed decisions.
Get Your Drainage Intelligence Report™
Start a free trial and generate reports on demand.
Frequently Asked Questions
Related Articles
How to Avoid Over-Engineering (or Under-Engineering) Drainage Solutions
Building Drainage Estimates Based on Real-World Site Conditions