How to Evaluate a Property After a Storm Event: A Complete Guide
Every major storm is a stress test for your property's drainage infrastructure. Rain, wind, and flooding expose weaknesses that may have been invisible for months or even years — clogged swales, failed grading, overwhelmed downspout systems, and compromised foundations. Conducting a thorough post-storm inspection within the first 24 to 72 hours is one of the most important things a homeowner can do to prevent small problems from becoming catastrophic failures.
Storm events don't just damage roofs and siding. They reshape your landscape, redistribute soil, deposit sediment in critical drainage pathways, and reveal exactly where water is going — and where it shouldn't be. A systematic storm damage assessment that focuses on drainage, grading, and water intrusion gives you the intelligence you need to act quickly, document losses for insurance, and prioritize repairs before the next event arrives.
This guide provides a comprehensive, step-by-step framework for evaluating your property after a storm, with a particular focus on the topographic and drainage elements that most homeowners — and even some inspectors — overlook.
Why Post-Storm Inspections Matter More Than You Think
Most homeowners associate storm damage with the obvious: downed trees, missing shingles, broken windows. But the most expensive and insidious damage is often below the surface or hidden in the landscape. Water that pools against a foundation for even a few hours can begin hydrostatic pressure cycles that crack basement walls. Erosion channels carved during a single intense rainfall can undermine retaining walls, expose utility lines, and permanently alter the grading that protects your home.
The financial stakes are significant. According to FEMA, just one inch of floodwater inside a home can cause more than $25,000 in damage. But even when water doesn't enter the structure, storm runoff damage to the surrounding landscape can cost thousands to remediate — and the damage compounds with every subsequent storm if left unaddressed.
A proper post-storm drainage evaluation also creates a documented baseline. If you photograph and record conditions after each major event, you build a timeline that's invaluable for insurance claims, warranty disputes with builders, and conversations with contractors about remediation priorities. Without this documentation, you're relying on memory and guesswork.
Finally, storm events reveal the real-world performance of your property's drainage system under load. Your yard may look perfectly graded on a dry day, but a 2-inch rainfall event will expose every low point, every blocked inlet, and every undersized pipe. This is diagnostic information you simply can't get any other way.
Safety First: Before You Begin Your Assessment
Before setting foot on your property for a post-storm inspection, safety must be the absolute priority. Storm events create hazards that aren't always immediately visible, and rushing outside to check for damage can put you in serious danger.
Electrical Hazards
Downed power lines are the most critical risk. Never approach any wire on the ground, even if it appears inactive — it may still be energized. If you see a downed line on or near your property, stay inside and call your utility provider immediately. Water and electricity are a lethal combination, so avoid walking through standing water near any electrical infrastructure, including your home's exterior outlets, HVAC condenser units, or pool equipment.
If your property experienced flooding, do not enter the basement or any below-grade space until you've confirmed the electrical panel is off and there's no standing water in contact with electrical systems. A licensed electrician should inspect before you restore power to any flooded area.
Structural Stability
Before walking around your property, visually scan for structural damage from a safe distance. Look for leaning trees, cracked retaining walls, shifted deck footings, or any structure that appears to have moved. Saturated soil loses its bearing capacity dramatically — a retaining wall that was stable before the storm may now be on the verge of collapse.
Avoid walking on slopes steeper than 3:1 (horizontal to vertical) if the soil is saturated. The risk of landslide or slope failure is elevated for 48 to 72 hours after heavy rainfall, particularly in clay-rich soils.
Personal Protective Equipment
Wear waterproof boots with good traction, long pants, and gloves. Floodwater is never clean — it carries sewage, chemicals, petroleum products, and biological contaminants. If your area experienced significant flooding, consider an N95 mask when working near standing water or wet debris. A flashlight (even during daylight) is essential for inspecting crawl spaces, window wells, and other dark areas where water may have intruded.
Exterior Drainage System Assessment
The exterior drainage system is the first line of defense against storm runoff damage, and it's where your inspection should begin. Work systematically around the entire perimeter of your home, then expand outward to the property boundaries.
Gutters, Downspouts, and Extensions
Start at the roofline. Inspect every gutter run for sagging, separation from the fascia, or overflow staining on the siding below. Storms frequently deposit leaves, granules from damaged shingles, and debris that can completely block gutter flow. A single clogged downspout can redirect hundreds of gallons of water against your foundation during a storm.
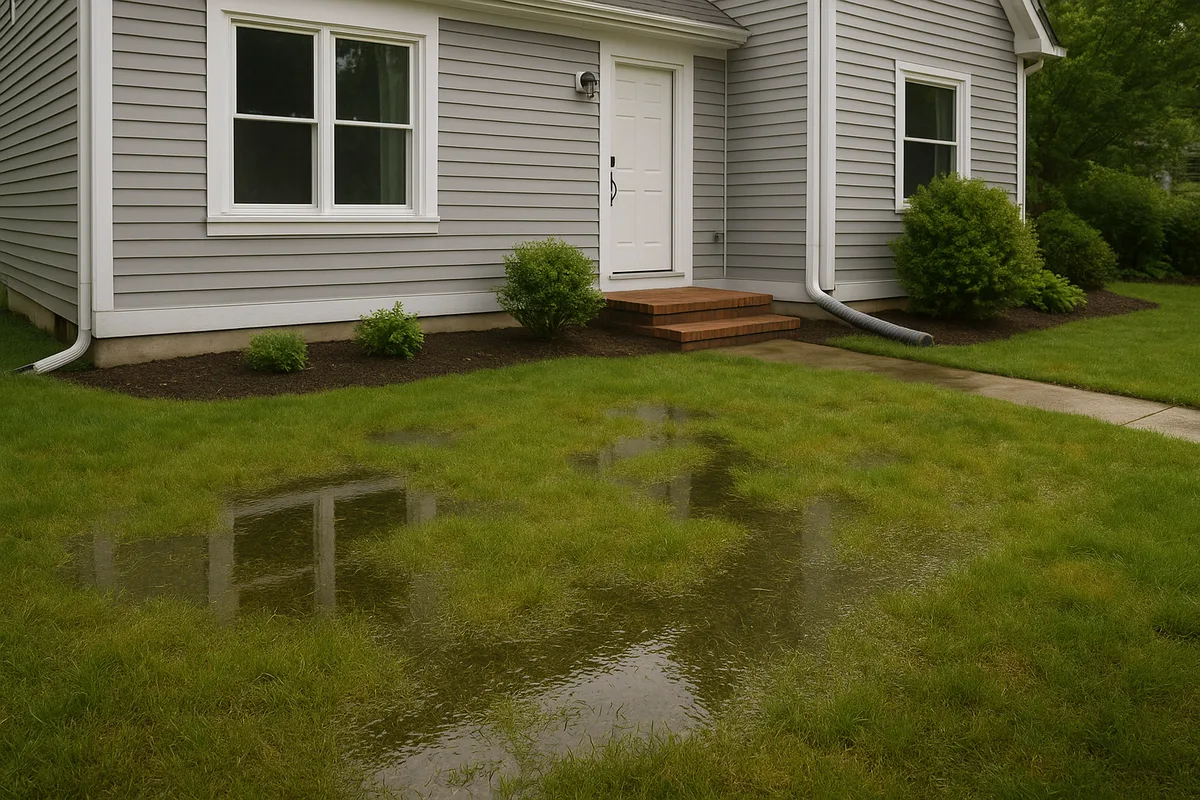
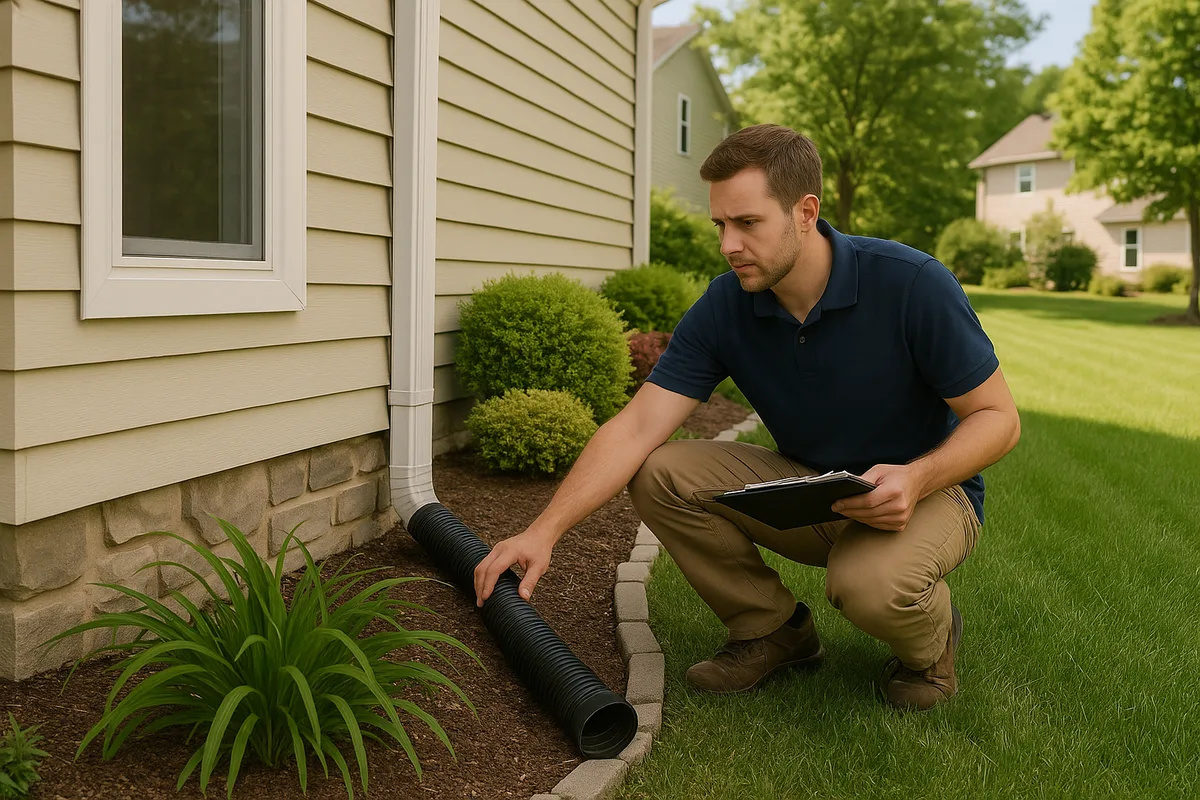
Check every downspout connection point — the top where it meets the gutter, any elbows, and the bottom discharge. Downspout extensions should direct water at least 4 to 6 feet from the foundation, and ideally further. If extensions have been displaced by wind or water, note their current position and where the water actually discharged during the storm. Look for splash erosion, sediment fans, or pooling marks at the base of each downspout — these tell you exactly where the water went.
If your property uses underground downspout drains, check every accessible cleanout and outlet. Underground lines are extremely susceptible to clogging from storm debris, root intrusion, and sediment. A line that was flowing freely before the storm may now be partially or fully blocked.
Foundation Perimeter Grading
The grading immediately adjacent to your foundation is the single most important drainage element on your property. The industry standard — and the recommendation of virtually every building code — is a minimum slope of 6 inches of fall over the first 10 feet away from the foundation. After a storm, this grading may have changed.
Look for these specific indicators of grading failure:
- Ponding marks: Rings of sediment or debris that indicate water pooled against the foundation
- Erosion channels: Rills or gullies that show concentrated water flow along or toward the foundation
- Soil settlement: Areas where the ground has dropped, creating negative grade (slope toward the house)
- Mulch displacement: Mulch that has floated or washed away from foundation beds, exposing bare soil
- Splash marks on siding: Mud splatter on the lower 12 to 18 inches of exterior walls indicates water impact
Use a 4-foot level or a straight board and a tape measure to check the actual grade at multiple points around the foundation. After a significant storm, you may find that areas that previously had positive drainage now slope toward the house — especially near downspout discharge points, where erosion is most aggressive.
Swales, Ditches, and Surface Drainage Paths
Walk every swale, ditch, and drainage pathway on your property. These features are designed to collect and convey water, and storms often overwhelm or damage them. Look for:
- Sediment deposits: Silt, sand, or gravel that has accumulated in the swale bottom, reducing its capacity
- Erosion of swale banks: Widening or deepening that indicates the flow exceeded the swale's design capacity
- Debris dams: Branches, leaves, or trash that created temporary blockages, causing water to overtop the swale
- Standing water: Water that remains in the swale more than 24 hours after rain stops may indicate a blockage downstream or insufficient slope
- Channel migration: Evidence that water found a new path outside the intended swale alignment
Pay particular attention to any point where drainage from your property connects to a municipal system, a neighbor's property, or a natural waterway. Blockages at these transition points are extremely common after storms and can cause water to back up onto your property.
Interior Water Intrusion Investigation
Once you've assessed the exterior, move inside to evaluate whether storm water breached the building envelope. Interior flood inspection should be methodical, starting at the lowest point of the structure and working upward.
Basement and Crawl Space
The basement or crawl space is the most likely point of water entry during a storm event. Even if you don't see standing water, look for these signs of intrusion:
- High-water marks: Lines of sediment, staining, or debris on walls that indicate the maximum water level reached
- Efflorescence: White, chalky mineral deposits on concrete or masonry walls that indicate moisture migration through the wall
- Damp or wet carpet, drywall, or insulation: Check behind furniture and stored items against exterior walls
- Sump pump operation: If you have a sump pump, check whether it ran during the storm. Most modern pumps have a cycle counter or can be checked by examining the discharge line for recent flow. If the pump ran continuously, that's important diagnostic data about groundwater pressure
- Floor cracks with moisture: Hairline cracks in basement slabs are common, but if they're wet or show signs of water seepage, the hydrostatic pressure during the storm exceeded the slab's resistance
- Odor: A musty or earthy smell in a previously dry basement is a strong indicator of moisture intrusion, even if visible water has already receded
In crawl spaces, check the vapor barrier (if present) for displacement, tears, or pooling water on top of the barrier. Examine the bottom of floor joists and subflooring for moisture, staining, or early signs of mold. Use a moisture meter if you have one — wood moisture content above 19% indicates a problem that needs attention.
Main Living Areas and Upper Floors
While less common, storm-driven water can enter upper portions of the home through wind-driven rain, roof leaks, or failed window and door seals. Check:
- Window sills and frames: Look for water staining, bubbling paint, or soft drywall beneath windows, especially on the windward side of the house during the storm
- Ceiling stains: New discoloration on ceilings, particularly near roof penetrations (vents, chimneys, skylights)
- Attic: If safe to access, check the underside of the roof decking for moisture, daylight penetration, or displaced shingles visible from inside
- Door thresholds: Exterior doors, especially sliding glass doors and garage doors, are common entry points for wind-driven rain and surface flooding
Document every finding with photographs that include context — wide shots showing the location within the room, and close-ups showing the specific damage. Include a ruler or common object for scale when photographing cracks, stains, or erosion features.
Landscape and Yard Damage Evaluation
Beyond the immediate foundation area, the broader landscape of your property tells a detailed story about how storm water moved across the site. This evaluation is critical for understanding whether your property's overall drainage design is adequate.
Erosion Mapping
Walk the entire property and identify every location where erosion occurred. Classify each erosion feature:
- Sheet erosion: A thin, uniform layer of topsoil removed over a broad area. This is subtle but significant — it indicates overland flow across areas that should be absorbing water
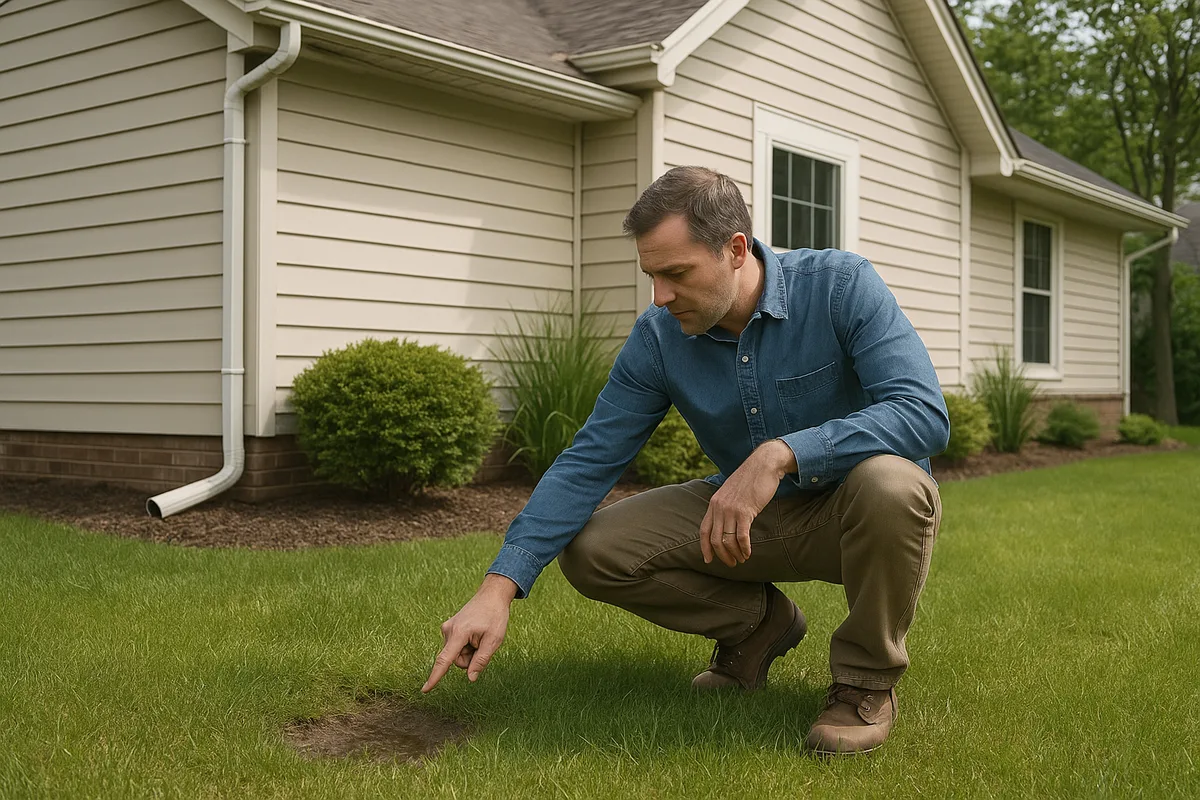
- Rill erosion: Small channels (less than 4 inches deep) carved by concentrated flow. These indicate flow paths that need to be addressed with grading or vegetation
- Gully erosion: Channels deeper than 4 inches that cannot be repaired by simple regrading. Gullies indicate serious concentrated flow problems that may require engineered solutions like French drains, catch basins, or rip-rap channels
- Headcut erosion: An upstream-progressing erosion feature where a vertical or near-vertical face is migrating upslope. This is particularly dangerous near foundations, retaining walls, or slopes
For each erosion feature, note its location, approximate dimensions, and the direction of flow. This information is essential for designing effective repairs and preventing recurrence.
Sediment Deposition Analysis
Where erosion removes soil, sediment deposition tells you where that soil went. Look for:
- Sediment fans: Fan-shaped deposits of soil at the base of slopes or at the outlets of drainage channels
- Sediment in window wells: A clear indicator that surface drainage is directed toward the foundation
- Blocked drain inlets: Catch basins, area drains, or channel drains that are partially or fully buried in sediment
- Sediment on hardscape: Soil deposits on driveways, sidewalks, and patios indicate overland flow paths
- Sediment in neighboring properties: If your soil ended up on a neighbor's property, you may have both a drainage problem and a liability issue
Vegetation Damage and Soil Saturation
Saturated soils and prolonged ponding kill turf and landscape plants. After a storm, map areas where:
- Grass is flattened in a consistent direction (indicates flow direction and velocity)
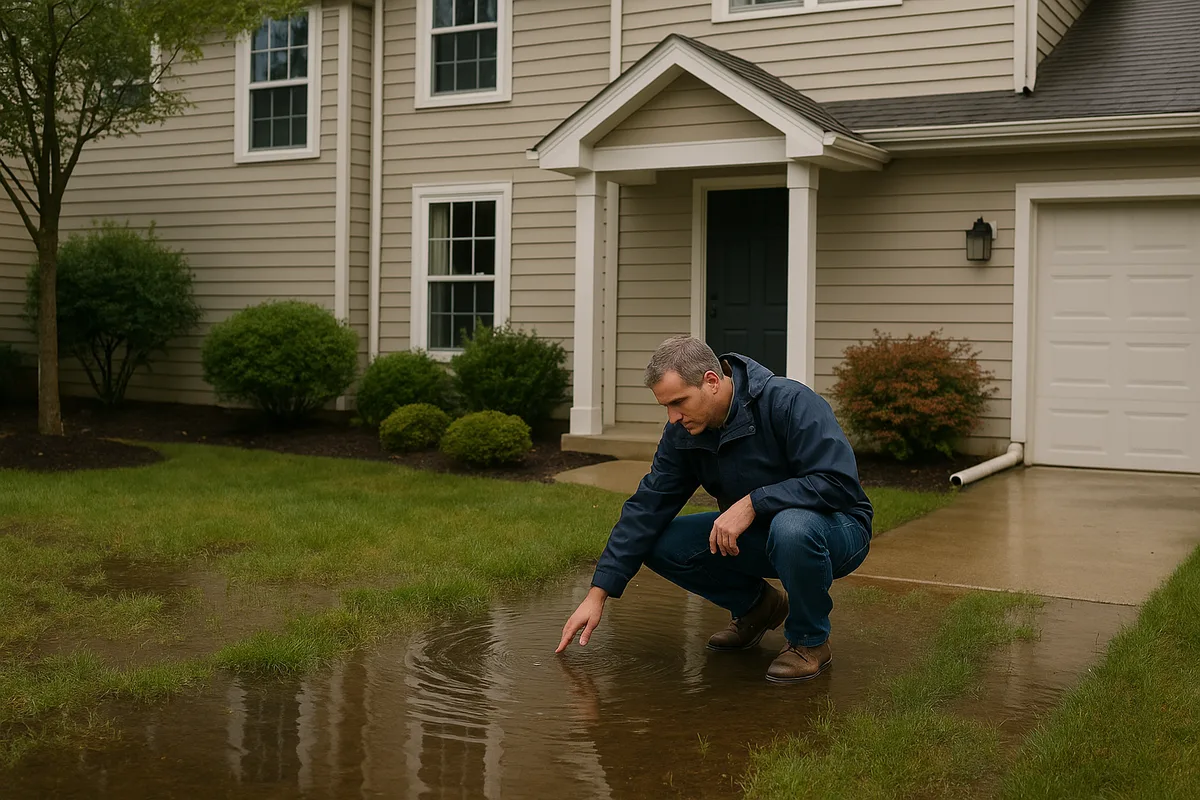
- Standing water persists more than 24 hours after rainfall ends
- Soil is spongy or squishes underfoot, indicating saturation well below the surface
- Trees are leaning or have lifted root plates (indicating soil failure around the root zone)
- Mulch has floated and redistributed, often accumulating against fences, walls, or in low spots
These observations help you identify the true low points on your property — the areas where water naturally collects. This is exactly the kind of topographic drainage intelligence that drives effective remediation planning.
Documenting and Prioritizing Your Findings
A post-storm inspection is only valuable if the findings are properly documented and organized into an actionable plan. Haphazard notes and a few random photos won't serve you well when talking to contractors, insurance adjusters, or municipal officials.
Creating a Post-Storm Property Report
Organize your findings into a structured report with the following sections:
- Storm event details: Date, duration, estimated rainfall (check local weather stations or NOAA Atlas 14 for precipitation data), wind speed and direction, and any flooding or flash flood warnings that were issued
- Exterior drainage findings: Gutter and downspout condition, foundation grading measurements, swale and ditch conditions, erosion locations and severity
- Interior water intrusion findings: Location, extent, and estimated volume of any water entry
- Landscape damage: Erosion map, sediment deposition locations, vegetation damage, standing water areas
- Photographic evidence: Organized by location with timestamps
- Priority ranking: Categorize each finding as emergency (address within 24-48 hours), urgent (address within 1-2 weeks), or planned (address within 1-3 months)
Priority Classification Framework
Emergency priorities include any condition that poses an immediate threat to the structure or safety:
- Active water intrusion into the building
- Foundation grading that now slopes toward the house
- Blocked drainage that is causing water to pond against the foundation
- Compromised retaining walls on slopes above the house
- Sump pump failure or overwhelmed sump system
Urgent priorities are conditions that will worsen with the next rain event:
- Erosion gullies on slopes
- Displaced downspout extensions
- Sediment-blocked drain inlets
- Damaged swales or ditches
- Exposed soil without vegetation or mulch cover
Planned priorities are conditions that need attention but can be scheduled:
- Sheet erosion requiring topsoil replacement and reseeding
- Minor grading adjustments in areas away from the foundation
- Gutter cleaning and maintenance
- Landscape restoration
- Long-term drainage improvements identified by the storm's diagnostic data
Insurance Documentation
If you plan to file an insurance claim, your documentation needs to meet specific standards. Photograph everything before you make any repairs, including temporary fixes. Note the date and time of each photo. Keep receipts for any emergency materials purchased (sandbags, tarps, sump pumps). Most homeowner's insurance policies require you to mitigate ongoing damage — meaning you should take reasonable steps to prevent further harm — but they also require documentation of the original condition.
Be aware that standard homeowner's insurance typically does not cover flood damage. Flood damage requires a separate National Flood Insurance Program (NFIP) policy or private flood insurance. If your damage was caused by surface water flooding rather than, say, a roof leak or plumbing failure, your standard policy may deny the claim. Understanding this distinction before you file can save significant frustration.
Using Storm Data to Improve Long-Term Drainage
A storm event is an unwelcome but incredibly valuable diagnostic tool. The data you collect during your post-storm inspection should inform long-term improvements to your property's drainage system, not just immediate repairs.
Identifying Systemic Drainage Failures
Look beyond individual damage points to identify patterns. If erosion occurred along the entire east side of your property, the problem isn't a single failed swale — it's a systemic grading issue on that side. If water entered your basement through multiple points, the issue likely isn't a single crack but rather overall hydrostatic pressure from inadequate perimeter drainage.
Common systemic failures revealed by storms include:
- Undersized conveyance: Swales, pipes, or channels that are too small for the actual runoff volume. This is especially common in properties where impervious surfaces (driveways, patios, additions) have been added since the original drainage was designed
- Insufficient slope: Areas where the grade is technically positive (away from the foundation) but too flat to move water effectively. The minimum recommended slope of 2% (1/4 inch per foot) is often insufficient during intense rainfall — 5% or greater provides much better performance
- Missing drainage infrastructure: Properties that rely entirely on surface grading without any subsurface drainage components (French drains, curtain drains, foundation drains) are vulnerable to any storm that exceeds the surface system's capacity
- Disconnected systems: Drainage components that don't connect to each other or to an adequate outlet. A French drain that terminates in a low spot on the property simply relocates the problem
Leveraging Topographic Data
Understanding the precise topography of your property is essential for designing effective drainage solutions. While a storm event shows you where water goes in real time, detailed elevation data lets you understand why it goes there and how to redirect it.
The USGS 3D Elevation Program (3DEP) provides high-resolution elevation data for much of the United States, and this data can be used to generate detailed topographic maps of your property and surrounding area. At Low Point Labs, we use this type of data — combined with property-specific analysis — to identify every low point, flow path, and drainage divide on a property, giving homeowners a complete picture of their drainage landscape.
Planning Improvements Based on Storm Performance
Use your storm observations to design improvements that address actual performance, not theoretical conditions:
- Where water ponded: These are confirmed low points that need either regrading to eliminate the depression or installation of a drain inlet connected to a positive outlet
- Where erosion occurred: These are confirmed flow paths that need either velocity reduction (check dams, vegetation, rip-rap) or proper channelization (lined swales, pipe systems)
- Where water entered the building: These are confirmed failure points in the building envelope's water management system that need specific remediation — exterior waterproofing, drain tile installation, grading correction, or window well drainage
- Where the system worked: Equally important — identify the areas where drainage performed well during the storm. These are your reference points for what "good" looks like on your specific property, and they can inform the design standard for improvements elsewhere
When to Call a Professional
While homeowners can and should conduct their own post-storm inspections, certain conditions require professional evaluation. Knowing when to call for help — and what kind of help to call — can save you from costly mistakes.
Structural Concerns
If you observe any of the following, contact a structural engineer before attempting repairs:
- New cracks in the foundation wider than 1/4 inch
- Horizontal cracks in basement walls (indicating lateral soil pressure)
- Doors or windows that no longer open or close properly (indicating structural movement)
- Visible shifting of the foundation, porch, or attached structures
- Leaning or bulging retaining walls, especially those taller than 4 feet
Drainage Engineering
For drainage problems that go beyond simple grading adjustments, a civil engineer or drainage specialist should be consulted. This includes:
- Properties where water from neighboring lots or public rights-of-way is contributing to the problem
- Sites requiring subsurface drainage systems (French drains, curtain drains, foundation drain tile)
- Properties with slopes steeper than 4:1 that showed erosion or instability
- Any situation where redirecting drainage might affect neighboring properties (which can create legal liability)
- Properties in floodplains or near wetlands, where regulatory requirements may apply
Mold and Environmental Hazards
If interior flooding occurred, mold can begin growing within 24 to 48 hours in warm, humid conditions. If you see or smell mold, or if flooding affected more than a small area, contact a certified mold remediation professional. Do not attempt to dry out large flooded areas with consumer-grade equipment — inadequate drying is worse than no drying at all, because it creates the warm, humid conditions mold thrives in while giving a false sense of security.
Professional Drainage Assessment
A professional drainage assessment goes far beyond what a visual inspection can reveal. Using topographic data, soil analysis, and hydrologic modeling, a drainage professional can quantify exactly how much water your property receives during various storm events, map every flow path and collection point, and design solutions sized to handle specific design storms.
This is the difference between reactive repairs — fixing what broke — and proactive drainage design that prevents failures before they occur. Every storm event is an opportunity to learn from your property's performance and invest in improvements that will protect your home for decades.
Building Resilience for the Next Storm
The goal of a post-storm drainage evaluation isn't just to fix what's broken — it's to build a property that performs better during the next event. Climate data shows that intense rainfall events are becoming more frequent in many parts of the United States, which means drainage systems designed for historical norms may be increasingly inadequate.
Start with the highest-priority items identified in your inspection and work through the list systematically. For each repair or improvement, ask: "Will this solve the problem for the next storm of similar intensity, or do I need to design for something larger?" In most cases, the incremental cost of oversizing a drainage improvement is small compared to the cost of having it fail again.
Maintain a property drainage file that includes your post-storm inspection reports, photographs, any professional assessments, repair receipts, and before-and-after documentation of improvements. This file becomes increasingly valuable over time — it tells the complete story of your property's drainage performance and the investments you've made to improve it.
At Low Point Labs, we believe that every homeowner deserves to understand how water moves across their property — not just during a catastrophic event, but every time it rains. Our topographic drainage intelligence services provide the detailed, data-driven analysis that transforms reactive storm damage repair into proactive property protection. If a recent storm has revealed drainage problems on your property — or if you want to understand your vulnerabilities before the next one hits — explore our drainage assessment services and take the first step toward a more resilient property.
See Drainage Intelligence in Practice
Talk with our team or request an invitation to the platform.
Frequently Asked Questions
Ideally, conduct your initial visual inspection within 24 hours of the storm ending, once it's safe to go outside. Some signs like standing water and active erosion are only visible in the first day or two. However, wait until floodwaters have fully receded and confirm there are no downed power lines or structural hazards before walking the property.
The most common signs include ponding marks or sediment rings against the foundation wall, erosion channels directing water toward the house, displaced mulch in foundation beds, mud splash marks on lower siding, and wet or damp basement walls. Any of these indicate that the grading or drainage system failed to move water away from the structure during the storm.
Standard homeowners insurance typically covers sudden, accidental damage to the structure but generally does not cover landscape damage, grading repairs, or drainage system improvements. Flood damage requires a separate flood insurance policy. Review your specific policy and document all damage thoroughly before filing any claim.
Water should not stand in your yard for more than 24 hours after rainfall stops. If water remains pooled after 24 hours, it indicates either a grading low point with no outlet, poor soil permeability, or a blocked drainage feature. Persistent standing water within 10 feet of your foundation is an urgent concern that should be addressed before the next rain event.
Yes. Intense storms can erode soil, deposit sediment, carve new drainage channels, and alter the grade around your foundation. These changes are often permanent unless actively corrected. A storm that creates a new low point or erosion gully has effectively re-engineered your property's drainage, and the problem will compound with each subsequent storm.
Most residential drainage systems are designed to handle a 10-year, 24-hour storm event, which varies by location but typically ranges from 3 to 7 inches of rain. However, increasingly intense rainfall patterns mean many older systems are undersized. Check NOAA Atlas 14 for the specific precipitation frequency data for your area to understand what storm intensities your property should be prepared for.
Related Articles
How to Diagnose Yard Drainage Problems on a Site Walk
What Is a Drainage Assessment and Why Do You Need One?