Preparing Your Property's Drainage Before Rainy Season: A Complete Guide
Every year, the pattern repeats: the first heavy rains arrive, and homeowners across the country scramble to deal with flooded basements, saturated yards, and erosion damage that could have been prevented with a few hours of proactive work. Rainy season prep isn't glamorous, but it's one of the most cost-effective forms of home maintenance you can perform. Proper storm drainage preparation protects your foundation, preserves your landscaping, prevents mold and moisture intrusion, and can save you tens of thousands of dollars in repair costs over the life of your home.
The window for preparation is right now — before the ground is saturated and the storms are rolling in. Whether you're in the Pacific Northwest bracing for months of steady rain, in the Southeast anticipating hurricane season remnants, or anywhere in between dealing with seasonal wet weather, this guide walks you through a systematic, expert-level approach to getting your property's drainage ready.
Understanding Why Pre-Season Drainage Preparation Matters
Water is the single most destructive force acting on residential properties. According to insurance industry data, water damage claims are among the most frequent and costly homeowner claims filed each year, and a significant percentage of those claims stem from preventable surface water and drainage issues — not catastrophic floods, but the slow, persistent failure of drainage systems to move water away from structures.
The reason rainy season prep is so critical is that drainage problems are cumulative and progressive. A minor grading issue that allows water to pool near your foundation during a light rain becomes a serious hydrostatic pressure problem during sustained wet weather. A partially clogged downspout that seems fine during a 15-minute shower becomes a point-source erosion machine during a 3-hour storm. Small problems compound rapidly when the volume and frequency of precipitation increase.
There's also a practical timing consideration. Once the rainy season begins, the ground becomes saturated, making excavation and grading work far more difficult, expensive, and potentially damaging to your landscape. Contractors are busier responding to emergencies, lead times increase, and you lose the advantage of working in dry, stable conditions. The ideal time for storm drainage preparation is during the dry weeks before your region's wet season begins — exactly the kind of proactive window you should be using right now.
Finally, understanding your property's drainage behavior requires observation during dry conditions. You can identify low spots, trace drainage paths, inspect infrastructure, and make corrections when the ground is firm and visible. Once everything is underwater or muddy, diagnostic work becomes guesswork.
Conducting a Full Property Drainage Audit
The foundation of effective rainy season prep is a thorough audit of your property's current drainage condition. This isn't a casual walk around the yard — it's a systematic inspection of every component that influences how water moves across, around, and away from your property.
Perimeter Grading Inspection
Start at your foundation and work outward. The single most important drainage feature on any residential property is the grade — the slope of the ground surface immediately adjacent to the foundation. The widely accepted standard is a minimum slope of 6 inches of fall over the first 10 feet away from the foundation walls, which translates to roughly a 5% grade. This ensures that surface water flows away from the structure rather than toward it.
Walk the entire perimeter of your home with a 4-foot level or, better yet, a laser level. Place the level perpendicular to the foundation wall and check the direction and degree of slope. Pay particular attention to:
- Areas where soil has settled near the foundation, creating negative grade (slope toward the house)
- Flower beds and mulch areas against the foundation where organic material has decomposed and lowered the surface
- Locations where hardscape meets the foundation, such as patios, walkways, and driveways that may have shifted or settled
- Utility penetrations where trenching for water lines, gas lines, or electrical conduits may have created settlement channels
Document every area where the grade is flat or slopes toward the foundation. These are your highest-priority correction zones.
Gutter and Downspout System Assessment
Your roof drainage system is the first line of defense in storm drainage preparation. A typical residential roof can collect hundreds of gallons of water during a single storm event — a 1,000-square-foot roof section receiving 1 inch of rain produces approximately 623 gallons of runoff. If that volume isn't properly captured and directed away from the foundation, it concentrates water exactly where you least want it.
Inspect every linear foot of gutter for:
- Debris accumulation: Leaves, pine needles, shingle granules, and organic matter that restrict flow
- Sagging or misaligned sections: Gutters should slope toward downspouts at approximately 1/16 inch per foot of run
- Joint separations and leaks: Check seams, end caps, and corner joints for gaps
- Corrosion or damage: Look for rust spots, holes, or sections crushed by ladders or falling branches
- Gutter capacity: Standard 5-inch K-style gutters handle most residential applications, but homes with large roof areas, steep pitches, or heavy tree cover may need 6-inch gutters
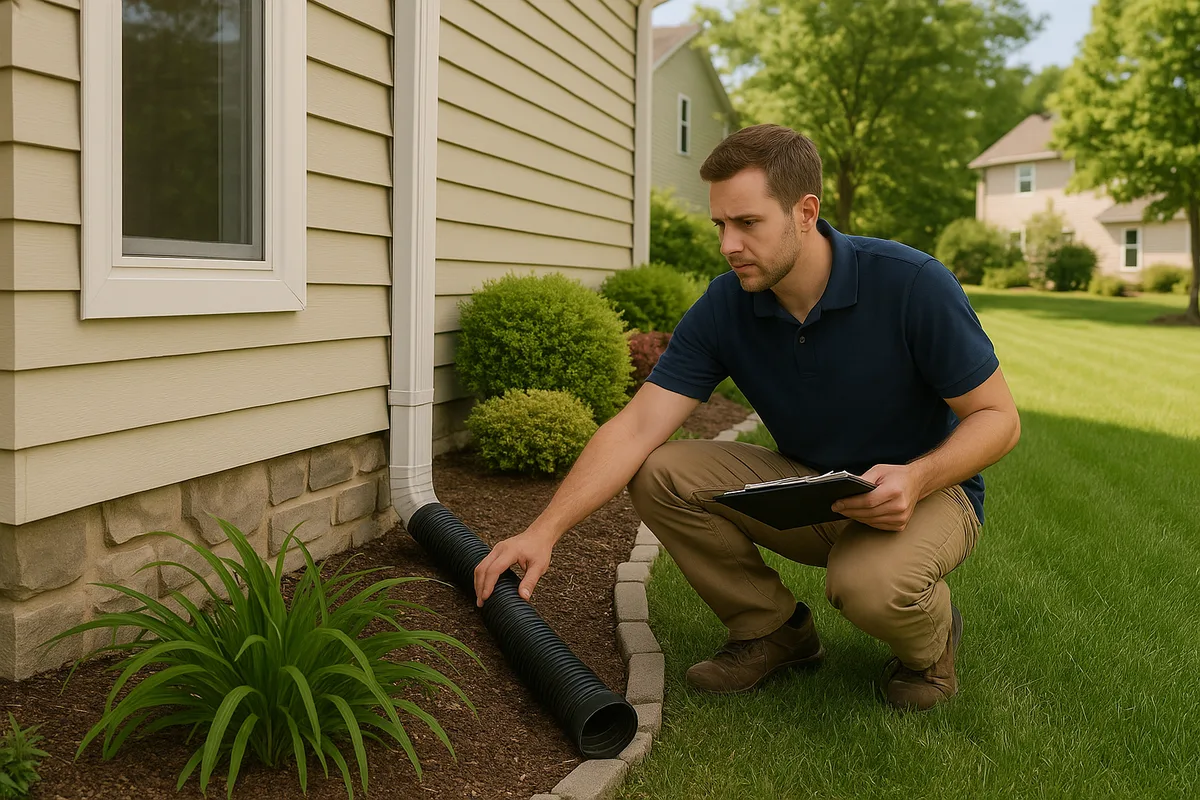
For downspouts, verify that each one has a functional extension or splash block that directs water at least 4 to 6 feet away from the foundation. Ideally, downspouts should discharge to a point where the natural grade continues to carry water away from the structure. Underground downspout drain lines should be flushed with a garden hose to confirm they're clear and draining to daylight or an appropriate discharge point.
Surface Drainage Path Mapping
Beyond the immediate foundation perimeter, trace the drainage paths across your entire property. Water follows the path of least resistance downhill, and understanding these flow paths is essential for identifying problem areas before the rains arrive.
Look for evidence of previous water flow: erosion channels, sediment deposits, areas of moss or algae growth, stained concrete or hardscape, and vegetation patterns that indicate consistently wet or dry zones. If you have access to topographic data for your property — even basic contour information — use it to identify natural drainage corridors and low points where water collects.
The USGS 3DEP (3D Elevation Program) provides high-resolution elevation data that can help homeowners and professionals understand the broader topographic context of a property, including how water flows from neighboring properties and public rights-of-way onto your land.
Cleaning, Repairing, and Upgrading Gutter Systems
With your audit complete, the gutter system is typically the first and most impactful place to begin your storm drainage preparation work. It's also the most accessible for most homeowners.
Thorough Gutter Cleaning
Clean every inch of gutter, not just the visible debris on top. Compacted sediment at the bottom of the gutter channel is a common and overlooked problem — it reduces effective capacity, holds moisture that accelerates corrosion, and provides a growing medium for seeds that can root and cause blockages. Use a gutter scoop or stiff brush to remove compacted material, then flush the entire system with a hose to verify flow.
Pay special attention to downspout inlets, which are the most common clog points. A gutter can be perfectly clean, but if the downspout inlet is partially blocked by a mat of leaves, water will back up and overflow at the connection point — often directly against the fascia board and foundation.
Sealing and Realigning
After cleaning, address any leaks or alignment issues. Gutter sealant (butyl-based products are preferred over silicone for longevity) can repair minor joint leaks and small holes. Sagging sections need re-secured hangers or additional hanger points — gutters should be supported every 24 to 36 inches, and closer spacing is better in areas with heavy rain or snow loads.
Verify proper slope by running water from a hose at the high end of each gutter run. Water should flow steadily toward the downspout without ponding anywhere along the run. If you see standing water in any section, adjust the hangers to restore proper pitch.
Downspout Extensions and Discharge Points
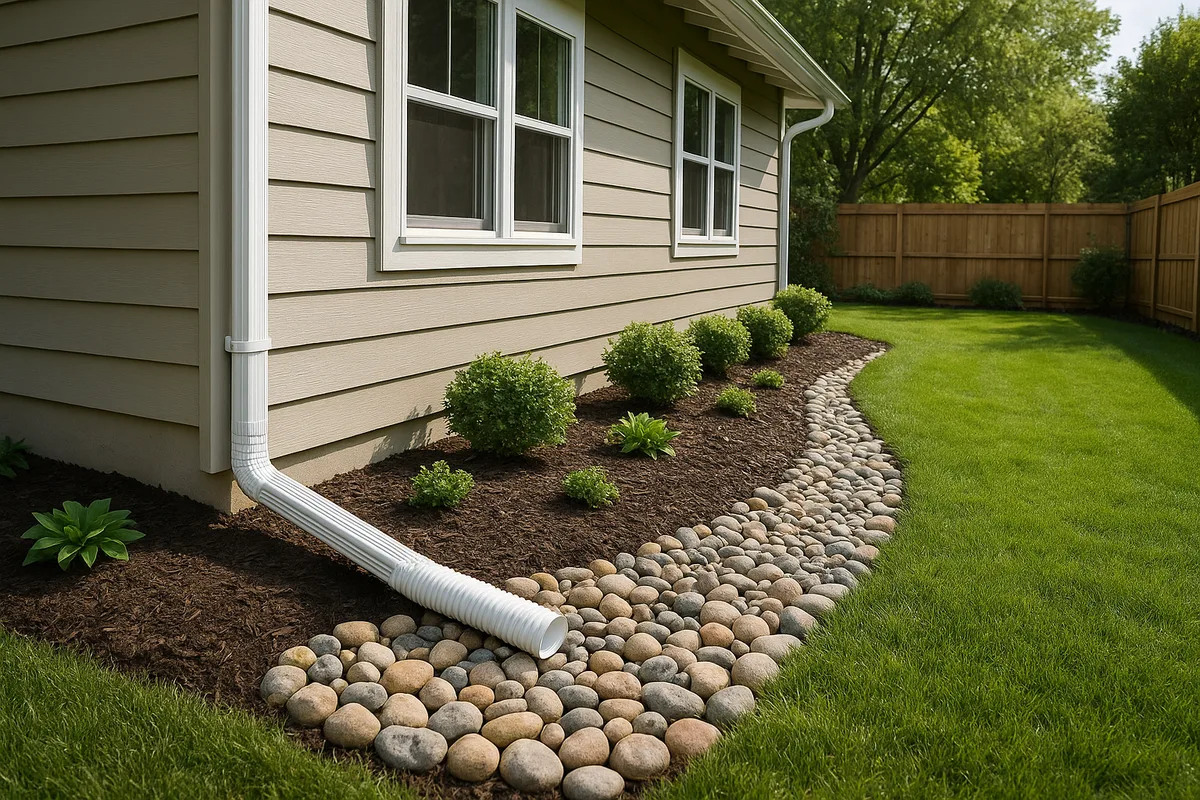
This is where many homeowners fall short. Even with clean, properly functioning gutters, if downspouts dump water right at the foundation, you've simply concentrated the problem. Every downspout should discharge water a minimum of 4 feet from the foundation, and 6 to 10 feet is strongly preferred.
Options for extending downspout discharge include:
- Rigid or flexible extensions: Simple and inexpensive, but can be tripping hazards and are often removed for mowing and never replaced
- Underground drain lines: PVC or corrugated pipe buried below grade that carries water to a pop-up emitter, dry well, or daylight outlet — the most reliable long-term solution
- Rain chains to catch basins: Aesthetic alternative that directs water into a controlled collection point
For underground lines, use solid (non-perforated) pipe with a minimum 1% slope to the discharge point. Avoid connecting multiple downspouts to undersized pipe — each downspout handling a significant roof area should have its own dedicated 4-inch line.
Correcting Grading and Surface Drainage Issues
Grading corrections are the most physically demanding aspect of rainy season prep, but they're also among the most impactful. Poor grading is the root cause of the majority of residential drainage problems, and no amount of gutter maintenance will compensate for ground that slopes toward your foundation.
Re-establishing Positive Grade
For areas where the grade has settled or was never properly established, the solution is adding compactable fill soil to build up the surface and re-establish proper slope away from the foundation. Use clean fill soil — not topsoil, which is too organic and will settle — and compact it in 2 to 3-inch lifts using a hand tamper or plate compactor.
The target is that 5% minimum slope (6 inches over 10 feet) away from all foundation walls. In areas where space is limited — such as narrow side yards between houses — you may need to create a swale (shallow, graded channel) to redirect water along the foundation wall to a point where it can be directed away.
When adding fill against the foundation, keep the soil level at least 6 inches below any wood framing, siding, or stucco to maintain the required clearance that prevents moisture damage and termite access.
Addressing Low Spots and Ponding Areas
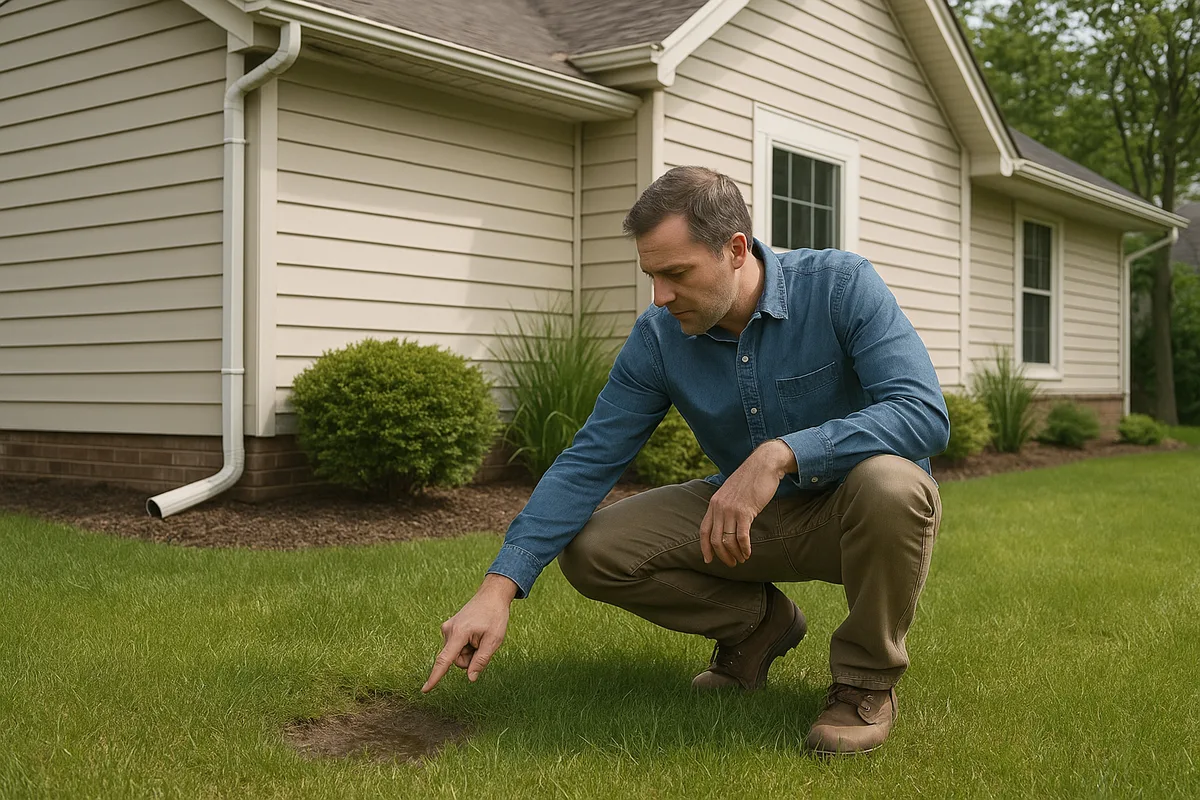
Low spots in the yard that collect standing water are both a nuisance and a potential source of foundation problems if they're close to the structure. Identify every area where water ponds after rain and determine the best correction:
- Fill and regrade: For shallow depressions, adding soil and establishing positive drainage toward a property edge, swale, or storm drain inlet
- Install a catch basin: For areas where regrading isn't practical, a catch basin (area drain) connected to an underground pipe can collect surface water and convey it to an appropriate discharge point
- Create a rain garden: For low spots that are away from the foundation and where slow infiltration is acceptable, a rain garden planted with water-tolerant species can manage stormwater while adding landscape value
- French drain installation: For subsurface water that surfaces in low areas, a French drain (perforated pipe in a gravel-filled trench) can intercept and redirect groundwater
Hardscape Drainage Corrections
Patios, walkways, and driveways are common culprits in residential drainage problems. When these surfaces settle or were installed without adequate slope, they can direct water toward the foundation or create ponding areas. Check all hardscape surfaces for proper drainage slope — a minimum of 1/4 inch per foot (approximately 2%) is standard for most flatwork.
For concrete surfaces that have settled, options include mudjacking (pumping a slurry beneath the slab to raise it), polyurethane foam injection, or in severe cases, removal and replacement. For paver surfaces, the advantage is that pavers can be pulled up, the base re-leveled, and the pavers reinstalled — a significant advantage over monolithic concrete.
Inspecting and Maintaining Subsurface Drainage Systems
Many properties have subsurface drainage infrastructure — French drains, curtain drains, footing drains, or underground downspout lines — that requires periodic maintenance to remain functional. These systems are out of sight and therefore out of mind, which is why they're often the first to fail.
French Drain and Curtain Drain Maintenance
French drains work by collecting water through perforated pipe surrounded by gravel, which allows water to enter the pipe and be conveyed to a discharge point. Over time, these systems can be compromised by:
- Sediment infiltration: Fine soil particles migrate into the gravel bed and pipe perforations, reducing flow capacity
- Root intrusion: Tree and shrub roots seek out the moisture in drain lines and can penetrate perforations and joints
- Crushed or collapsed pipe: Older corrugated pipe is susceptible to crushing under traffic or soil loads
- Clogged outlets: The discharge end of the drain can become buried, blocked by debris, or submerged if the discharge area has changed
To inspect a French drain, locate the outlet (daylight) end and run a garden hose into the upstream end or a cleanout if one was installed. Water should flow freely from the outlet within a reasonable time. If flow is significantly reduced or absent, the system may need professional cleaning with a hydro-jetter or, in worst cases, replacement.
For new installations or replacements, insist on rigid PVC perforated pipe (SDR 35 or Schedule 40) rather than flexible corrugated pipe, and ensure the system includes cleanout access points every 50 to 100 feet. The gravel bed should be wrapped in non-woven geotextile fabric to prevent soil migration — a step that dramatically extends the system's functional life.
Footing Drain Inspection
If your home has a perimeter footing drain (common in homes with basements or crawl spaces), this system is critical for preventing hydrostatic pressure buildup against the foundation walls. Footing drains typically discharge to a sump pit with a pump or to daylight at a lower elevation on the property.
Before the rainy season, test sump pumps by pouring water into the pit until the float switch activates. Verify that the pump runs, that the discharge line is clear and directed away from the foundation, and that the check valve is functioning to prevent backflow. Consider installing a battery backup sump pump if you don't already have one — power outages during storms are common, and a primary pump that can't run during the heaviest rain is worse than useless.
Checking Yard and Area Drains
Surface-level catch basins and area drains should be inspected and cleaned of debris. Remove grates and clear any accumulated sediment, leaves, or organic matter from the basin. Run water through the connected underground pipe to verify it's flowing freely to its discharge point. Replace any cracked or broken grates — an open drain basin is a safety hazard and an invitation for debris to enter and clog the system.
Managing Soil Conditions and Erosion Prevention
The condition of your soil plays a critical role in how effectively your property handles rainfall. Different soil types have dramatically different infiltration rates, and understanding your soil is an important part of comprehensive storm drainage preparation.
Understanding Your Soil's Drainage Capacity
The Natural Resources Conservation Service (NRCS) classifies soils into four hydrologic soil groups based on their infiltration and runoff characteristics:
- Group A: Sandy, well-drained soils with high infiltration rates and low runoff potential
- Group B: Moderately deep, moderately well-drained soils with moderate infiltration
- Group C: Soils with a layer that impedes downward movement of water, with slow infiltration
- Group D: Clay-heavy soils with very slow infiltration and high runoff potential
You can look up your property's soil classification using the NRCS Web Soil Survey, which provides detailed soil maps and data for properties across the United States. Knowing your soil group helps you understand whether your property will primarily handle rain through infiltration (Group A/B soils) or surface runoff (Group C/D soils), which directly influences the type and capacity of drainage infrastructure you need.
Compaction and Infiltration
Soil compaction is a widespread problem on residential properties, particularly in areas with foot traffic, vehicle parking, or recent construction activity. Compacted soil has dramatically reduced infiltration capacity — even sandy soils can behave like clay when severely compacted. Before the rainy season, consider aerating lawn areas that show signs of compaction (standing water, thin grass, hard surface). Core aeration — removing small plugs of soil — is more effective than spike aeration for improving infiltration.
For garden beds and landscape areas, adding organic matter (compost) and working it into the top several inches of soil improves both infiltration and moisture retention, reducing both runoff volume and erosion potential.
Erosion Control Measures
Any bare soil on your property is a potential erosion source during rainy season. Erosion doesn't just damage your landscape — it transports sediment that can clog drainage infrastructure, fill low spots, and create problems for neighboring properties.
Pre-season erosion prevention measures include:
- Mulching bare soil: A 2 to 3-inch layer of organic mulch dramatically reduces erosion by absorbing raindrop impact energy and slowing surface flow
- Establishing ground cover: If you have bare areas that will remain exposed through the wet season, seed with a fast-establishing ground cover or erosion control grass mix
- Installing erosion control blankets: For slopes or channels where vegetation isn't yet established, biodegradable erosion control blankets provide temporary stabilization
- Stabilizing drainage channels: Any concentrated flow paths should be stabilized with rock, riprap, or turf reinforcement to prevent channel erosion
- Protecting construction areas: If you have active construction or recently disturbed areas, install silt fence or fiber rolls at the downslope perimeter to capture sediment before it leaves your property
Addressing Specific Problem Areas and Vulnerable Zones
Certain areas of residential properties are consistently more vulnerable to drainage problems during wet weather. Targeting these zones during your rainy season prep yields the highest return on effort.
Window Wells and Below-Grade Openings
Basement window wells are notorious water entry points. Before the rainy season, verify that each window well has a functioning drain at the bottom (connected to the footing drain system or a dedicated drain line) and that the drain is clear. Window well covers — clear polycarbonate domes or flat grate-style covers — prevent debris and direct rainfall from entering the well. Ensure the surrounding grade slopes away from the well opening.
Garage and Driveway Drainage
Garages, particularly those at or below grade, are highly vulnerable to water intrusion during heavy rain. Check the garage floor slope (it should slope toward the door opening or a floor drain, not toward the interior of the house), verify that the driveway slopes away from the garage, and ensure that any driveway drains or trench drains are clear and functional.
For driveways that slope toward the garage, a trench drain (channel drain) installed across the driveway just outside the garage door is essential. These drains collect sheet flow from the driveway surface and redirect it before it enters the garage. Clean the drain channel and verify that the outlet pipe is flowing freely.
Retaining Walls and Slopes
Retaining walls are under increased stress during wet weather due to hydrostatic pressure from saturated soil behind the wall. Inspect retaining walls for signs of distress: leaning, bulging, cracked blocks or mortar joints, and displacement at joints. Verify that weep holes (drainage openings at the base of the wall) are open and not blocked by soil, mulch, or debris. If the wall was built with a drainage aggregate layer and drain pipe behind it, verify that the drain outlet is clear.
For slopes without retaining walls, check for signs of soil creep or shallow landslide activity: tilted trees or fence posts, cracked soil, bulging at the toe of the slope, or new seepage points. These conditions can worsen dramatically during sustained wet weather and may require professional geotechnical evaluation.
Neighbor and Upstream Drainage
Your property doesn't exist in isolation. Water from neighboring properties, streets, and upstream areas may flow onto your land. Before the rainy season, identify any points where off-site water enters your property and ensure you have adequate infrastructure to handle it. This might include swales, berms, or interceptor drains along property boundaries.
Be aware that in most jurisdictions, you cannot block or redirect natural drainage in a way that increases flow onto a neighbor's property. If you're dealing with significant off-site water, consult with a drainage professional or civil engineer to develop a solution that's both effective and legally compliant.
Creating a Rainy Season Maintenance Schedule
Preparation isn't a one-time event — it's the beginning of an ongoing maintenance cycle that continues throughout the wet season. Establishing a regular maintenance schedule ensures that your drainage systems continue to perform as the rains persist.
Pre-Season Checklist (Complete Before First Major Rain)
- Clean all gutters and downspouts thoroughly
- Verify gutter slope and repair any sagging sections
- Confirm all downspout extensions are in place and directing water away from the foundation
- Inspect and correct perimeter grading around the entire foundation
- Test sump pumps and backup systems
- Clear all surface drains, catch basins, and area drain grates
- Flush underground drain lines and verify outlet flow
- Inspect retaining walls and slopes for signs of distress
- Mulch bare soil areas and stabilize erosion-prone slopes
- Check window wells, garage drainage, and below-grade openings
- Trim tree branches overhanging gutters to reduce debris load
- Verify that irrigation systems are turned off or adjusted for wet season schedules
During-Season Maintenance
After each significant storm event, do a quick walkthrough of your property while it's still raining or immediately after the rain stops. This is the most valuable diagnostic opportunity you'll have — you can see exactly where water is flowing, where it's ponding, and where your systems are working or failing.
Look for:
- Gutter overflow points indicating clogs or capacity issues
- Erosion channels forming in previously stable areas
- New ponding areas that weren't present before
- Water flowing toward the foundation rather than away
- Sump pump cycling frequency (excessive cycling may indicate increased groundwater pressure)
- Seepage or moisture in basements, crawl spaces, or garages
Address any issues promptly — during the rainy season, problems escalate quickly. A minor erosion channel after one storm becomes a significant gully after three more.
Gutter Cleaning Frequency
During the rainy season, gutters may need cleaning monthly or even more frequently if your property has significant tree cover. Deciduous trees drop leaves in fall, but evergreens shed needles year-round, and both can quickly overwhelm gutter capacity. If you find yourself cleaning gutters constantly, consider installing gutter guards — micro-mesh designs offer the best balance of debris exclusion and water intake capacity.
Long-Term Drainage Improvements to Consider
While the focus of this guide is on pre-season preparation, your drainage audit may reveal issues that require more substantial improvements. Use the dry season to plan and execute these projects so they're in place and functional before the next wet season.
Grading and Earthwork Projects
If your property has fundamental grading problems — large areas of negative slope, significant low spots, or inadequate swale systems — a comprehensive regrading project may be necessary. This typically involves bringing in fill material, establishing proper slopes, and potentially installing new drainage infrastructure. For anything beyond minor grading corrections, consider hiring a licensed grading contractor who can ensure proper compaction and slope establishment.
French Drain and Curtain Drain Installation
If your audit reveals subsurface water issues — water seeping into basements, saturated soils in specific areas, or springs and seeps — a French drain or curtain drain system may be the appropriate solution. These systems intercept subsurface water before it reaches problem areas and redirect it to an appropriate discharge point. Proper design requires understanding the water source, soil conditions, and available discharge locations.
Dry Wells and Infiltration Systems
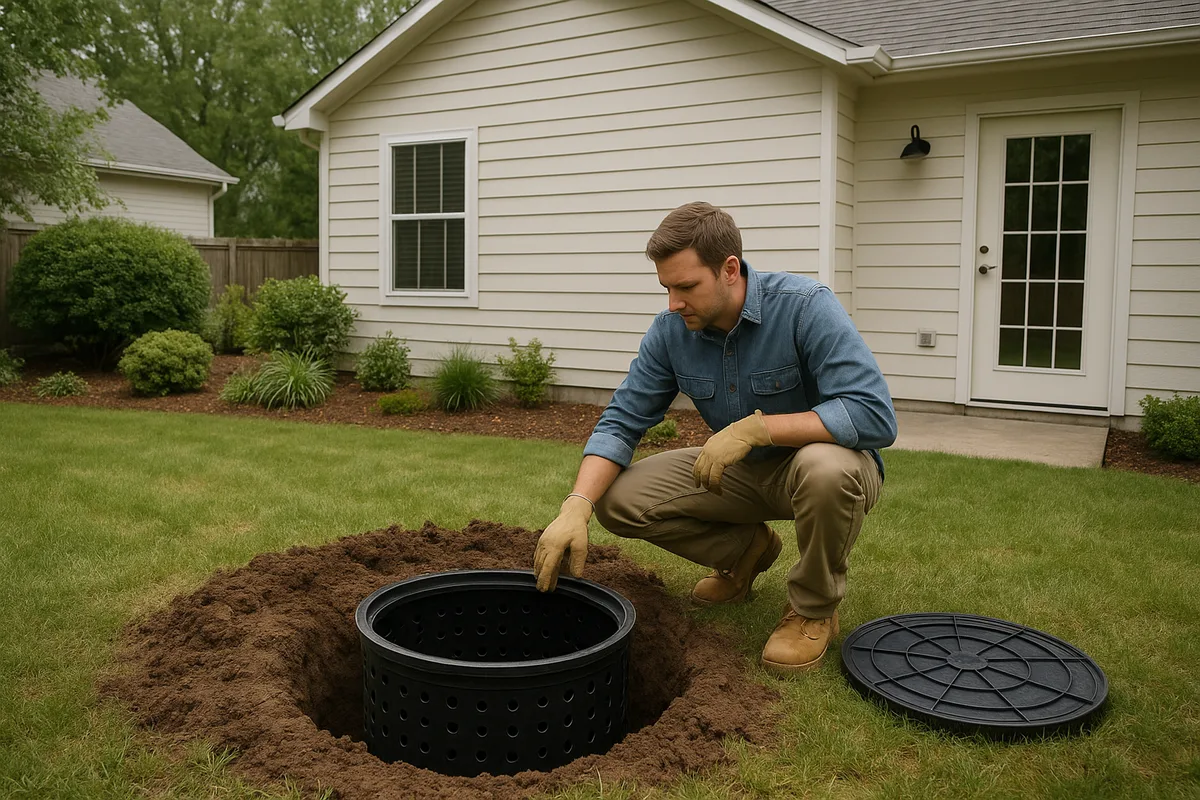
For properties where there's no convenient discharge point for collected stormwater (no storm sewer access, no lower-elevation outlet), dry wells and infiltration chambers can provide on-site stormwater disposal. These systems collect runoff and allow it to slowly infiltrate into the surrounding soil. They work best in Group A and B soils and are less effective in clay-heavy Group C and D soils. Local regulations may govern the use and sizing of infiltration systems.
Permeable Paving and Green Infrastructure
Replacing impervious surfaces (standard concrete or asphalt) with permeable alternatives reduces runoff volume and peak flow rates. Permeable pavers, pervious concrete, and gravel systems allow rainfall to infiltrate through the surface rather than running off. Rain gardens, bioswales, and other green infrastructure elements can be integrated into your landscape to manage stormwater naturally while enhancing your property's appearance and ecological value.
These approaches align with modern stormwater management best practices that emphasize managing rainfall where it falls rather than simply conveying it off-site as quickly as possible. Many municipalities now encourage or even require these techniques for new construction and major renovations.
Taking Action Before the First Storm
The most important thing about storm drainage preparation is that it happens before you need it. Every item on your pre-season checklist is easier, cheaper, and more effective when completed in dry conditions. The cost of a weekend spent cleaning gutters, checking grades, and flushing drain lines is trivial compared to the cost of a single water intrusion event — foundation repairs, mold remediation, damaged finishes, and ruined possessions.
Your property's drainage system is a network of interconnected components, from the roof to the soil, and each component depends on the others to function properly. A clean gutter is useless if the downspout dumps water against a foundation with negative grade. A perfect French drain is worthless if its outlet is clogged. Effective rainy season prep means addressing the entire system, not just the most visible parts.
Start with your audit, prioritize the highest-risk issues, and work through your checklist systematically. Document what you find and what you fix — this record becomes invaluable for future maintenance, for communicating with contractors, and for understanding how your property's drainage evolves over time. The rain is coming. The only question is whether your property is ready for it.
See Drainage Intelligence in Practice
Talk with our team or request an invitation to the platform.
Frequently Asked Questions
Ideally, begin drainage preparation 4 to 6 weeks before your region's wet season typically starts. This gives you time to complete inspections, order materials, schedule contractors if needed, and make corrections while the ground is dry and workable.
Place a 4-foot level on the ground perpendicular to your foundation wall. The ground should slope away from the house with at least 6 inches of fall over the first 10 feet (approximately 5% slope). If the level shows the ground is flat or sloping toward the house, you have a grading problem that needs correction.
Clean gutters thoroughly at least once before the rainy season begins, then inspect and clean them monthly during the wet season. Properties with heavy tree cover may require cleaning every 2 to 3 weeks. Installing micro-mesh gutter guards can significantly reduce cleaning frequency.
Signs of a failing French drain include standing water in areas the drain was designed to protect, soggy soil along the drain trench, water no longer flowing from the discharge outlet, and a return of basement moisture or seepage that the drain previously controlled. Flushing the system with a hose can help diagnose blockages.
Downspouts should discharge water a minimum of 4 feet from the foundation, but 6 to 10 feet is strongly recommended. The discharge point should be at a location where the natural ground slope continues to carry water away from the structure, not into a low spot that will pond near the house.
Most homeowners can handle gutter cleaning, downspout extensions, minor grading corrections, and drain clearing themselves. However, significant grading problems, French drain installation or repair, foundation drainage issues, and retaining wall concerns should involve a qualified drainage contractor or civil engineer to ensure proper design and execution.
Related Articles
Dry Wells Explained: When They Work and When They Fail
How to Diagnose Yard Drainage Problems on a Site Walk