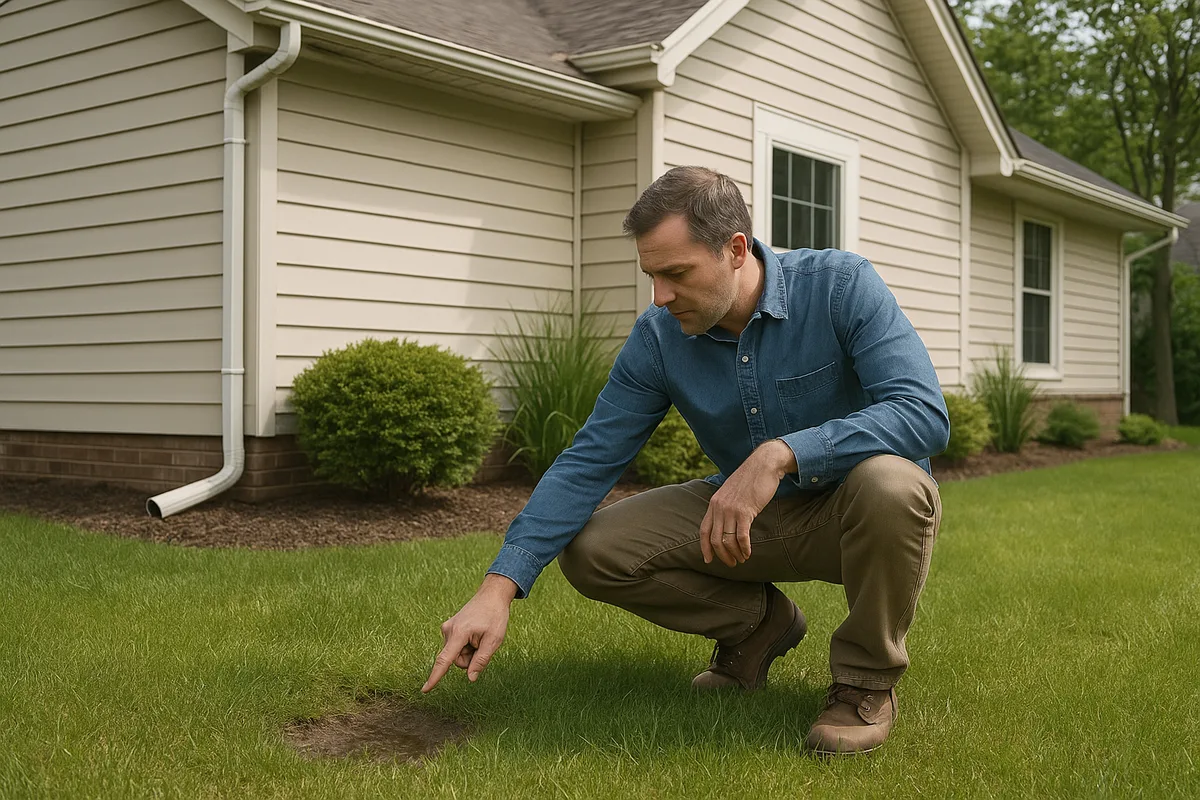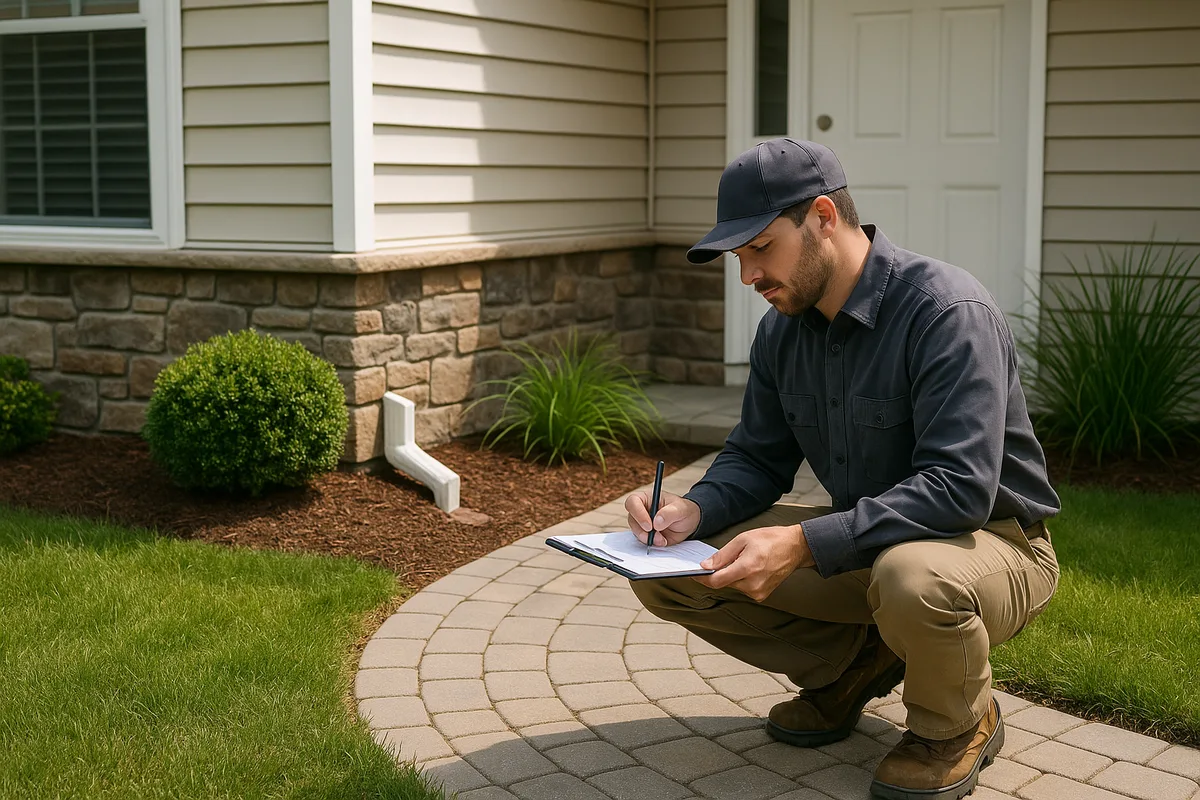
5 Steps to Standardize Your Landscaping Site Assessment Checklist
Every landscaping project begins long before a shovel hits the ground. It begins with observation, measurement, and documentation — the site assessment. Yet across the landscaping and land management industry, the quality of site assessments varies wildly from one contractor to the next, and even from one crew member to another within the same company. The difference between a profitable, well-executed project and a costly callback often comes down to whether the team used a standardized site assessment checklist backed by a clear SOP (standard operating procedure).
Without standardization, critical details slip through the cracks. A technician forgets to note the direction of surface runoff. A designer misses a low spot that collects standing water after every rain. A salesperson underestimates the grading work required because they eyeballed the slope instead of measuring it. These aren't hypothetical problems — they're the everyday reality for landscaping companies that rely on tribal knowledge instead of repeatable processes.
This guide walks you through five concrete steps to build, implement, and continuously improve a site assessment checklist that becomes the backbone of your operation. Whether you're a solo landscape designer, a multi-crew contracting firm, or a home inspector who evaluates drainage conditions, these steps will help you capture better data, deliver more accurate proposals, and protect your reputation.
Why Standardizing Your Site Assessment Checklist Matters
A site assessment checklist is more than a form to fill out — it's a decision-making framework. When every team member follows the same checklist in the same order, you get consistent data regardless of who conducts the assessment. That consistency has cascading benefits across your entire business.
Accuracy in estimating. Landscaping projects that involve grading, drainage correction, or stormwater management are notoriously difficult to estimate without thorough site data. A standardized checklist ensures you capture slope measurements, soil conditions, existing drainage infrastructure, and utility locations every single time. When your estimates are built on complete data, you reduce the risk of change orders and margin erosion.
Reduced liability. If a drainage installation fails or a retaining wall shifts, the first question an attorney or insurance adjuster will ask is: "What did your site assessment reveal?" Having a documented, standardized SOP demonstrates professional diligence. It shows that your company follows industry best practices and didn't cut corners during the evaluation phase.
Faster onboarding. When your site assessment process lives in one person's head, you can't scale. A written SOP with a corresponding checklist allows new hires to conduct competent assessments within days rather than months. The checklist becomes both a training tool and a quality control mechanism.
Better client communication. A thorough, standardized assessment gives you concrete data to share with homeowners. Instead of saying "your yard has some drainage issues," you can say "the grade along your north foundation wall has a negative slope of approximately 1.5%, directing water toward your basement rather than away from it." Specificity builds trust and justifies your pricing.
Step 1: Define the Scope and Categories of Your Checklist
Before you can standardize anything, you need to define what "complete" looks like. A site assessment checklist for landscaping and drainage work should cover distinct categories of information, each serving a specific purpose in project planning.
Core Assessment Categories
Start by organizing your checklist into logical sections. Based on industry best practices and our experience analyzing thousands of residential properties at Low Point Labs, we recommend the following framework:
- General Site Information — Property address, lot dimensions, orientation (compass direction the house faces), date of assessment, assessor name, weather conditions at time of visit, and recent precipitation history.
- Topography and Grading — Overall lot slope direction, grade percentages at key locations (foundation perimeter, driveway, walkways, property lines), identification of high points, low points, and drainage divides.
- Soil and Surface Conditions — Soil type (clay, loam, sand, or mixed), compaction level, evidence of erosion, presence of organic debris or thatch affecting infiltration, and any visible soil saturation.
- Existing Drainage Infrastructure — Downspout locations and discharge points, French drains, catch basins, channel drains, sump pump discharge lines, swales, and their current condition.
- Vegetation and Hardscape — Existing plant material (type, health, root zones), lawn areas, mulch beds, patios, retaining walls, fences, and any structures that influence water flow.
- Utilities and Easements — Marked utility locations, easement boundaries, septic system components (if applicable), and irrigation system layout.
- Water Behavior Observations — Evidence of ponding, staining on foundation walls, efflorescence, mold or mildew, gutter overflow marks, neighbor runoff contributions, and any homeowner-reported water issues.
- Regulatory and Environmental Notes — Proximity to wetlands, floodplain status, HOA restrictions, local stormwater ordinances, and setback requirements.
Tailoring to Your Services
Not every landscaping company needs every category. If you exclusively install patios and don't handle drainage, your checklist will look different from a company that specializes in stormwater management. The key is to define the categories that are relevant to the services you offer and then commit to capturing every data point within those categories on every visit. A checklist that's too long gets skipped; one that's too short misses critical information. Find the balance that matches your scope of work.
Consider using the NRCS Web Soil Survey as a pre-visit research tool to understand the dominant soil types on a property before you arrive. Knowing whether you're dealing with hydrologic soil group C (slow infiltration, clay-heavy) versus group A (high infiltration, sandy) fundamentally changes your drainage recommendations and should be noted on your checklist.
Step 2: Build the SOP That Governs How the Checklist Is Used
A checklist without a governing SOP is just a piece of paper. The SOP defines the how, when, and who behind every line item on the checklist. It transforms a static form into a living process.
What Your SOP Should Include
A well-constructed SOP for site assessments typically includes the following components:
- Purpose statement — Why this SOP exists and what it aims to achieve (e.g., "To ensure every site assessment captures the minimum data required for accurate project scoping, estimating, and design").
- Scope — Which types of projects require a full site assessment versus a modified or abbreviated version.
- Roles and responsibilities — Who is authorized to conduct assessments, who reviews completed checklists, and who is accountable for data accuracy.
- Pre-visit preparation — Steps to complete before arriving on site, such as reviewing aerial imagery, checking soil survey data, verifying utility locate requests, and confirming homeowner availability.
- On-site procedures — The specific order in which checklist items should be evaluated, required tools and equipment, measurement standards (e.g., "all slope measurements must be taken with a digital level or transit, not estimated visually"), and photo documentation requirements.
- Post-visit processing — How and where completed checklists are stored, who enters data into project management software, timelines for completing the assessment report, and handoff procedures to the design or estimating team.
- Quality control — How completed assessments are reviewed for completeness and accuracy, including random audits and peer reviews.
- Revision history — A log of changes made to the SOP over time, with dates and reasons for each revision.
Making the SOP Actionable
The most common failure point for SOPs is that they're written once, filed away, and never referenced again. To prevent this, embed the SOP into your daily workflow. Print the checklist on waterproof paper or load it into a tablet-based form. Make it a requirement that no estimate or proposal can be generated without an attached, completed site assessment checklist. Build the SOP review into your quarterly team meetings.
The SOP should also specify measurement standards with enough precision to be reproducible. For example, rather than saying "check the grade around the foundation," the SOP should state: "Measure the grade at four points along each side of the foundation, at distances of 2 feet and 10 feet from the foundation wall, using a 4-foot digital level. Record the slope percentage and direction. Flag any measurement showing less than the recommended 5% slope (approximately 6 inches of fall over 10 feet) away from the foundation."
Step 3: Integrate Measurement Tools and Technology
A standardized site assessment checklist is only as good as the data it captures, and data quality depends heavily on the tools used to collect it. Step 3 is about specifying the right tools for each checklist category and ensuring your team knows how to use them consistently.
Essential Field Tools
For most residential landscaping and drainage assessments, the following toolkit covers the majority of measurement needs:
- Digital level or smart level — For measuring slope percentages along foundation walls, across yards, and along drainage paths. Digital levels provide precise readings that eliminate the subjectivity of bubble levels.
- Laser level or transit — For establishing elevation relationships across larger areas, identifying high and low points, and verifying the grade of existing swales or drainage channels.
- Measuring tape and measuring wheel — For capturing distances between structures, property features, and drainage components.
- Soil probe or auger — For evaluating soil composition, compaction, and depth to restrictive layers (hardpan, clay lenses, or bedrock).
- Smartphone or tablet with camera — For geotagged photo documentation. Every assessment should include photos of key features, problem areas, and existing infrastructure, tagged with GPS coordinates and timestamps.
- Flagging tape and marking paint — For marking low points, drainage paths, utility locations, and other features that need to be referenced later during design or construction.
Leveraging Digital Platforms
Paper checklists work, but digital platforms offer significant advantages for standardization. Digital forms ensure that required fields can't be skipped, dropdown menus enforce consistent terminology, and submitted assessments are automatically timestamped and archived.
Consider building your site assessment checklist in a platform that supports conditional logic. For example, if the assessor selects "standing water observed" in the water behavior section, the form automatically expands to require additional fields: approximate area of ponding, estimated depth, duration (based on homeowner input), and proximity to the foundation. This kind of conditional logic enforces thoroughness without burdening the assessor with irrelevant fields on every project.
Topographic data is another area where technology can dramatically improve your site assessment checklist. Elevation datasets from sources like the USGS 3DEP (3D Elevation Program) provide high-resolution terrain models that can reveal drainage patterns invisible to the naked eye. At Low Point Labs, we use these datasets to generate drainage intelligence reports that show exactly where water flows across a property — information that supplements and validates field observations.
Standardizing Photo Documentation
Photos are arguably the most underutilized component of most site assessments. Your SOP should specify a minimum photo set for every assessment. A reasonable standard might include:
- Four photos of the foundation perimeter (one per side), taken from 15–20 feet away to show the grade relationship
- Close-up photos of any visible water damage, staining, or erosion
- Photos of all downspout discharge points
- Photos of existing drainage infrastructure (drains, swales, catch basins)
- An overview photo from the highest point on the property showing the general topography
- Photos of any neighboring properties or off-site features contributing runoff to the subject property
Standardizing the photo set ensures that the design team or estimator reviewing the assessment has the visual context they need, even if they never visit the site themselves.
Step 4: Train Your Team and Calibrate for Consistency
A checklist and SOP are only effective if the people using them understand both the what and the why. Training is the bridge between documentation and execution.
Initial Training Protocol
When rolling out a new or revised site assessment checklist, invest in hands-on training rather than simply distributing the document. Effective training should include:
- Classroom review — Walk through every section of the checklist and every step of the SOP. Explain the purpose of each data point. For example, explain that recording the hydrologic soil group isn't just academic — it directly determines whether a proposed rain garden will infiltrate water fast enough to function, or whether a French drain needs to be upsized.
- Field demonstration — Conduct a live site assessment at a training property with the entire team present. Have an experienced assessor walk through the process in real time, narrating their observations and measurements.
- Supervised practice — Have each team member conduct an independent assessment of the same property. Then compare results. This calibration exercise reveals inconsistencies in how different people interpret the checklist. If one assessor records a slope as 3% and another records it as 1%, you have a measurement technique problem that needs to be addressed before the SOP goes live.
- Certification — Require each assessor to complete a minimum number of supervised assessments before they're authorized to conduct assessments independently. This isn't bureaucratic overhead — it's quality assurance.
Ongoing Calibration
Calibration isn't a one-time event. Over time, even well-trained assessors develop habits and shortcuts that introduce variability. Schedule periodic calibration exercises — perhaps quarterly — where two assessors independently evaluate the same property and their results are compared. Significant discrepancies should trigger retraining on the relevant checklist sections.
Also create a feedback loop between field assessors and the teams that consume their data (designers, estimators, project managers). If a designer consistently finds that site assessments are missing information they need, that's a signal to update the checklist or retrain on specific sections. The SOP should include a formal process for submitting and reviewing these feedback requests.
Common Training Pitfalls
Be aware of several common pitfalls that undermine standardization:
- Assumption of knowledge. Don't assume that experienced landscapers understand drainage principles. Many skilled hardscapers and plant professionals have limited training in hydrology, grading, or soil science. Your SOP should include reference materials or quick-reference guides for technical concepts.
- Checklist fatigue. If the checklist is too long or cumbersome, field staff will start cutting corners. Design the checklist to be completable in a reasonable timeframe — typically 30 to 60 minutes for a standard residential property. If it consistently takes longer, streamline it.
- Inconsistent terminology. If one assessor writes "soggy area" and another writes "saturated zone" and a third writes "wet spot," your data becomes difficult to analyze across projects. The SOP should define standard terminology for common observations. Use dropdown menus in digital forms to enforce this.
Step 5: Review, Audit, and Continuously Improve
Standardization is not a destination — it's a discipline. The final step in building a reliable site assessment checklist and SOP is establishing a cycle of review, audit, and improvement that keeps your process current and effective.
Scheduled Reviews
Set a recurring schedule — at minimum annually, ideally semi-annually — to review the entire checklist and SOP. During these reviews, ask:
- Have we added new services that require additional assessment data points?
- Have we encountered project failures or callbacks that could have been prevented by capturing different or better site data?
- Have industry standards, local regulations, or building codes changed in ways that affect our assessment process?
- Is the checklist still completable within the target timeframe, or has scope creep made it unwieldy?
- Are there data points we consistently capture but never use? If so, consider removing them to keep the checklist lean.
Quality Audits
Implement a random audit program where a supervisor or quality manager reviews a sample of completed site assessments each month. The audit should evaluate:
- Completeness — Were all required fields filled in?
- Accuracy — Do the recorded measurements and observations align with what the property actually presents? (This may require occasional site revisits.)
- Photo documentation — Were the minimum required photos taken, and are they properly labeled and geotagged?
- Timeliness — Was the assessment completed and submitted within the SOP-defined timeframe?
Track audit results over time to identify trends. If completeness scores are declining, it may indicate checklist fatigue or inadequate training. If accuracy scores vary significantly between assessors, calibration exercises are needed.
Learning from Project Outcomes
The most valuable source of improvement data is project outcomes. After every completed project — especially those involving significant grading or drainage work — conduct a brief post-project review that connects the original site assessment to the final result. Ask:
- Did the site conditions match what the assessment predicted?
- Were there surprises during construction that a more thorough assessment could have anticipated?
- Did the drainage solution perform as designed during the first significant rain event?
Document these findings and feed them back into the checklist and SOP revision process. Over time, this creates a learning organization where every project makes the next one better.
Version Control
Every revision to the checklist or SOP should be version-controlled. Maintain a revision log that records what changed, why it changed, and when the change took effect. This is important for both quality management and liability protection. If a dispute arises about a project that was assessed under a previous version of the checklist, you need to be able to produce the exact version that was in use at the time.
Putting It All Together: A Sample Workflow
To illustrate how these five steps work in practice, here's a sample workflow for a landscaping company that has fully standardized its site assessment process:
- Lead intake. A homeowner contacts the company about a drainage problem. The office team gathers basic information and schedules a site assessment. Before the visit, they pull soil data from the NRCS Web Soil Survey, review aerial imagery, and check the property's flood zone status.
- Pre-visit preparation. The assigned assessor reviews the pre-visit data packet, loads the digital checklist on their tablet, and confirms that their field toolkit is complete (digital level, soil probe, measuring wheel, flagging tape, charged phone for photos).
- On-site assessment. The assessor follows the SOP step by step, working through each checklist category in the prescribed order. They measure slopes at the foundation perimeter, identify low points in the yard, note the condition of existing downspouts and drainage infrastructure, probe the soil in key areas, and document everything with geotagged photos.
- Post-visit processing. Back at the office, the assessor submits the completed digital checklist. The system automatically flags any incomplete required fields. The assessor uploads photos to the project file and writes a brief narrative summary of key findings.
- Quality review. A supervisor reviews the completed assessment within 24 hours, checking for completeness and flagging any data points that seem inconsistent or require clarification.
- Handoff to design/estimating. The reviewed assessment is forwarded to the design or estimating team, who use the standardized data to develop an accurate scope of work and proposal.
- Feedback loop. After the project is completed, the project manager notes any discrepancies between the assessment data and actual site conditions, submitting feedback through the SOP's formal improvement process.
This workflow transforms site assessment from an ad hoc activity into a systematic, repeatable process that produces reliable data every time.
The Competitive Advantage of Standardization
In a landscaping industry where many companies still rely on informal site visits and handwritten notes, a standardized site assessment checklist backed by a rigorous SOP is a genuine competitive advantage. It differentiates your company in several ways:
- Proposal accuracy. Your bids are based on measured data, not guesses. This means fewer surprises, fewer change orders, and healthier margins.
- Professional credibility. When you present a homeowner with a detailed, data-driven assessment report, you immediately distinguish yourself from competitors who show up, glance around, and quote a price.
- Scalability. Standardized processes allow you to grow without sacrificing quality. You can hire new assessors and get them productive quickly because the process is documented and teachable.
- Risk management. Documented assessments protect you in disputes, insurance claims, and warranty situations. They demonstrate that you exercised professional due diligence.
- Continuous improvement. A standardized process generates standardized data, which can be analyzed across projects to identify patterns, improve techniques, and refine your service offerings.
At Low Point Labs, we've seen firsthand how drainage intelligence transforms project outcomes. Our topographic drainage assessments provide the kind of precise, data-driven site analysis that serves as the foundation for any well-designed landscaping or drainage project. If you're looking to elevate your site assessment process — or if you're a homeowner who wants to understand exactly how water moves across your property before investing in landscaping — explore our drainage assessment services. The data you gather at the start of a project determines the quality of the result at the end.
See Drainage Intelligence in Practice
Talk with our team or request an invitation to the platform.
Frequently Asked Questions
A comprehensive site assessment checklist should include general site information, topography and grading measurements, soil conditions, existing drainage infrastructure, vegetation and hardscape inventory, utility locations, water behavior observations, and any regulatory or environmental notes. Each category should have specific, measurable data points rather than vague descriptions.
A thorough residential site assessment using a standardized checklist typically takes 30 to 60 minutes for a standard single-family property. Larger lots, properties with complex drainage issues, or sites requiring extensive soil probing may take longer. The key is to be thorough without rushing through critical measurements.
An SOP (standard operating procedure) is a documented process that defines exactly how site assessments should be conducted, including pre-visit preparation, on-site measurement techniques, photo documentation requirements, and post-visit data processing. It ensures every team member follows the same process, producing consistent, reliable data regardless of who conducts the assessment.
Essential tools include a digital level for measuring slope percentages, a measuring tape or wheel for distances, a soil probe or auger for evaluating soil conditions, a smartphone or tablet for geotagged photo documentation, and flagging tape for marking key features. A laser level or transit is also valuable for establishing elevation relationships across larger areas.
Review your checklist and SOP at least annually, though semi-annual reviews are ideal. Update whenever you add new services, encounter project issues that better data could have prevented, or when local regulations change. Track version changes in a revision log for quality management and liability protection.
Conduct calibration exercises where multiple assessors independently evaluate the same property, then compare results. Discrepancies reveal training gaps or ambiguous checklist language that needs to be clarified. Use digital forms with dropdown menus to enforce standard terminology, and implement random quality audits of completed assessments each month.
Related Articles
How to Calculate a Catchment Area Without Spending Hours on Google Earth
How to Use Visuals to Help Customers Understand Their Property