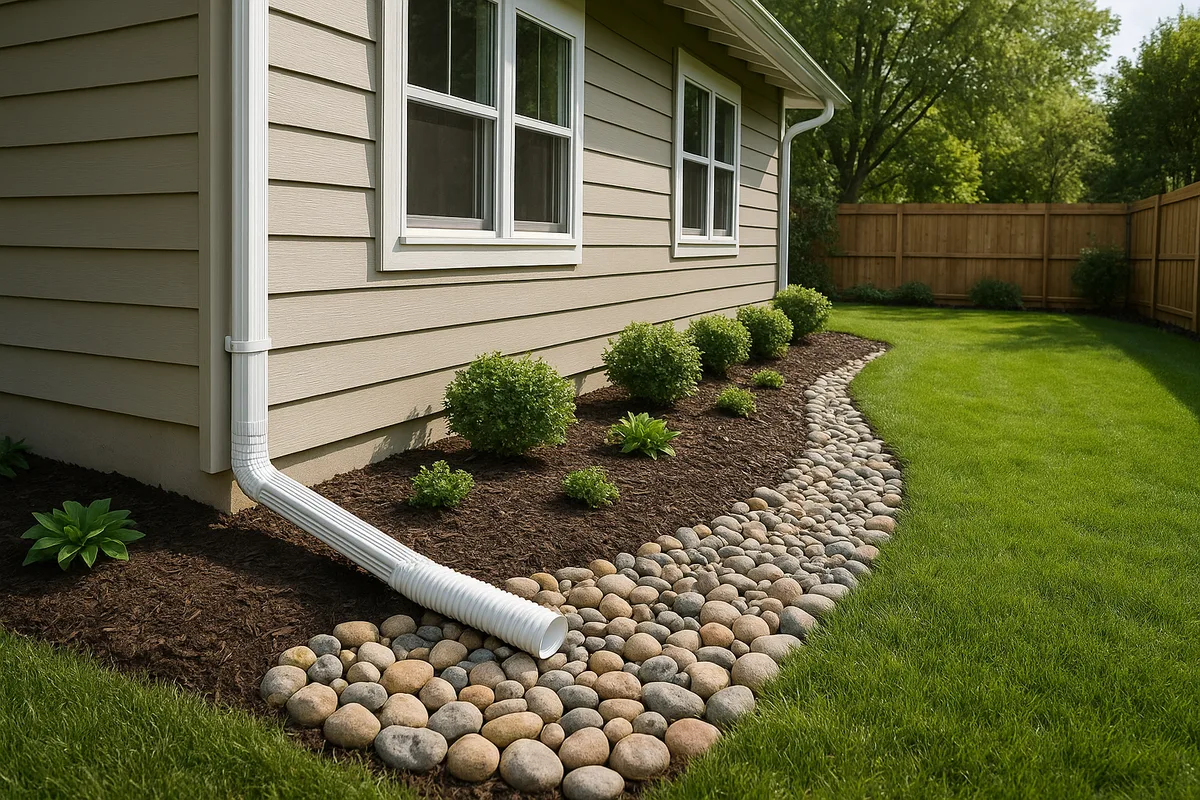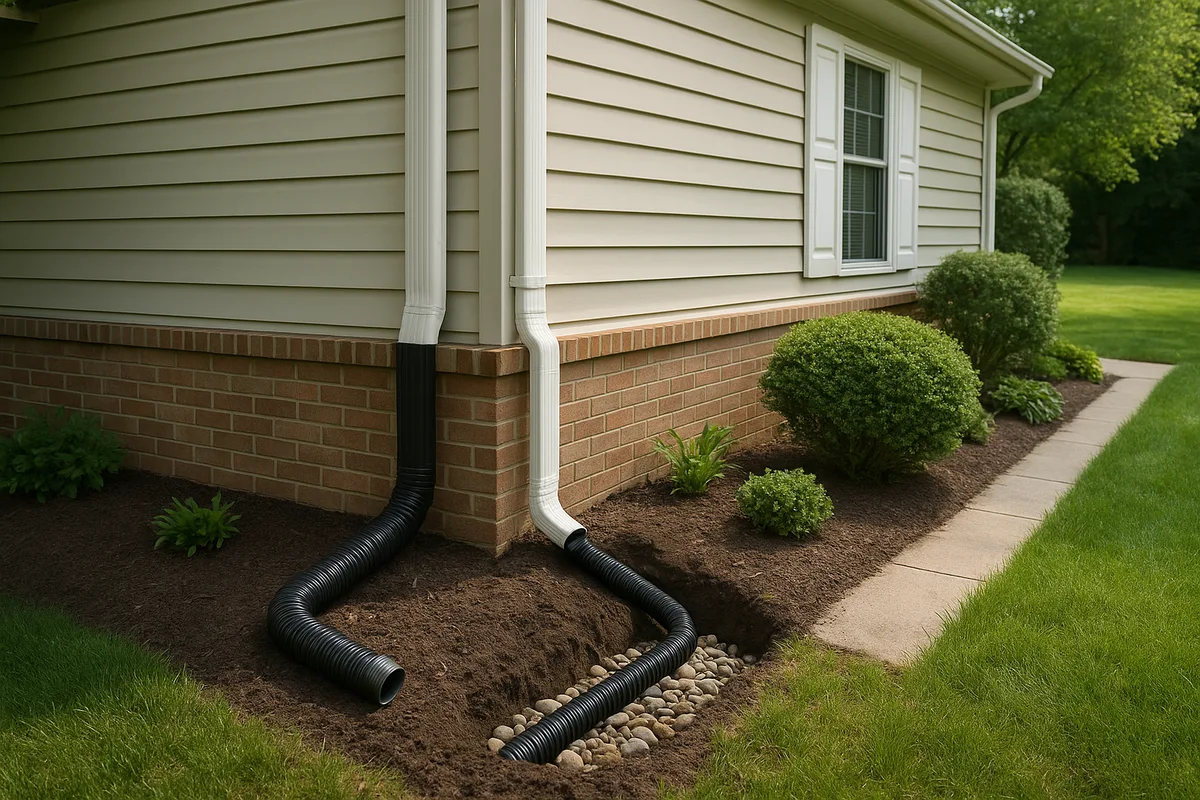
Buried Downspouts: How to Route Roof Water Away From Your Foundation
Your roof is the largest impervious surface on your property. During a moderate rainstorm, a 2,000-square-foot roof can shed over 1,200 gallons of water in a single hour. If your gutters dump that volume right next to your foundation walls, you're essentially creating the conditions for hydrostatic pressure, basement seepage, soil erosion, and long-term structural damage. A buried downspout system solves this problem by capturing roof runoff at the gutter and routing it through underground pipes to a safe discharge point well away from your home.
Unlike surface-level downspout extensions that snake across your lawn and create tripping hazards, buried lines are invisible, permanent, and far more effective at managing high volumes of water. They're also one of the most cost-effective foundation protection investments a homeowner can make — often costing a fraction of interior waterproofing while addressing the root cause of moisture problems rather than just the symptoms. In this guide, we'll walk through everything you need to know about designing, installing, and maintaining a buried downspout system that actually works.
Why Roof Water Is Your Foundation's Biggest Threat
Most homeowners underestimate the sheer volume of water their roof generates. The math is straightforward: one inch of rainfall on 1,000 square feet of roof produces roughly 623 gallons of runoff. In regions that regularly see 2–3 inches per hour during summer thunderstorms, a typical home can produce 2,000 to 4,000 gallons of water in a single storm event. If that water is deposited within a few feet of your foundation, it saturates the backfill zone — the disturbed soil that was placed around your foundation during construction — and begins exerting lateral pressure against your basement walls.
The backfill zone is particularly vulnerable because it's less compacted than the surrounding native soil. Water follows the path of least resistance, and that loosely packed soil acts like a funnel, channeling moisture directly against your foundation. Over time, this cycle of saturation and drying causes soil expansion and contraction, which can crack foundation walls, displace footings, and compromise the waterproofing membrane. The damage is cumulative and often invisible until it becomes expensive.
Proper gutter drainage management is the first line of defense. Before considering interior drain tiles, sump pumps, or exterior waterproofing membranes, every homeowner should ensure that roof water is being conveyed at least 6 to 10 feet from the foundation — and ideally much farther. Buried downspout lines make this possible without sacrificing your yard's appearance or creating ongoing maintenance headaches.
Surface Extensions vs. Buried Downspouts: Making the Right Choice
The simplest approach to extending your downspout discharge is a surface-level downspout extension — a corrugated or rigid pipe that attaches to the bottom of your downspout and runs across the surface of your yard. These are inexpensive, easy to install, and widely available at hardware stores. For some homeowners, they're a perfectly adequate solution. But they come with significant drawbacks that make buried systems the superior long-term investment for most properties.
Surface extensions are visually intrusive, interfere with mowing and landscaping, and are frequently disconnected or damaged. Flexible corrugated extensions tend to collapse, clog with debris, and develop low spots where water pools and breeds mosquitoes. Rigid PVC extensions are more durable but even more conspicuous. In cold climates, surface extensions can freeze solid, causing ice dams at the downspout connection that back water up into the gutter system. And because they sit on top of the ground, they can only move water as far as the surface grade allows — if your yard is flat or slopes back toward the house, a surface extension may actually make things worse.
Buried downspout systems eliminate all of these issues. The pipe is installed below grade — typically 8 to 14 inches deep — where it's protected from physical damage, UV degradation, freezing (in most climates), and lawn maintenance equipment. Because the pipe is buried, it can be routed along any path and can maintain a consistent slope regardless of surface topography. A well-designed buried system can move water 20, 50, or even 100 feet from the foundation to a pop-up emitter, dry well, rain garden, or municipal storm drain connection.
When Surface Extensions Are Acceptable
Surface extensions can be appropriate in certain situations: rental properties where permanent modifications aren't practical, homes with very steep lots where gravity already moves water away quickly, or as a temporary measure while planning a permanent buried system. If you do use surface extensions, choose rigid PVC or aluminum over flexible corrugated pipe, ensure the discharge end is at least 6 feet from the foundation, and secure the extension so it can't be displaced by wind, foot traffic, or lawn equipment.
When Buried Lines Are Essential
Buried downspout lines are strongly recommended — and arguably essential — in several scenarios: homes with basement moisture or water intrusion problems, properties with flat or negative grading near the foundation, expansive clay soils that swell when saturated, homes with finished basements where water damage would be costly, and any property where surface extensions have failed to resolve drainage issues. If you're experiencing foundation-related water problems, a buried system should be one of the first solutions you evaluate.
Designing Your Buried Downspout System
A successful buried downspout installation starts with thoughtful design. You need to answer four fundamental questions before you pick up a shovel: Where does the water enter the system? Where does it exit? What path does the pipe follow? And can the system handle the volume of water your roof produces during peak storms?
Sizing the Pipe Correctly
Pipe sizing is critical and is one of the most common areas where DIY installations fall short. Many homeowners default to 3-inch corrugated pipe because it's cheap and flexible, but this is undersized for most residential applications. A standard residential downspout (2x3 inches or 3x4 inches) can deliver water at a rate that quickly overwhelms a 3-inch corrugated line, especially if there are any bends, debris accumulations, or slope reductions in the run.
For most residential buried downspout systems, 4-inch smooth-wall PVC (SDR-35 or Schedule 40) is the minimum recommended pipe size. Smooth-wall pipe has dramatically better flow characteristics than corrugated pipe — at the same diameter and slope, smooth PVC can carry roughly 30% more water because there's less friction loss along the interior walls. For homes with large roof areas (over 2,500 square feet), multiple downspouts converging into a single line, or long pipe runs exceeding 50 feet, stepping up to 6-inch pipe provides a valuable margin of safety.
Avoid corrugated drainage pipe for buried downspout applications whenever possible. The ridged interior catches debris, reduces flow capacity, and is prone to root intrusion at the joints. If you must use corrugated pipe due to budget constraints, use the dual-wall variety (smooth interior, corrugated exterior) rather than single-wall corrugated, and increase the diameter to 6 inches to compensate for the reduced flow efficiency.
Calculating Slope Requirements
Every buried drainage pipe requires a consistent downward slope from inlet to outlet. The standard minimum slope for residential drainage pipe is 1/8 inch per foot (approximately 1% grade), but a slope of 1/4 inch per foot (approximately 2% grade) is preferred because it provides better self-cleaning velocity — the speed at which water moves fast enough through the pipe to flush out sediment and small debris.
For a 40-foot pipe run at 1/4 inch per foot, the outlet end needs to be 10 inches lower than the inlet end. This is a critical calculation because it determines how deep you need to dig at each end of the trench. If your yard doesn't have enough natural fall to achieve the minimum slope, you may need to adjust the pipe route, raise the inlet connection, lower the outlet point, or consider alternative discharge methods like a dry well.
Never install buried drainage pipe with zero slope or negative slope (running uphill). Water will stagnate in flat sections, sediment will accumulate, and the pipe will eventually clog. In cold climates, standing water in flat pipe sections will freeze and can crack the pipe or create ice blockages that cause the entire system to back up.
Planning the Pipe Route
The ideal pipe route is the shortest straight line from the downspout to the discharge point. Every bend, turn, and fitting adds friction loss and creates a potential clog point. When bends are necessary, use long-sweep (long-radius) fittings rather than sharp 90-degree elbows. Two 45-degree fittings create a gentler turn than a single 90-degree fitting and are less prone to clogging.
Before you dig, call 811 (or your local equivalent) to have underground utilities marked. This is free, legally required in most jurisdictions, and absolutely essential — hitting a gas line, fiber optic cable, or electrical conduit can be dangerous and expensive. You should also check for irrigation lines, septic system components, invisible fence wires, and any other underground infrastructure that might not be covered by the 811 locating service.
Consider the location of trees and large shrubs along your planned route. Tree roots are attracted to moisture and will find their way into pipe joints, especially in corrugated pipe. Maintain at least 5 feet of clearance from major tree trunks when possible, and use solvent-welded PVC joints (rather than push-fit or banded connections) to create root-proof seams.
Step-by-Step Installation Process
With your design finalized, pipe and fittings purchased, and utilities marked, you're ready to install. Here's the process broken down into manageable phases.
Phase 1: Excavation
Dig the trench from the discharge point back toward the house. This approach lets you establish the correct depth and slope at the outlet first, then work uphill to the downspout connection. The trench should be approximately 8 to 12 inches wide and deep enough to provide at least 4 inches of cover over the top of the pipe (more in cold climates where freeze protection is a concern — 12 to 18 inches of cover is recommended in USDA hardiness zones 5 and colder).
The bottom of the trench must be smooth, firm, and free of rocks or debris that could create point loads on the pipe. If you're working in rocky soil, lay a 2-inch bed of compactable gravel (3/4-inch crushed stone or pea gravel) along the trench bottom to create a uniform bearing surface. Use a string line and level to verify the slope at regular intervals — every 8 to 10 feet is sufficient for most residential runs.
At the house, you'll need to excavate close to the foundation wall to make the connection to the existing downspout. Be careful not to disturb the foundation footing or any existing waterproofing. If your home has a footing drain (perimeter drain tile), do not connect your downspout line to it — footing drains are designed to handle groundwater seepage, not the high-volume surge from roof runoff, and connecting the two systems can overwhelm the footing drain and cause the very basement water problems you're trying to prevent.
Phase 2: Pipe Assembly and Placement
Dry-fit all pipe sections and fittings before gluing anything. Lay the assembled pipe in the trench and verify the slope one more time. Check that all fittings are oriented correctly and that the pipe reaches both the downspout connection point and the discharge location.
Once you're satisfied with the layout, disassemble and reassemble using PVC primer and solvent cement on every joint. Apply primer to both the pipe exterior and fitting interior, then apply cement and push the joint together with a quarter-turn twist. Hold for 15 to 30 seconds to prevent the joint from pushing apart. Allow joints to cure according to the cement manufacturer's instructions before pressurizing the system — typically 15 minutes for dry conditions and longer in cold or humid weather.
Phase 3: Downspout Connection
The connection between your above-ground downspout and the buried pipe is a critical transition point. Several adapter options are available:
- Downspout adapter boot: A molded fitting that transitions from the rectangular downspout profile to a round 4-inch pipe connection. This is the cleanest and most reliable method.
- Universal adapter: A flexible rubber coupling that wraps around the downspout and connects to the buried pipe. Less elegant but versatile for non-standard downspout sizes.
- Catch basin: A small in-ground box with a grate on top that the downspout discharges into. The buried pipe connects to the side of the basin. This method provides a debris trap and an access point for maintenance but requires periodic cleaning.
Whichever method you choose, install a debris screen or filter at the transition point. Leaf litter, shingle grit, and other roof debris will eventually clog an unprotected buried line. A removable screen at the inlet is far easier to clean than a blockage 30 feet down the pipe. Some downspout adapter boots come with built-in screens; for catch basins, a sediment trap basket serves this purpose.
Phase 4: Discharge Point Installation
The discharge end of your buried downspout system is where the water returns to the surface (or is absorbed into the ground). The most common discharge options include:
Pop-up emitters are spring-loaded caps that sit flush with the ground surface when dry. When water pressure builds in the pipe during a rain event, the cap pops open and releases water across the surface. When the flow stops, the cap closes to prevent debris and animals from entering the pipe. Pop-up emitters should be installed in an area where the released water can flow away from the house — on a slope, toward a swale, or into a landscaped area designed to handle the volume.
Dry wells are underground chambers (either prefabricated plastic units or gravel-filled pits) that receive the water and allow it to percolate into the surrounding soil over time. Dry wells are ideal for properties where there's no good surface discharge location — flat lots, small yards, or situations where discharging onto neighboring property would cause problems. A typical residential dry well for a single downspout should have a minimum capacity of 30 to 50 gallons, though larger is always better. Dry wells work best in sandy or loamy soils with good percolation rates; they're less effective in heavy clay soils where water absorption is slow.
Daylighting is the simplest discharge method: the pipe simply exits the ground at a lower elevation and water flows out the open end. This works well on sloped lots where the pipe can emerge on a hillside or at the edge of a drainage swale. Install a rodent guard (a hinged grate or screen) over the open end to prevent animals from nesting in the pipe.
Storm drain connection may be an option in some municipalities. Some local codes allow or even encourage homeowners to connect roof downspouts to the public storm sewer system. Check with your local public works department before making this connection — it's prohibited in some areas, and where it's allowed, there may be specific requirements for backflow prevention and pipe sizing.
Phase 5: Backfill and Restoration
Backfill the trench in 6-inch lifts, compacting each layer with a hand tamper or plate compactor. Avoid dropping large rocks or clumps of soil directly onto the pipe, which can crack PVC or deform corrugated pipe. The first 4 to 6 inches of backfill directly over the pipe should be clean fill — free of rocks larger than 1 inch.
Overfill the trench slightly (1 to 2 inches above the surrounding grade) to account for settlement. Replace sod, seed bare soil, or restore mulch beds as appropriate. Mark the pipe route on a property sketch or take photos before backfilling so you (or future owners) can locate the line if maintenance is ever needed.
Common Mistakes That Cause Buried Downspout Failures
Buried downspout systems are conceptually simple, but the details matter. Here are the most frequent mistakes we see in failed installations — and how to avoid them.
Undersized Pipe
As discussed earlier, 3-inch corrugated pipe is inadequate for most applications. It's the single most common cause of buried downspout failure. The pipe fills to capacity during heavy rain, water backs up to the gutter, and the system provides no benefit whatsoever during the storms when you need it most. Use 4-inch smooth-wall PVC as your baseline, and upsize to 6-inch for long runs, multiple downspout connections, or large roof areas.
Insufficient Slope
A pipe that's too flat will accumulate sediment, retain standing water, and eventually clog. We frequently encounter buried lines that were installed with adequate slope initially but lost their grade over time due to soil settlement, root displacement, or improper backfill compaction. Verify slope during installation with a level and string line, not by eyeballing it. And aim for 1/4 inch per foot rather than the bare minimum of 1/8 inch per foot — the extra slope provides a buffer against minor settlement.
No Cleanout Access
Every buried pipe will eventually need to be cleaned. If your system has no cleanout access points, the only option when a clog occurs is to dig up the pipe. Install a cleanout fitting (a vertical riser with a removable cap) at every change of direction, at the upstream end of the system near the house, and at 50-foot intervals on long straight runs. Cleanout risers should extend to just below grade level and be marked with a small valve box cover or flagged so they can be located.
Connecting to the Footing Drain
This bears repeating because it's such a common and consequential error. Your foundation's footing drain (if it has one) is a separate system designed to relieve groundwater pressure around the footing. It's typically a 4-inch perforated pipe that drains to a sump pit or daylight outlet. Connecting a roof downspout to this system introduces massive volumes of water that the footing drain was never designed to handle. The result is often worse than having no drainage system at all — the footing drain backs up, the sump pump runs continuously, and water is forced through the footing drain perforations into the soil immediately adjacent to the footing, exactly where you don't want it.
Terminating Too Close to the Foundation
A buried line that discharges only 4 or 5 feet from the house provides minimal benefit. The water simply saturates the soil a few feet farther out and migrates back toward the foundation through the permeable backfill zone. Aim for a minimum discharge distance of 10 feet from the foundation, and farther if your soil conditions and lot layout allow it. Twenty feet or more is ideal.
Ignoring the Gutter System
A buried downspout system is only as good as the gutter system feeding it. If your gutters are undersized, clogged, improperly pitched, or missing sections, the buried line can't compensate. Before investing in buried drainage, ensure your gutters are clean, properly sloped (1/16 inch per foot toward the downspouts), securely fastened, and adequately sized for your roof area. Most homes perform well with 5-inch K-style gutters and 2x3-inch downspouts, but large or steep roofs may require 6-inch gutters and 3x4-inch downspouts.
Maintenance and Long-Term Performance
One of the greatest advantages of a properly installed buried downspout system is its low maintenance requirements. Unlike surface extensions that need constant repositioning or French drains that can clog with sediment, a smooth-wall PVC buried line with proper inlet filtration can function for decades with minimal attention.
Seasonal Maintenance Checklist
Perform these checks at least twice per year — once in spring and once in late fall after leaves have dropped:
- Inspect inlet screens and filters. Remove accumulated debris from the downspout adapter screen or catch basin basket. This is the most important maintenance task and takes only a few minutes per downspout.
- Verify pop-up emitter operation. Run a garden hose into the downspout and confirm that the pop-up emitter opens and discharges freely. If the emitter doesn't pop up, there may be a blockage in the line or the emitter spring may be damaged.
- Check cleanout risers. Open each cleanout cap and visually inspect for standing water or debris accumulation. If you see standing water, it indicates a downstream blockage or slope failure.
- Observe the system during rain. There's no substitute for watching your drainage system perform during an actual rain event. Walk the property during a moderate to heavy rain and note any areas where water is surfacing, pooling, or flowing in unexpected directions.
- Flush the system annually. Insert a garden hose into each downspout connection and run water for 5 to 10 minutes. This flushes accumulated sediment and verifies that the entire line is flowing freely.
Dealing with Clogs
If a buried line becomes clogged, start with the least invasive approach and escalate as needed. A garden hose with a high-pressure nozzle can often clear minor blockages. For more stubborn clogs, a plumber's drain snake (manual or power) inserted through a cleanout fitting can break up debris accumulations. In severe cases, a hydro-jetting service can scour the interior of the pipe with high-pressure water — this is the nuclear option but is highly effective and can restore a pipe to near-new condition.
If clogs are recurring, the root cause is usually inadequate inlet filtration (debris entering the system), insufficient slope (sediment settling in flat sections), or root intrusion (in corrugated pipe or poorly sealed joints). Address the underlying cause rather than repeatedly clearing symptoms.
Winter Considerations
In cold climates, buried downspout lines can be affected by freezing, though the risk is lower than with surface extensions. Water in a properly sloped buried line drains out quickly after rain stops, leaving the pipe empty and immune to freeze damage. Problems arise when the pipe retains water due to insufficient slope, a blocked outlet, or a frozen pop-up emitter.
To minimize freeze risk: ensure adequate pipe slope so water drains completely between events, bury the pipe below the local frost line when possible (or at least 12 inches deep), and use pop-up emitters with freeze-guard features that allow water to drain even when the cap is frozen shut. Some homeowners in extremely cold climates (zones 3 and 4) disconnect the downspout-to-buried-pipe connection during winter and reattach a temporary surface extension, reconnecting the buried system in spring.
Permitting, Codes, and Neighbor Considerations
Buried downspout installations are generally considered minor site work and don't require a permit in most jurisdictions. However, there are important exceptions. If your discharge point connects to a municipal storm sewer, a permit or approval is almost always required. If the pipe crosses a property line or discharges onto neighboring property, you'll need the neighbor's written consent and possibly an easement. If your property is in a floodplain, any grading or drainage modification may require review under local floodplain management ordinances.
Even where permits aren't required, you should be aware of the legal principle that a property owner cannot alter the natural drainage pattern in a way that causes damage to adjacent properties. This means you can't install a buried downspout system that concentrates and discharges water onto your neighbor's lot in a way that causes erosion, flooding, or property damage. Discharge your system onto your own property, into a public right-of-way drainage system (with permission), or into a dry well that absorbs water on your own lot.
The NRCS Web Soil Survey is a valuable free resource for understanding your soil type before designing a buried downspout system. Knowing whether you have sandy, loamy, or clay-heavy soil directly affects decisions about pipe sizing, dry well feasibility, and expected percolation rates at your discharge point.
How Topographic Data Improves Drainage Design
The most effective buried downspout systems are designed with a clear understanding of the property's topography — the subtle slopes, low points, and drainage patterns that determine where water naturally flows. Many drainage problems that homeowners attribute to faulty gutters or insufficient downspout extensions are actually caused by unfavorable grading: the ground surface near the foundation is flat or slopes inward, directing water toward the house regardless of where the downspouts discharge.
Professional topographic analysis reveals these conditions with precision. High-resolution elevation data can identify the low points on your property where water accumulates, the natural drainage paths that water follows across the surface, and the optimal locations for discharge points that work with gravity rather than against it. This data transforms buried downspout design from guesswork into engineering.
For example, a homeowner might assume that the best discharge location is the far corner of the backyard — it looks lower from eye level. But topographic analysis might reveal that a subtle ridge runs across the yard at that point, and the actual low point is along the side yard where a natural swale carries water toward the street. Routing the buried line to that swale rather than the backyard corner could mean the difference between a system that works flawlessly and one that creates a new ponding problem at the discharge point.
At Low Point Labs, we specialize in exactly this kind of topographic drainage intelligence. Our analysis identifies the specific drainage patterns on your property, pinpoints the optimal routes and discharge locations for buried downspout systems, and flags potential problems — like negative grading, hidden low spots, or conflicting drainage paths — before you start digging. Whether you're planning a DIY installation or hiring a contractor, starting with accurate topographic data ensures that your buried downspout system is designed to work with your property's natural drainage rather than against it.
If you're dealing with foundation moisture, yard ponding, or gutter drainage problems, explore how Low Point Labs' drainage assessment services can give you the data-driven foundation for a permanent solution. Understanding your property's topography is the first step toward getting water where it belongs — far from your foundation and flowing safely away.
See Drainage Intelligence in Practice
Talk with our team or request an invitation to the platform.
Frequently Asked Questions
A buried downspout pipe should be installed at least 8 to 12 inches deep in moderate climates, with a minimum of 4 inches of soil cover over the top of the pipe. In cold climates (USDA zones 5 and colder), burying the pipe 12 to 18 inches deep is recommended to reduce the risk of freezing.
Use 4-inch smooth-wall PVC (SDR-35 or Schedule 40) as the minimum for most residential buried downspout systems. Avoid 3-inch corrugated pipe, which is undersized for typical roof runoff volumes. For large roofs, long pipe runs, or systems connecting multiple downspouts, upgrade to 6-inch pipe.
The discharge point should be at least 10 feet from the foundation, though 20 feet or more is ideal. Discharging too close to the house allows water to migrate back through the permeable backfill zone and saturate the soil against the foundation wall.
No. Footing drains are designed to handle slow groundwater seepage, not the high-volume surge from roof runoff. Connecting a downspout to the footing drain can overwhelm the system, cause the sump pump to run continuously, and actually force water into the soil around your footing.
The minimum slope is 1/8 inch per foot (approximately 1% grade), but 1/4 inch per foot (approximately 2% grade) is recommended. The steeper slope provides better self-cleaning velocity to flush sediment through the pipe and offers a margin of safety against minor settlement over time.
A properly sloped buried line drains completely between rain events, leaving the pipe empty and resistant to freeze damage. Problems occur when pipes retain water due to insufficient slope, blocked outlets, or frozen pop-up emitters. Burying the pipe below the frost line and ensuring proper drainage minimizes freeze risk.
Related Articles
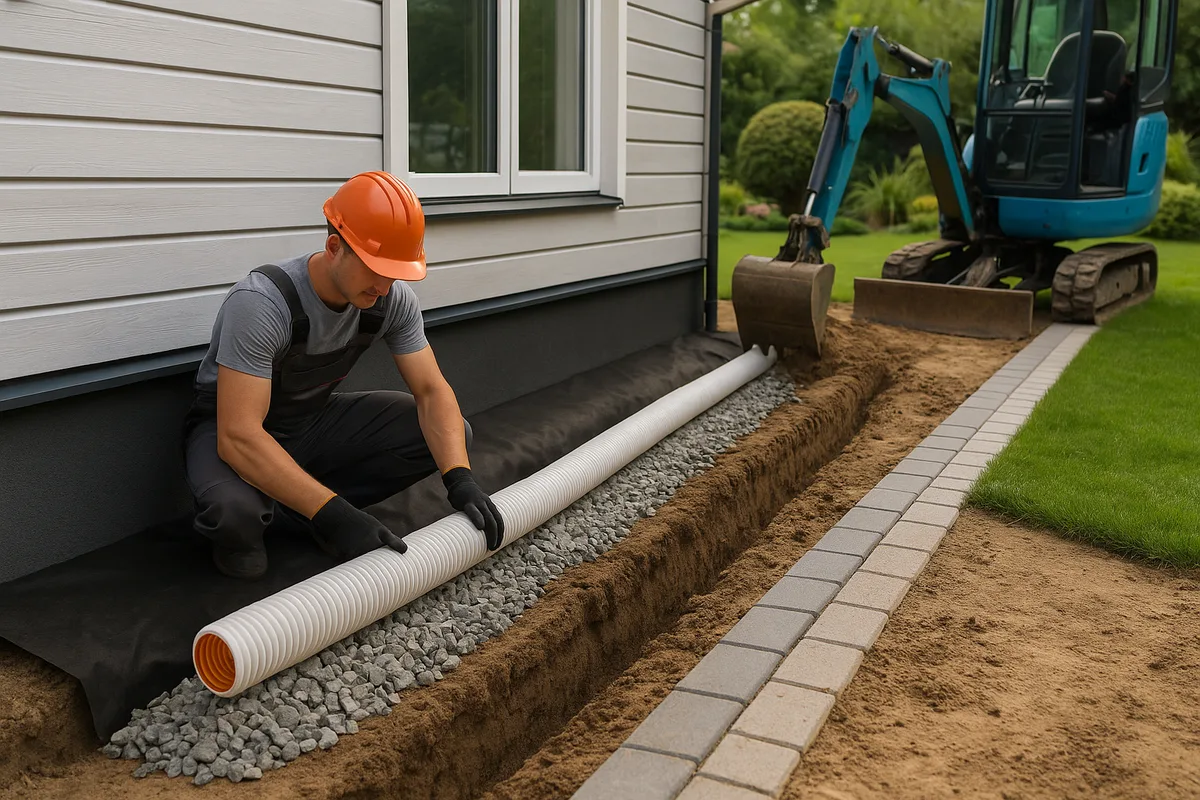
Modern Construction Techniques for Drainage & Foundation Work
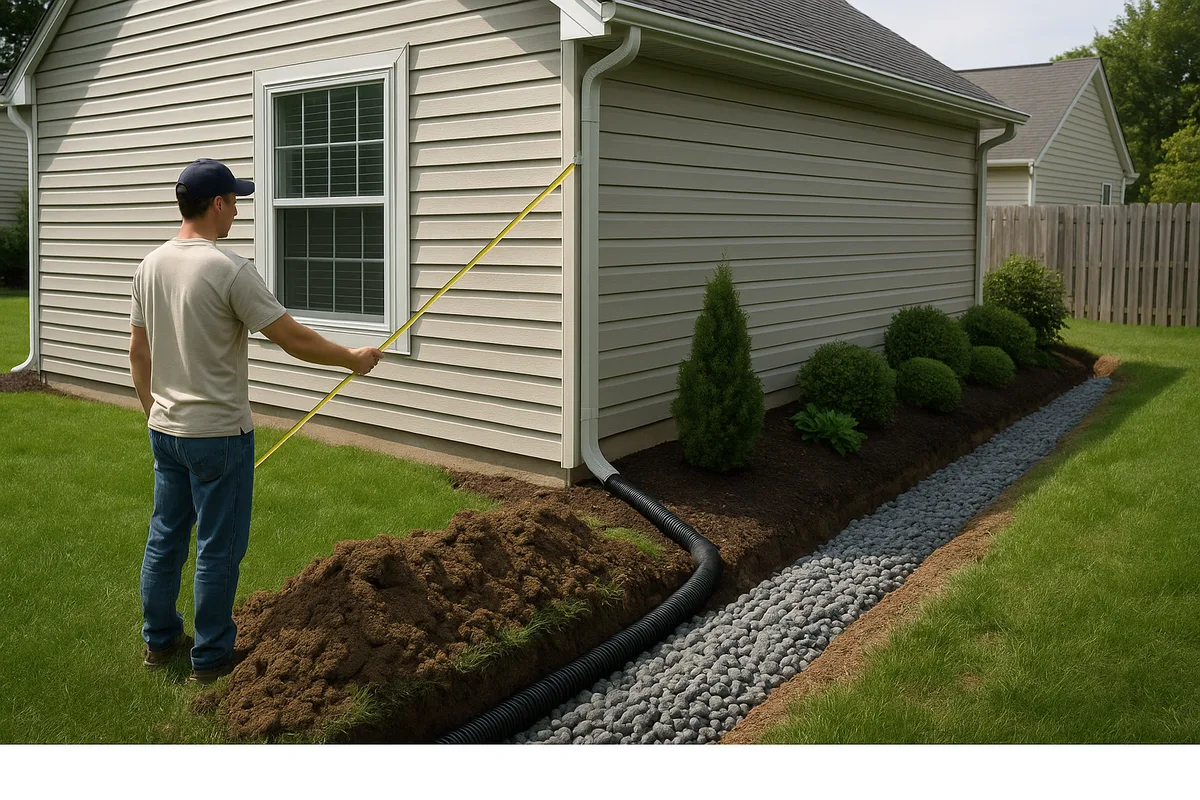
Sizing a French Drain System by Contributing Drainage Area