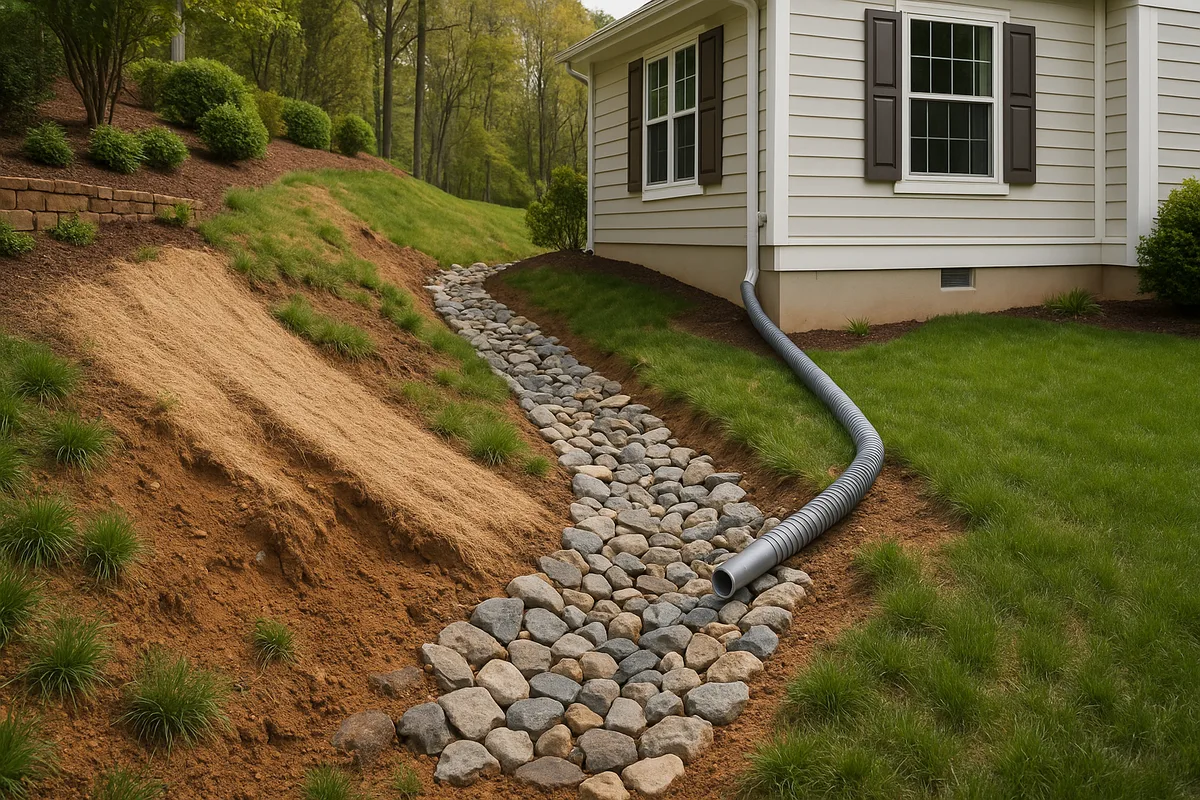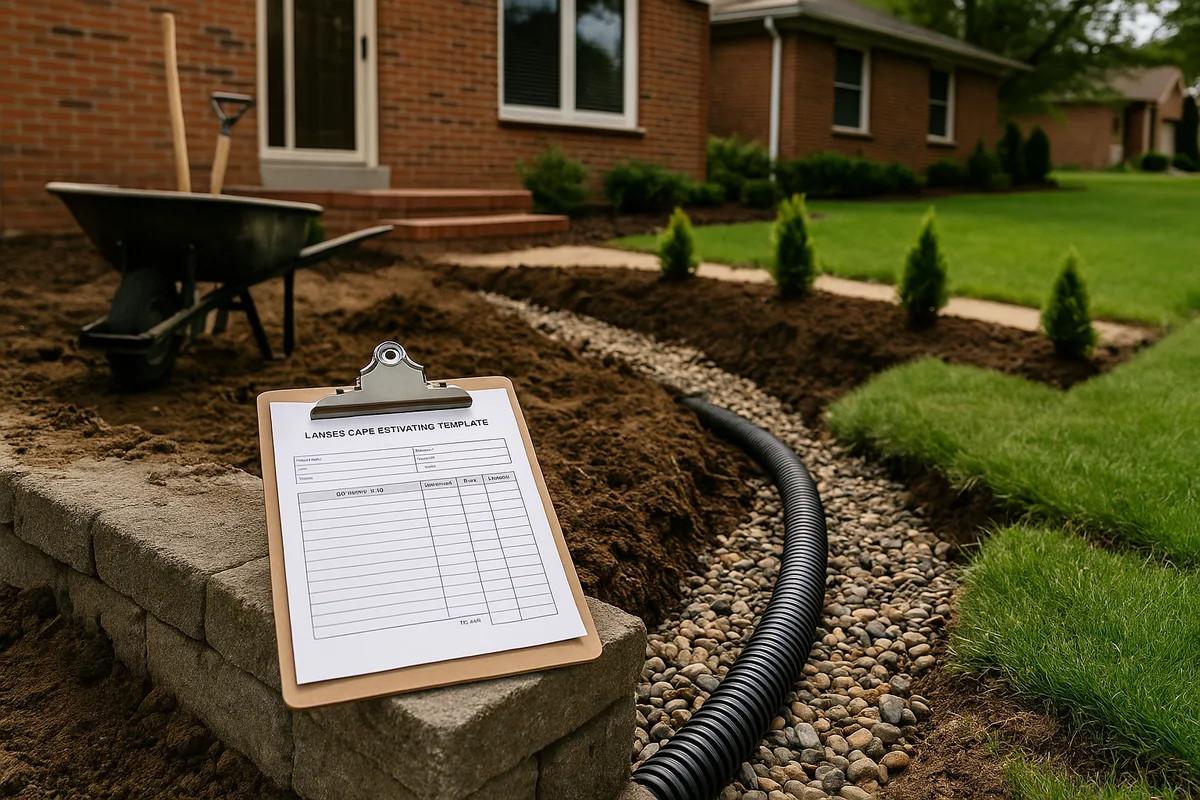
Landscape Estimating Templates That Stop Money Crawling Out of Your Business
Every landscape contractor has a war story about the job that looked profitable on paper but bled money from the first shovel strike. Maybe it was unmapped utilities that added two days of hand-digging. Maybe it was a drainage problem nobody scoped until water pooled against the client's foundation after the first rain. Or maybe—most commonly—it was death by a thousand small omissions: no line item for mobilization, no allowance for soil amendment, no contingency for the rocky subgrade that turned a four-hour grading job into a twelve-hour ordeal.
The root cause is almost always the same: a weak landscape estimating template. Not a lack of skill, not bad crews, not even bad luck—but a systematically incomplete framework for capturing costs before you commit to a price. The good news is that this is one of the most fixable problems in the industry. A well-designed estimating template doesn't just prevent losses; it becomes a competitive advantage that lets you bid with confidence, communicate professionalism to clients, and protect margins project after project.
This guide walks through the architecture of a landscape estimating template built for real-world conditions—one that accounts for the drainage, grading, and topographic variables that sink so many bids. Whether you're a solo operator refining your process or a multi-crew company standardizing across estimators, the frameworks here will help you stop money from crawling out of your business unnoticed.
Why Most Landscape Estimates Fail Before the Job Starts
The fundamental problem with most estimating in the landscape industry isn't math—it's structure. Contractors who've been in the field for years can eyeball material quantities with surprising accuracy. But eyeballing doesn't scale, doesn't transfer to employees, and doesn't catch the categories of cost that aren't visible from the truck window.
A 2023 industry survey by the National Association of Landscape Professionals found that contractors who used standardized estimating templates reported 18–23% higher net profit margins than those who estimated "from experience" alone. The difference wasn't that template users charged more—it was that they missed fewer costs. The average "experience-based" estimate omitted 3–5 cost categories per job, with drainage-related items being the most frequently missed.
The costs that escape most estimates fall into predictable categories. Site access and mobilization get overlooked because they feel like overhead rather than project costs. Subsurface conditions—soil type, rock, high water tables, existing drainage infrastructure—get ignored because they require investigation before bidding. Drainage and grading adjustments get treated as incidental rather than scoped as distinct line items. And post-installation corrections—the callback to fix the puddle that forms in the new patio area, the erosion that develops on the freshly seeded slope—never appear in the original estimate because nobody modeled where water would go after the landscape changed.
A proper landscape estimating template eliminates these blind spots not by making you smarter, but by making omission structurally difficult. Every category has a line. Every line demands a number—even if that number is zero. The act of consciously writing "$0" next to "drainage modification" is fundamentally different from never considering drainage at all.
The Anatomy of a Profit-Protecting Estimating Template
A landscape estimating template that actually protects your margins needs more than a list of materials and labor hours. It needs a layered architecture that moves from site conditions through execution to closeout, with built-in checkpoints that force you to account for the costs most estimators skip.
Header and Project Identification
Every template should start with structured project metadata: client name, site address, date of site visit, date of estimate, estimator name, and estimate version number. Version control matters more than most contractors realize. When a client asks for scope changes and you revise the estimate, you need to track which version was approved. Disputes over "what was included" account for a staggering share of landscape contractor losses, and they're almost entirely preventable with basic version tracking.
Include a field for site classification at the top of every template. Is this a new construction site with bare subgrade? An established residential property with mature plantings? A re-grade or renovation? Each classification triggers different default considerations. New construction sites typically need more grading work but have easier access. Established properties have existing drainage patterns, root systems, and irrigation lines that constrain your work and add risk.
Section 1: Site Conditions and Pre-Existing Issues
This is the section most templates lack entirely, and it's where the most money leaks out. Before you estimate what you're building, you need to document what you're building on and around.
Key line items in this section include:
- Existing grade and drainage direction — Does the site currently drain away from structures? Are there low points where water collects? Documenting this protects you legally and operationally.
- Soil type and condition — Clay soils behave completely differently from sandy loams during excavation, compaction, and drainage. A job estimated assuming loamy soil that turns out to be heavy clay can easily cost 30–40% more in labor.
- Subsurface obstacles — Rock, roots, existing utilities, old concrete or debris. Each of these can multiply excavation time.
- Access constraints — Can equipment reach the work area? Is there a gate width limitation? Will you need to hand-carry materials? Access constraints are among the most underestimated cost drivers in residential landscape work.
- Existing drainage infrastructure — Downspout locations, French drains, catch basins, swales, dry wells. You need to know what's there before you can estimate what needs to change.
The NRCS Web Soil Survey is an invaluable free tool for checking soil types before your site visit. Pulling the soil data for a property takes five minutes and can save you thousands by alerting you to heavy clay, high water tables, or poorly draining soil groups before you commit to a price.
Section 2: Scope of Work with Drainage Integration
This is the core of your estimate—the actual work you're proposing. But the key differentiator in a high-quality template is that drainage and water management aren't afterthoughts bolted onto the bottom. They're integrated into every relevant scope item.
For every hardscape element (patio, walkway, retaining wall, driveway), your template should include companion line items for:
- Base preparation and compaction
- Slope/grade establishment (typically minimum 1–2% away from structures)
- Drainage provisions (channel drains, edge drains, permeable base layers)
- Connection to existing or new drainage system
For every softscape element (planting beds, lawn areas, berms), include:
- Soil amendment and preparation
- Finish grade establishment with drainage direction
- Erosion control during establishment period
- Irrigation integration (if applicable)
For grading and earthwork specifically, your line items should capture:
- Cut volume (cubic yards)
- Fill volume (cubic yards)
- Import/export of material (including hauling costs)
- Compaction requirements and testing
- Final grade tolerance and verification method
This integrated approach means you never price a patio without pricing its drainage, never price a retaining wall without pricing the backfill drainage behind it, and never price a lawn installation without pricing the grade that makes it drain properly.
Section 3: Materials Takeoff
Your materials section should be organized by category with unit costs, quantities, waste factors, and delivery charges broken out separately. Common categories include:
- Aggregates (base rock, drain rock, sand, gravel) — Always include a waste factor of 5–10% for aggregates. Compaction alone can consume 10–15% of loose volume.
- Hardscape materials (pavers, natural stone, concrete, lumber) — Price at current supplier rates, not last season's numbers. Material costs in the landscape industry can shift 8–15% year over year.
- Softscape materials (plants, sod, seed, mulch, soil amendments)
- Drainage materials (pipe, fittings, catch basins, geotextile fabric, dry well chambers) — This category is the most commonly omitted from landscape estimates. Even when drainage is in the scope, contractors frequently forget fittings, connectors, and fabric.
- Erosion control (silt fence, straw wattle, erosion blanket, hydroseeding)
- Miscellaneous (adhesive, edging, fasteners, stakes, marking paint)
For each material, capture the unit cost, quantity, waste/overage factor, subtotal, sales tax, and delivery fee. Delivery fees are another chronic omission—a single aggregate delivery can cost $150–$350 depending on distance and volume, and a complex job might require four or five deliveries.
Building the Labor Model That Reflects Reality
Labor is where most estimating errors have the largest financial impact. Material costs are relatively predictable—you can call your supplier and get a firm quote. But labor depends on conditions, crew capability, weather, and a dozen variables that make flat-rate estimating dangerous.
Production Rates: The Foundation of Accurate Labor Estimating
The single most valuable asset in your estimating system is a library of production rates—documented measurements of how long specific tasks actually take your crews under real conditions. Not industry averages, not manufacturer claims, not what you think it should take. What it actually takes.
Examples of production rates you should be tracking:
- Paver installation: square feet per crew-hour (typical range: 80–150 SF/crew-hour depending on pattern complexity)
- Excavation by hand: cubic yards per labor-hour (typical range: 0.5–1.5 CY/hr depending on soil)
- Excavation by machine: cubic yards per hour (varies dramatically by equipment size and soil type)
- French drain installation: linear feet per crew-hour (typical range: 15–30 LF/hr including excavation and backfill)
- Grading with skid steer: square feet per hour for rough grade (typical range: 500–2,000 SF/hr depending on conditions)
- Plant installation: units per crew-hour by size category (1-gallon, 5-gallon, 15-gallon, 24" box, etc.)
Build these rates from your actual job data. After every project, compare estimated hours to actual hours by task category. Within 10–15 projects, you'll have production rates that are far more accurate than any published standard because they reflect your crews, your equipment, your region, and your standards of quality.
The Labor Burden Nobody Accounts For
Raw hourly wages are not your labor cost. Your actual labor cost includes:
- Base wage
- Payroll taxes (FICA, FUTA, SUTA) — typically 7.65–10% of wages
- Workers' compensation insurance — for landscape work, this commonly runs 8–15% of payroll depending on state and classification
- Health insurance and benefits (if applicable)
- Paid time off, holidays, training time
- Vehicle and travel costs to job site
When you add these together, the true cost of a $25/hour employee is typically $33–$40/hour. If your template uses raw wages, you're systematically underpricing every job by 30–60% on the labor component alone. Your template should have a labor burden multiplier field that converts raw wages to fully loaded labor costs. Calculate this multiplier once per year (or whenever costs change significantly) and apply it consistently.
Accounting for Non-Productive Time
Not every hour on the job site is productive installation time. Your crews spend time on:
- Daily setup and breakdown (typically 30–60 minutes per day)
- Material handling and staging
- Layout and measurement verification
- Waiting for inspections or other trades
- Clean-up (daily and final)
- Travel between job sites (for multi-stop days)
A realistic efficiency factor for landscape crews is 75–85%. That means for every 8-hour day, you get 6–6.8 hours of actual production. Your template should apply this efficiency factor to your production rate calculations. If your production rate for paver installation is 100 SF per crew-hour, and your efficiency factor is 80%, your effective rate is 80 SF per crew-hour. That 20% difference, compounded across every task on every job, is often the entire profit margin.
The Drainage and Grading Section Your Template Is Missing
Here's where Low Point Labs' expertise becomes directly relevant to your estimating accuracy. Drainage and grading work is the most frequently underestimated category in residential landscape construction, and the consequences of getting it wrong extend far beyond your profit margin—they extend to your client's foundation, your reputation, and your liability exposure.
Why Drainage Gets Underestimated
Drainage work is underestimated for three interconnected reasons:
It's partially invisible. You can see a patio. You can't see the subsurface drainage system that keeps it from becoming a pond. Clients don't want to pay for what they can't see, and contractors respond by minimizing drainage in their estimates to stay competitive.
It's condition-dependent. The cost of a French drain varies enormously based on soil type, depth to hardpan or rock, length of run, discharge point, and whether you're tying into existing infrastructure. A 50-linear-foot French drain might cost $1,500 in sandy soil with easy discharge or $4,500 in clay soil with a difficult outfall location.
It's consequential. When you underestimate the cost of a planting bed and lose $200, that's unfortunate. When you underestimate drainage and water damages a client's foundation, that's a lawsuit. The stakes create pressure to either overbid (and lose the job) or underbid (and absorb the risk). A good template eliminates this dilemma by making the costs transparent and defensible.
Essential Drainage Line Items
Your landscape estimating template should include these drainage-specific line items as a standard section, not an optional add-on:
- Site drainage assessment — Time and cost to evaluate existing drainage patterns, identify low points, and determine where water currently goes. This might take 30 minutes on a simple lot or half a day on a complex property.
- Grading plan development — For projects that alter existing grades, the cost of establishing new drainage directions and slopes. This may involve surveying or topographic analysis.
- Surface drainage provisions — Swales, valley gutters, channel drains, area drains, and surface grading to direct sheet flow.
- Subsurface drainage systems — French drains, curtain drains, foundation drains, perforated pipe systems with all associated materials (pipe, fittings, drain rock, geotextile fabric, cleanouts).
- Discharge/outfall — Where does collected water go? This might be a connection to municipal storm sewer, a dry well, a rain garden, daylight to a swale, or a pop-up emitter. Each has different material and labor costs, and some require permits.
- Downspout management — Rerouting, extending, or connecting roof downspouts to underground drainage. This is frequently forgotten when landscape work occurs near the house.
- Erosion control — Temporary measures during construction (silt fence, inlet protection) and permanent measures (erosion blanket, rip-rap, vegetative stabilization).
- Drainage testing and verification — Time to verify that installed drainage functions correctly. Running water through the system before backfilling is cheap insurance against callbacks.
Grading Quantities: Getting the Math Right
Grading estimates live or die on accurate quantity calculations. The difference between a profitable grading job and a money-losing one often comes down to whether you correctly calculated cut and fill volumes.
For simple residential grading, you can estimate volumes using the average end area method: measure the cross-sectional area of cut or fill at regular intervals along the site, average adjacent cross-sections, and multiply by the distance between them. For more complex sites, grid-based calculations (dividing the site into a grid and calculating the cut/fill depth at each grid point) provide better accuracy.
Critical factors that affect grading cost accuracy:
- Swell and shrinkage factors — Excavated soil occupies more volume than in-place soil (swell of 20–30% for most soils). Compacted fill occupies less volume than loose soil (shrinkage of 10–15%). If you calculate 100 cubic yards of cut and plan to use it as fill elsewhere on site, you won't have 100 cubic yards of compacted fill—you'll have roughly 85–90.
- Topsoil stripping and replacement — If you're regrading an area, you typically need to strip and stockpile topsoil, perform rough grading on subgrade, then replace topsoil. This is essentially handling the same material twice, and it doubles the labor for that soil volume.
- Compaction requirements — Fill placed in structural areas (under pavement, near foundations) typically needs to be placed in lifts of 6–8 inches and mechanically compacted to 90–95% of maximum dry density. This dramatically slows production compared to simply placing and spreading fill.
- Moisture conditioning — Soil that's too dry or too wet won't compact properly. In dry conditions, you may need to add water. In wet conditions, you may need to let material dry or add drying agents. Both add cost.
Equipment, Subcontractor, and Overhead Costs
Beyond materials and labor, your template needs structured sections for the cost categories that are easiest to forget and hardest to recover once you've committed to a price.
Equipment Costs
Whether you own or rent equipment, it has a cost that must be captured in every estimate. For owned equipment, calculate a daily internal rental rate that covers depreciation, maintenance, insurance, fuel, and eventual replacement. For rented equipment, use actual rental quotes plus delivery/pickup fees and fuel.
Common equipment for landscape and drainage work:
- Mini excavator (typical rental: $250–$450/day)
- Skid steer loader (typical rental: $200–$375/day)
- Plate compactor (typical rental: $75–$125/day)
- Laser level or transit (owned cost allocated per job)
- Trencher for drainage pipe (typical rental: $150–$300/day)
- Dump trailer or truck (fuel, wear, and time to haul)
Your template should list each piece of equipment needed, the number of days required, and the daily rate. Don't forget delivery and pickup charges for rented equipment—these commonly add $150–$300 per piece and are among the most frequently omitted costs in landscape estimates.
Subcontractor Costs
If your project requires subcontracted work—electrical for landscape lighting, plumbing for irrigation connections, concrete for footings—each subcontractor should have a line item that includes their quoted price plus your markup for coordination and liability. A typical subcontractor markup of 10–15% is standard in the industry and covers your time managing their schedule, verifying their work, and carrying insurance liability for the overall project.
Overhead and Profit
This is where many contractors make their most consequential estimating error: they add profit but forget overhead, or they lump them together in a way that systematically undercovers their actual business costs.
Overhead includes every cost of running your business that isn't directly tied to a specific job:
- Office rent or home office costs
- Administrative staff
- Vehicle payments and insurance
- Business insurance (general liability, commercial auto)
- Licensing and continuing education
- Software and technology
- Marketing and advertising
- Accounting and legal services
- Shop and yard costs
Calculate your total annual overhead, then divide by your total annual revenue (or projected revenue) to get your overhead rate. If your annual overhead is $120,000 and your annual revenue is $600,000, your overhead rate is 20%. Every dollar of direct cost (materials + labor + equipment + subs) needs to carry an additional 20% to cover overhead before you've made a single dollar of profit.
Profit is what's left after all costs are covered—and it's what you're in business to earn. A healthy net profit margin for landscape contractors is 10–20%, depending on market, specialization, and volume. Your template should apply profit as a percentage on top of all costs including overhead.
The formula in your template should be:
Bid Price = (Direct Costs) × (1 + Overhead Rate) × (1 + Profit Margin)
For a job with $10,000 in direct costs, 20% overhead, and 15% profit:
$10,000 × 1.20 × 1.15 = $13,800
If you simply added 15% to direct costs, you'd bid $11,500—leaving $1,300 in overhead uncovered and earning zero actual profit.
Contingency, Allowances, and Risk Management
Every estimate is a prediction, and predictions are imperfect. Your template needs structured mechanisms for managing uncertainty without either absorbing all risk yourself or scaring clients with inflated numbers.
Contingency Percentages by Risk Level
A contingency is a percentage added to the estimate to cover unforeseen conditions. The appropriate contingency depends on how well you understand the site and scope:
- Low risk (repeat client, familiar site, simple scope, thorough site investigation): 5% contingency
- Medium risk (new client, moderate complexity, standard site visit but no subsurface investigation): 10% contingency
- High risk (complex site, drainage unknowns, limited access for investigation, tight timeline): 15–20% contingency
Some contractors resist adding contingency because they fear losing bids. But contingency isn't padding—it's actuarial reality. If you do 20 jobs per year and 4 of them encounter unforeseen conditions costing an average of $2,000 each, that's $8,000 in unrecovered costs. A 5% contingency on $160,000 in annual revenue is $8,000. The math is self-evident.
Allowances for Unknown Quantities
When you can define the type of work but not the exact quantity, use allowances. For example:
- "Allowance for rock removal: $500. Actual rock removal will be billed at $X per cubic yard. Final cost may be higher or lower than allowance."
- "Allowance for additional drainage pipe: $300. If subsurface conditions require drainage beyond the specified scope, additional pipe will be installed at $X per linear foot."
Allowances are transparent to the client, give you flexibility to handle real conditions, and prevent the adversarial dynamic that develops when you submit change orders for work the client feels should have been included.
Exclusions: What You're NOT Including
Equally important as what's in your estimate is what's explicitly excluded. Your template should have a standard exclusions section that you customize for each project. Common exclusions include:
- Permits and permit fees (unless specifically included)
- Engineering or survey work
- Work by other trades (electrical, plumbing, structural)
- Damage repair caused by other contractors
- Unforeseen subsurface conditions beyond the stated contingency
- Changes to scope requested after contract signing
- Maintenance after installation
- Performance beyond specified tolerances
Clear exclusions protect you legally and set appropriate client expectations. They also demonstrate professionalism—a detailed exclusions list signals that you've thought carefully about the project scope.
Template Implementation: From Document to System
A template is only valuable if it's actually used consistently. The gap between having a good template and using it on every estimate is where many contractors lose the benefit.
Digital vs. Paper Templates
Spreadsheet-based templates (Excel, Google Sheets) offer the best balance of flexibility and structure for most landscape contractors. They allow formula-driven calculations, easy duplication for new projects, and the ability to build in dropdown menus and conditional formatting that guide the estimator through the process.
Key spreadsheet features to build into your template:
- Dropdown menus for soil type, site access level, and risk classification that automatically adjust contingency percentages and production rate assumptions
- Linked material pricing that pulls from a master price list you update quarterly
- Automatic labor burden calculation that converts raw hours to fully loaded costs
- Summary dashboard that shows total cost, overhead, profit, and final bid price at a glance
- Comparison columns for estimated vs. actual costs (filled in after project completion for continuous improvement)
The Estimating Checklist
Even with a comprehensive template, human nature tends toward shortcuts. Build a pre-submission checklist into your template that the estimator must complete before finalizing any bid:
- ☐ Site visit completed and documented with photos
- ☐ Existing drainage patterns identified and noted
- ☐ Soil type verified (Web Soil Survey or on-site assessment)
- ☐ All utility locations confirmed or locate request submitted
- ☐ Equipment access verified and constraints documented
- ☐ Material prices confirmed with suppliers (quotes dated within 30 days)
- ☐ Labor hours calculated using documented production rates
- ☐ Labor burden multiplier applied
- ☐ Equipment costs included with delivery/pickup
- ☐ Overhead rate applied
- ☐ Profit margin applied
- ☐ Contingency appropriate to risk level
- ☐ Exclusions reviewed and customized
- ☐ Drainage implications of all scope items considered
- ☐ Estimate reviewed by second person (for bids over $X threshold)
This checklist transforms your template from a passive document into an active quality control system.
Post-Project Feedback Loop
The most powerful feature you can build into your estimating system is a feedback loop that compares estimated costs to actual costs for every completed project. This isn't optional—it's the mechanism that makes your estimates more accurate over time.
After each project, record:
- Actual material costs vs. estimated
- Actual labor hours vs. estimated (by task category)
- Actual equipment days vs. estimated
- Any costs incurred that weren't in the estimate at all
- Final profit margin vs. estimated profit margin
Review this data quarterly. Look for patterns: Are you consistently underestimating excavation time? Overestimating plant material quantities? Missing drainage costs on projects near slopes? Each pattern you identify and correct makes your next 50 estimates more accurate.
Presenting Your Estimate: Turning Accuracy Into Client Confidence
A technically perfect estimate that's poorly presented loses jobs to a mediocre estimate with better packaging. Your template should produce a client-facing document that communicates value, professionalism, and transparency.
What Clients See vs. What You Calculate
Your internal estimate tracks granular costs: labor burden multipliers, overhead rates, contingency calculations. Your client-facing proposal distills this into clear scope descriptions with professional pricing. The client doesn't need to see that your labor burden multiplier is 1.42—they need to see that "Installation of 400 SF paver patio with polymeric sand joints and compacted aggregate base" costs $X.
Structure your client-facing estimate with:
- Project summary — Brief description of the overall scope and objectives
- Scope sections — Grouped by project phase or area (e.g., "Front Yard Grading and Drainage," "Rear Patio and Walkway," "Planting and Irrigation")
- Line item descriptions — Clear, jargon-free descriptions of what's included in each line item
- Pricing — Either lump-sum by section or itemized by line, depending on your market and client expectations
- Timeline — Estimated project duration and any scheduling constraints
- Terms and conditions — Payment schedule, change order process, warranty, exclusions
- Drainage and grading notes — Specific callouts about how the project addresses water management, slope requirements, and drainage provisions. This differentiates you from competitors who ignore drainage entirely.
The Drainage Differentiator
Here's a practical competitive strategy: explicitly address drainage in every estimate, even when the client didn't ask about it. When your estimate includes a section explaining how the proposed patio will maintain proper slope away from the foundation, how the new retaining wall includes backfill drainage to prevent hydrostatic pressure, and how the regraded lawn area will direct surface water to a designated collection point—you've demonstrated expertise that most competitors don't show.
Clients may not understand the technical details, but they understand that you're thinking about problems they haven't considered. That builds trust, justifies your pricing, and dramatically reduces callbacks and warranty claims.
Understanding the topographic reality of a property—where water flows, where it collects, and how proposed changes will alter drainage patterns—is the foundation of accurate estimating for any project that touches the ground. This is precisely the kind of intelligence that transforms an estimate from a guess into a plan.
At Low Point Labs, we specialize in providing the topographic drainage intelligence that makes accurate estimating possible. Our drainage assessments give contractors and homeowners the data they need to understand how water moves across a property—before the first shovel hits the ground. If you're building estimates on assumptions about drainage, you're building on a foundation of risk. Explore our drainage assessment services to see how site-specific topographic data can make your next estimate—and your next project—more accurate, more profitable, and more protective of the properties you work on.
See Drainage Intelligence in Practice
Talk with our team or request an invitation to the platform.
Frequently Asked Questions
A comprehensive landscape estimating template should include sections for site conditions assessment, detailed scope of work with drainage integration, materials takeoff with waste factors, labor calculations using production rates and burden multipliers, equipment costs, subcontractor costs, overhead allocation, profit margin, contingency, allowances, and exclusions. It should also include a pre-submission checklist to prevent omissions.
Start with documented production rates from your own completed projects, not industry averages. Apply a labor burden multiplier (typically 1.30–1.60) that accounts for payroll taxes, workers' comp, insurance, and benefits. Then apply an efficiency factor of 75–85% to account for non-productive time like setup, cleanup, and material handling.
A healthy net profit margin for landscape contractors is 10–20% after all costs including overhead are covered. This is applied on top of direct costs and overhead, not as a replacement for overhead recovery. Many contractors confuse markup with profit and fail to separately account for overhead, which leads to systematic underpricing.
Drainage costs are frequently missed because the work is partially invisible (subsurface), highly condition-dependent (varying with soil type and site topography), and often not requested by clients who don't understand its importance. A good estimating template includes drainage as a standard section with specific line items for surface drainage, subsurface systems, discharge points, and downspout management.
Contingency should be based on project risk level: 5% for low-risk projects with thorough site investigation, 10% for medium-risk projects with standard site visits, and 15–20% for high-risk projects with significant unknowns such as unverified subsurface conditions or complex drainage situations. Contingency is not padding—it reflects the statistical reality of unforeseen conditions.
This depends on your market and client type. Itemized pricing builds transparency and trust but can invite line-item negotiation. Lump-sum pricing by project phase or area is often the best balance—it gives clients enough detail to understand value while protecting your pricing structure. Always keep your detailed internal estimate separate from the client-facing proposal.
Related Articles

How to Cut Residential Site Assessment and Drainage Estimating Time by 70%
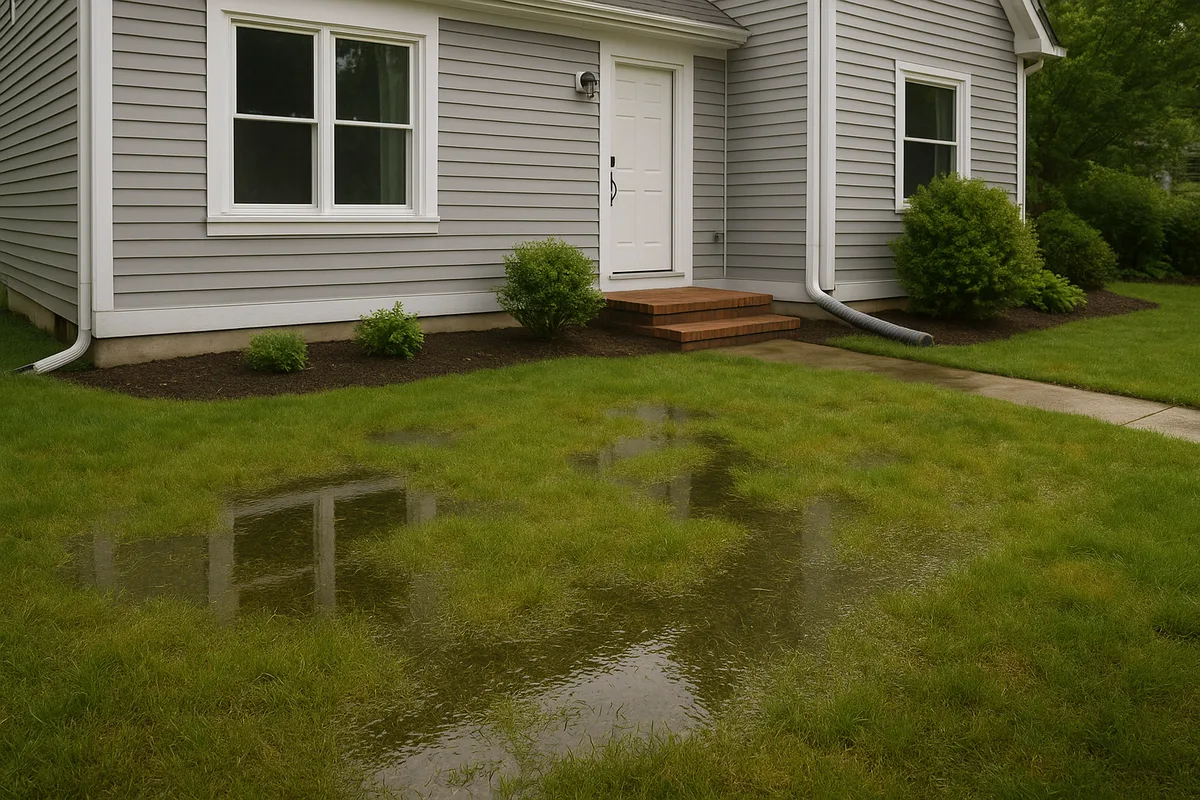
Soggy Lawn That Never Dries: 9 Common Causes and How to Fix Them