Where Should Your Sump Pump Discharge? Rules, Distances, and Mistakes
Your sump pump is the last line of defense between your basement and groundwater. It works tirelessly during heavy rains and snowmelt, pulling water from beneath your foundation and pushing it up and out through a discharge line. But here's the critical question most homeowners overlook: where does that water actually go? Sump pump discharge that's poorly planned, improperly routed, or in violation of local codes can create problems that are worse than the flooding it was designed to prevent — from foundation erosion and neighbor disputes to municipal fines and environmental contamination.
This guide covers everything you need to know about sump pump drainage: how far from your house the discharge should terminate, what local codes typically require, where the water should (and shouldn't) go, and the most common mistakes that turn a working system into a liability.
How Sump Pumps Work and Why Discharge Matters
Before diving into placement rules, it helps to understand the basic mechanics. A sump pump sits in a sump pit (also called a sump basin or crock) — a hole dug into the lowest point of your basement or crawlspace floor. As groundwater rises or drain tile channels water toward the pit, the pump activates via a float switch and pushes water up through a discharge pipe, typically 1.5-inch or 2-inch PVC, to the exterior of the home.
The discharge pipe exits through the foundation wall or rim joist and connects to an exterior discharge line that carries water away from the structure. This is where most problems begin. The pump itself can be perfectly sized and maintained, but if the discharge water has nowhere appropriate to go — or worse, if it cycles right back toward your foundation — you've created an expensive, electricity-consuming loop of futility.
Sump pump drainage isn't just about getting water out of the pit. It's about ensuring that water reaches a location where it can safely infiltrate the soil, enter a stormwater system, or flow to a designated drainage area without causing harm to your property, your neighbor's property, or the environment. The discharge endpoint is arguably the most important component of your entire basement waterproofing system.
How Far Should Sump Pump Discharge Be From Your House?
The single most common question homeowners ask is about distance. The answer depends on your local code, your soil type, your lot grading, and the volume of water your pump handles — but there are widely accepted minimums that serve as a reliable starting point.
The Minimum Distance Rule
Most building codes and waterproofing professionals recommend a minimum discharge distance of 10 feet from the foundation. Many jurisdictions require 15 to 20 feet. Some specify that the discharge point must be at least 10 feet from any property line as well. The International Residential Code (IRC) doesn't prescribe a specific distance for sump pump discharge, but it does require that discharge water not create a nuisance or be directed toward adjacent properties — which effectively mandates significant separation.
Here's a practical framework based on conditions:
- Minimum (well-draining soil, proper grading): 10 feet from foundation
- Recommended (average conditions): 15–20 feet from foundation
- Ideal (clay soil, flat lot, high water table): 20+ feet from foundation, directed toward a swale, rain garden, or storm drain
Why Distance Alone Isn't Enough
Distance is meaningless without proper grading. If you discharge water 20 feet from your foundation but the ground slopes back toward the house, that water will follow gravity right back to your sump pit. The discharge endpoint must be at a lower elevation than the point where the pipe exits the house, and the surrounding grade must carry water away from the structure — not toward it.
A minimum slope of 2% (approximately 1/4 inch per foot) away from the foundation is the standard recommendation for surface grading. Your discharge line itself should maintain a consistent downhill slope of at least 1/8 inch per foot to prevent standing water in the pipe, which can freeze in winter or breed mosquitoes in summer.
Understanding the topography of your lot is essential. Even small elevation changes — a subtle depression 15 feet from the house, a neighbor's berm redirecting flow — can undermine an otherwise well-planned discharge setup. This is exactly the kind of micro-topographic intelligence that USGS 3DEP elevation data can help reveal at a landscape level, and that site-specific drainage assessments can pinpoint at the property level.
Local Codes and Regulations: What You Need to Know
Sump pump discharge is regulated at the municipal level, and the rules vary significantly from one jurisdiction to another. What's perfectly legal in one city may result in a fine or a mandatory correction order in the next town over. Understanding your local code is not optional — it's the first step in any discharge plan.
Common Code Requirements
While every municipality is different, the following rules appear frequently across jurisdictions:
No discharge into the sanitary sewer system. This is nearly universal. Sanitary sewers carry wastewater to treatment plants, and adding stormwater overloads the system, causes sewer backups, and can trigger combined sewer overflows (CSOs) that release raw sewage into waterways. Many cities have spent millions separating their storm and sanitary systems and will aggressively enforce this rule.
No discharge onto sidewalks, streets, or public rights-of-way. Water that freezes on a sidewalk creates a slip-and-fall liability. Water pooling in the street can cause traffic hazards and accelerate road deterioration.
No discharge onto neighboring properties. You cannot redirect your water problem onto someone else's land. This applies to both surface discharge and subsurface drainage that meaningfully alters the hydrology of an adjacent parcel.
Discharge must be to grade (ground surface) or to the storm sewer. Some municipalities allow or even require connection to the municipal storm sewer system. Others prohibit it to prevent system overload. You must check your local rules.
Discharge lines must include a check valve. A check valve prevents discharged water from flowing back into the sump pit when the pump shuts off. Most codes require one, and it's good practice regardless.
Minimum distance from property lines. Commonly 5 to 10 feet, though this varies.
How to Find Your Local Rules
Start with your city or township's building department. Many municipalities publish their stormwater management ordinances online. You can also contact your county drain commissioner's office — they often have jurisdiction over residential discharge issues. If you're in a homeowners association (HOA), check your covenants as well; some HOAs have discharge restrictions that exceed municipal code.
If your property is in a flood zone, additional rules may apply. You can check your flood zone designation through the FEMA National Flood Map Service Center to determine whether your property is subject to special flood hazard area regulations that could affect your discharge plan.
Acceptable Discharge Locations: Where the Water Should Go
Now that you understand distance requirements and code constraints, let's look at the best options for where your sump pump drainage should actually terminate.
1. Yard Discharge to Grade (Most Common)
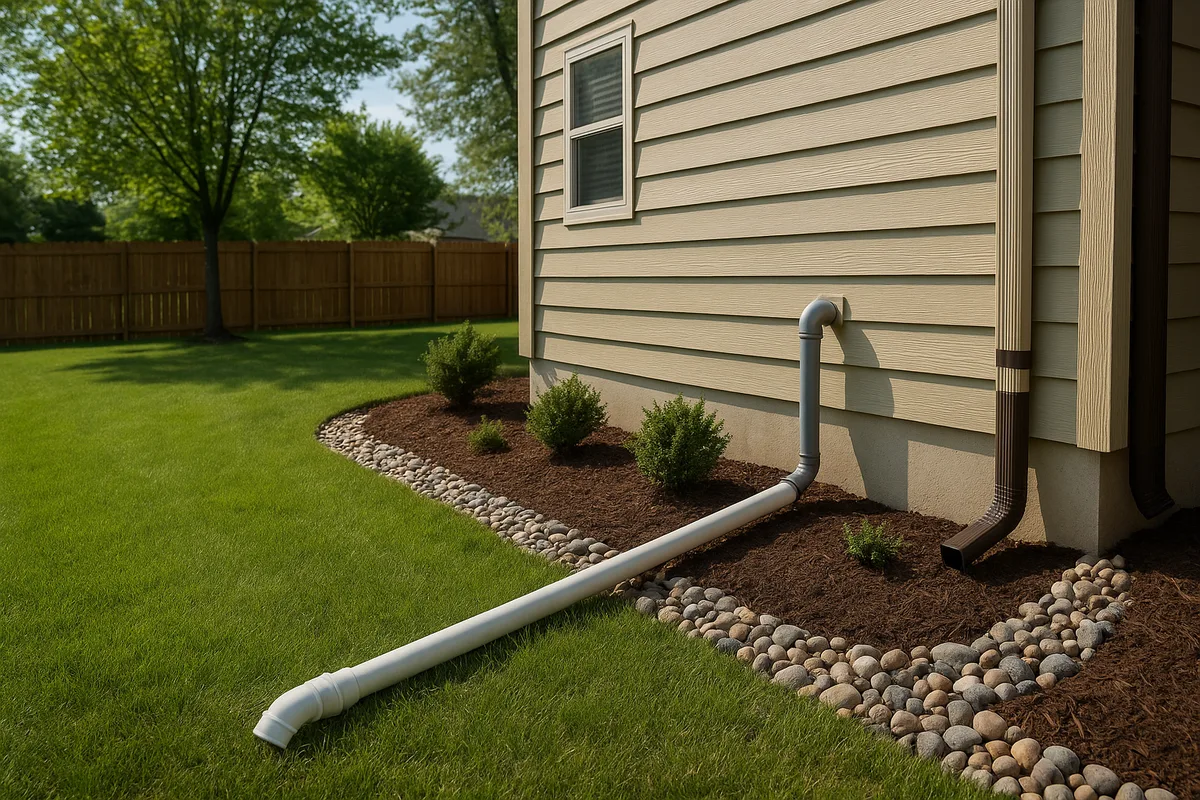
The most common approach is to run the discharge pipe underground to a pop-up emitter or splash block located in the yard. A pop-up emitter is a spring-loaded cap that opens under pressure when the pump runs and closes when it stops, keeping debris and animals out of the pipe. The water disperses across the lawn surface and infiltrates the soil.
This works well when:
- Your yard has adequate slope away from the house
- The soil drains reasonably well (sandy loam, loam, or sandy clay loam)
- The discharge point is at least 10–20 feet from the foundation
- The area can handle the volume without creating standing water
2. Dry Well (Subsurface Infiltration)
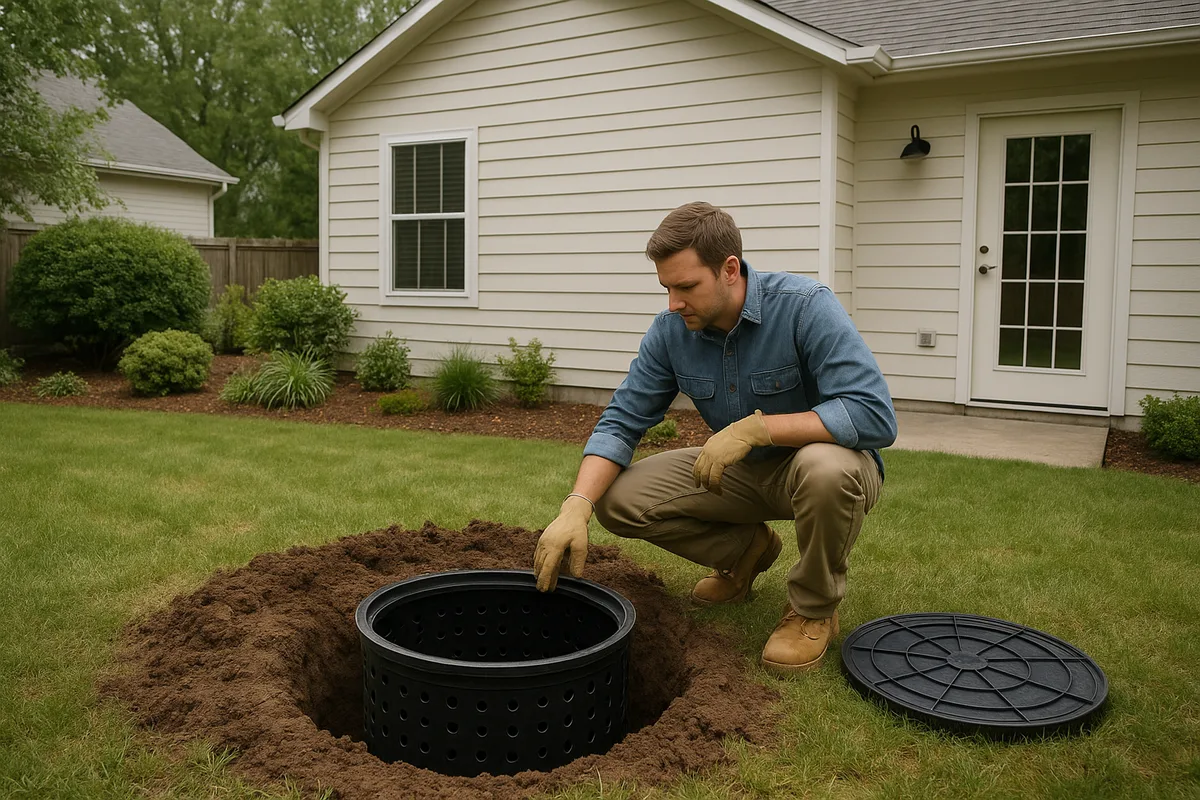
A dry well is a buried chamber — often a large perforated plastic barrel or a purpose-built infiltration unit filled with gravel — that receives discharge water and allows it to slowly percolate into the surrounding soil. Dry wells are excellent for properties with limited yard space or where surface discharge would create soggy conditions.
A properly sized dry well for a sump pump typically holds 30 to 50 gallons and is surrounded by a gravel bed wrapped in filter fabric. The key requirement is that the surrounding soil must have adequate percolation. Clay-heavy soils (hydrologic soil group D) may not drain fast enough to keep up with pump output during heavy rain events. You can check your soil type using the NRCS Web Soil Survey to determine whether a dry well is viable on your property.
3. Rain Garden
A rain garden is a shallow, planted depression designed to capture and infiltrate stormwater. Routing your sump pump discharge to a rain garden is an environmentally responsible option that also adds aesthetic value to your landscape. Rain gardens are typically planted with native species that tolerate both wet and dry conditions.
For sump pump applications, the rain garden should be sized to handle the pump's output during a heavy rain event. A general rule of thumb is 1 square foot of rain garden per 1 square foot of impervious surface draining to it, with a depth of 4 to 8 inches. The garden should be located at least 10 feet from the foundation and not over any septic system components.
4. Municipal Storm Sewer (Where Permitted)
Some municipalities allow — or even encourage — homeowners to connect sump pump discharge lines to the storm sewer system. This is separate from the sanitary sewer and is designed to handle stormwater. Connection typically requires a permit and may involve specific pipe sizing, backflow prevention, and inspection requirements.
Before pursuing this option, confirm with your local building department that storm sewer connection is allowed. In some older cities with combined sewer systems, connecting a sump pump to any sewer line is prohibited.
5. Swale or Drainage Easement
If your property has a natural swale (a shallow, vegetated channel) or a drainage easement, routing discharge to this feature is often the most effective option. Swales are designed to convey water and are typically graded to direct flow toward a detention area, stream, or storm inlet. Discharging into a drainage easement is generally acceptable, but verify with your municipality that your connection method and volume are compliant.
Where You Should Never Discharge a Sump Pump
Knowing where not to discharge is just as important as knowing where to discharge. The following locations are either illegal, impractical, or damaging.
Into the Sanitary Sewer
This bears repeating because it's the most consequential mistake. Connecting your sump pump to the sanitary sewer is illegal in virtually every jurisdiction in the United States. It contributes to sewer overflows during storms, can cause sewage backups in your home and your neighbors' homes, and may result in fines ranging from $100 to $10,000 or more. Many municipalities conduct dye testing and smoke testing to identify illegal connections, and enforcement has become increasingly aggressive.
If your home was built before the 1980s, there's a meaningful chance the original builder connected the sump pump to the sanitary sewer. If you're unsure, have a plumber inspect the discharge routing.
Onto Your Neighbor's Property
Discharging water onto an adjacent property without the owner's consent is both a code violation and a potential civil liability. Even if the water "naturally flows that direction," concentrating it through a discharge pipe and directing it across the property line changes the hydrology in a way that can cause damage and create legal exposure. If your lot's topography makes it difficult to discharge without affecting a neighbor, consider a dry well, rain garden, or storm sewer connection instead.
Against or Near Your Foundation
This seems obvious, but it happens more often than you'd think. Discharge lines that terminate too close to the house, that have become disconnected underground, or that are blocked by debris can send water right back to where it started. The result is a pump that runs constantly, cycling the same water in and out, burning out the motor and accomplishing nothing.
Into a Window Well
Window wells are depressions around basement windows that are particularly vulnerable to water accumulation. Never route discharge near a window well — even water flowing across the surface grade can pool in these areas and enter the basement through the window or its seal.
Into a Septic System
If you're on a septic system, never connect sump pump discharge to the septic tank or drain field. The additional volume of water can overwhelm the system, prevent proper treatment of wastewater, and cause the drain field to fail — a repair that can cost $10,000 to $30,000 or more.
Directly Into a Natural Waterway (Without Permits)
Discharging directly into a stream, creek, pond, or wetland may require permits under the Clean Water Act, your state's environmental regulations, or local ordinances. While sump pump water is generally considered "clean" groundwater, concentrated discharge can cause erosion, sedimentation, and habitat disruption. Check with your local environmental agency before routing discharge to any natural water body.
Common Sump Pump Discharge Mistakes (and How to Fix Them)
Over years of analyzing residential drainage, we've seen the same mistakes repeated across thousands of properties. Here are the most damaging — and most preventable — errors homeowners make with sump pump discharge.
Mistake #1: The Hose-on-the-Ground Approach
The most common discharge setup we see is a flexible corrugated hose lying on the ground surface, running a few feet from the foundation wall and dumping water into a puddle. This is barely better than no discharge at all. The hose kinks, clogs with leaves and debris, gets run over by lawnmowers, freezes in winter, and rarely extends far enough from the house to matter.
The fix: Replace the surface hose with a buried rigid PVC discharge line (1.5-inch or 2-inch diameter) running at least 10 to 20 feet from the foundation, terminating at a pop-up emitter or dry well. Bury the pipe below the frost line if possible (or at minimum 6 to 12 inches deep) to reduce freezing risk.
Mistake #2: No Check Valve
Without a check valve on the discharge line, water that the pump pushes up will flow back down into the sump pit as soon as the pump shuts off. This forces the pump to re-pump the same water repeatedly, dramatically increasing wear on the motor and your electricity bill. A check valve costs $15 to $30 and takes 10 minutes to install.
The fix: Install a check valve on the vertical section of the discharge pipe, within 12 inches of the pump. Use a spring-loaded (not swing-type) check valve for vertical installations.
Mistake #3: Undersized or Clogged Discharge Pipe
A discharge pipe that's too small restricts flow and makes the pump work harder. A pipe that's clogged with sediment, roots, or debris can cause the pump to overheat or the pit to overflow. Corrugated pipes are particularly prone to clogging because sediment collects in the ridges.
The fix: Use smooth-wall PVC pipe (Schedule 40 is standard). Match the pipe diameter to the pump's outlet — typically 1.5 inches for 1/3 HP pumps and 2 inches for 1/2 HP and larger. Inspect and flush the line annually.
Mistake #4: Discharge Line That Freezes in Winter
In cold climates, this is one of the most dangerous mistakes. If the discharge line freezes, the pump can't expel water, the pit overflows, and your basement floods — often during the spring thaw when water volumes are highest. Buried lines below the frost line are less susceptible, but even buried lines can freeze at the discharge point if the emitter is blocked by snow or ice.
The fix: Bury the line below the frost line where possible. Install a freeze guard — a fitting near the foundation wall that allows water to escape above ground if the buried line is blocked. Some homeowners use a "winter discharge" setup: a shorter, above-ground hose that replaces the buried line during freeze months, positioned to carry water at least 6 feet from the foundation with a slight downhill slope so it drains completely between pump cycles.
Mistake #5: Ignoring the Topography
Many homeowners install a discharge line without understanding the contours of their yard. They run the pipe to a spot that looks far enough from the house, only to discover that the water pools there, flows back toward the foundation, or drains toward a neighbor's property. Flat lots, lots with subtle reverse grades, and lots with hardpan clay layers are particularly tricky.
The fix: Before installing or extending a discharge line, assess the topography of your yard. Walk the property during a rain event and observe where water naturally flows. Use a laser level or a long builder's level to check the grade. For a comprehensive understanding, a topographic drainage assessment can identify low points, flow paths, and optimal discharge locations that aren't visible to the naked eye.
Mistake #6: Discharging Too Close to the Foundation
We've seen discharge lines that terminate 2 to 3 feet from the foundation wall. At that distance, the water saturates the backfill zone — the area of disturbed soil around the foundation that was excavated during construction and then refilled. Backfill is less compacted and more permeable than the surrounding native soil, so water poured into it drains straight down to the foundation footing and right back into the sump pit.
The fix: Extend the discharge line well beyond the backfill zone. For most homes, the backfill zone extends 3 to 5 feet from the foundation wall. Your discharge point should be at least 10 feet from the foundation — farther if conditions warrant it.
Mistake #7: No Backup Plan
A primary sump pump can fail due to power outages, mechanical failure, or float switch malfunction. If your discharge system has no redundancy, a single point of failure can result in a flooded basement.
The fix: Install a battery backup sump pump or a water-powered backup pump. Consider a whole-house generator if you live in an area prone to extended power outages. At minimum, install a high-water alarm in the sump pit that alerts you if the water level rises above normal.
Seasonal Maintenance for Your Sump Pump Discharge System
A well-designed sump pump drainage system still requires regular maintenance to perform reliably. Neglected systems fail at the worst possible time — during the heaviest rain of the year.
Spring Checklist
Spring is the highest-risk season for most sump pump systems due to snowmelt and heavy rains. Before the thaw begins:
- Test the pump. Pour a bucket of water into the pit and confirm the pump activates, discharges water, and shuts off properly.
- Inspect the discharge line. Walk the line from the house to the endpoint. Look for frost heave damage, disconnected fittings, and soil settlement over buried pipes.
- Clear the emitter. Remove any debris, soil, or ice from the pop-up emitter or splash block.
- Check the check valve. Listen for the pump short-cycling (turning on and off rapidly), which can indicate a failed check valve.
Summer Checklist
- Inspect for clogs. Summer storms can wash debris into discharge endpoints. Check emitters and dry wells for blockage.
- Monitor for mosquitoes. Standing water in or around the discharge point can become a breeding ground. Ensure the line drains completely between pump cycles.
- Test the backup pump. If you have a battery backup, test it and check the battery charge level.
Fall Checklist
- Clear leaves and debris. Falling leaves can clog emitters and cover discharge endpoints. Clear the area around the discharge point.
- Prepare for winter. If you use a winter discharge setup, have the hose and fittings ready before the first freeze.
- Inspect the pit. Remove any debris that has accumulated in the sump pit. Check the float switch for free movement.
Winter Checklist
- Monitor for freezing. After cold snaps, check that the discharge line is flowing freely. If you suspect a freeze, do not force water through the line — it can burst the pipe.
- Keep the area around the emitter clear of snow and ice. A buried emitter under a snowbank will freeze shut.
- Ensure the freeze guard is functional. If you have a freeze guard fitting, verify it's not obstructed.
Sizing Your Discharge System for Your Property
Not all sump pump discharge systems are created equal. The right configuration depends on your pump's capacity, the volume of water entering your sump pit, your soil conditions, and your lot's topography.
Pump Capacity and Discharge Volume
A typical residential sump pump (1/3 HP) can move approximately 2,500 gallons per hour at a 5-foot head (vertical lift). A 1/2 HP pump can move around 3,500 gallons per hour. During a heavy rain event, a sump pump may run several times per hour, each cycle discharging 5 to 15 gallons. Over a 24-hour storm, that can add up to hundreds or even thousands of gallons.
Your discharge system must be able to handle this volume without creating pooling, erosion, or runoff problems. If your pump runs frequently during storms, a single pop-up emitter may not disperse water fast enough. Consider multiple emitters, a larger dry well, or a dedicated drainage swale.
Soil Percolation Rates
The speed at which your soil absorbs water directly affects how well your discharge system works. Sandy soils can absorb 1 to 6 inches per hour. Clay soils may absorb less than 0.2 inches per hour — meaning water sits on the surface or flows overland rather than soaking in.
If you have slow-draining soil, surface discharge may create persistent wet areas or mud. A dry well in clay soil will fill up and stop accepting water. In these conditions, you may need to extend your discharge line to a storm sewer, drainage easement, or engineered rain garden with amended soil.
Head Pressure and Pipe Length
Every foot of vertical lift and every foot of horizontal pipe run reduces your pump's effective flow rate. Long discharge runs with multiple elbows and fittings create friction losses that can significantly reduce performance. As a rule of thumb:
- Each 90-degree elbow adds the equivalent of 5 to 7 feet of straight pipe
- Each 45-degree elbow adds the equivalent of 2 to 3 feet
- Horizontal runs should maintain a minimum slope of 1/8 inch per foot
If your discharge line runs more than 50 feet or has significant elevation change, consult the pump manufacturer's performance curve to ensure adequate flow at your system's total dynamic head.
The Role of Topographic Intelligence in Sump Pump Drainage
Many sump pump discharge problems are fundamentally topographic problems. The pump and pipe are mechanical components that can be sized, installed, and maintained according to specifications. But the land itself — its slopes, depressions, soil layers, and drainage patterns — determines whether the discharged water behaves the way you intend.
Traditional approaches to discharge planning rely on visual observation and basic leveling. These methods miss subtle grade changes, underground flow paths, and cumulative drainage patterns from neighboring properties. A 1-inch elevation difference across 20 feet of yard may be invisible to the eye but represents a 0.4% grade that determines which direction water flows.
At Low Point Labs, we specialize in exactly this kind of topographic drainage intelligence. By analyzing high-resolution elevation data, soil characteristics, and property-specific drainage patterns, we can identify the optimal discharge location for your sump pump — the point on your property where water will flow away from your foundation, infiltrate effectively, and not create problems for you or your neighbors.
If you're installing a new sump pump system, replacing a failing discharge line, or troubleshooting a pump that runs constantly, understanding your property's drainage topography isn't optional — it's the foundation of a system that actually works. Explore Low Point Labs' drainage assessment services to get the data-driven insight your property needs for a sump pump discharge solution that performs reliably, complies with local codes, and protects your investment for the long term.
See Drainage Intelligence in Practice
Talk with our team or request an invitation to the platform.
Frequently Asked Questions
Most building codes and professionals recommend a minimum of 10 feet from the foundation, with 15 to 20 feet being preferred. In areas with clay soil, flat lots, or high water tables, 20 feet or more is ideal. The discharge point must also be at a lower elevation than the foundation to prevent water from flowing back.
No. Discharging a sump pump into the sanitary sewer is illegal in virtually every jurisdiction in the United States. It overloads the sewer system, causes backups, and can result in significant fines. Some municipalities allow connection to the storm sewer (a separate system), but you must verify this with your local building department.
No. Directing concentrated sump pump discharge onto an adjacent property without the owner's consent violates most local codes and can create civil liability. If your lot's topography makes it difficult to avoid, consider alternatives like a dry well, rain garden, or storm sewer connection on your own property.
Bury the discharge line below the frost line (typically 36 to 48 inches in northern climates). Install a freeze guard fitting near the foundation that allows water to escape above ground if the buried line freezes. Keep the discharge endpoint clear of snow and ice, and ensure the pipe drains completely between pump cycles so standing water doesn't freeze inside it.
Smooth-wall Schedule 40 PVC pipe is the best choice for sump pump discharge lines. It resists clogging, handles pressure well, and lasts for decades underground. Avoid corrugated flexible pipe for buried runs, as sediment collects in the ridges and roots can penetrate the walls. Match the pipe diameter to your pump's outlet — typically 1.5 or 2 inches.
Yes, a dry well is an excellent discharge option if your soil has adequate percolation. Sandy and loamy soils work best. Clay-heavy soils may not drain fast enough to keep up with pump output during storms. Size the dry well to hold at least 30 to 50 gallons, surround it with gravel, and wrap the assembly in filter fabric to prevent sediment clogging.
Related Articles
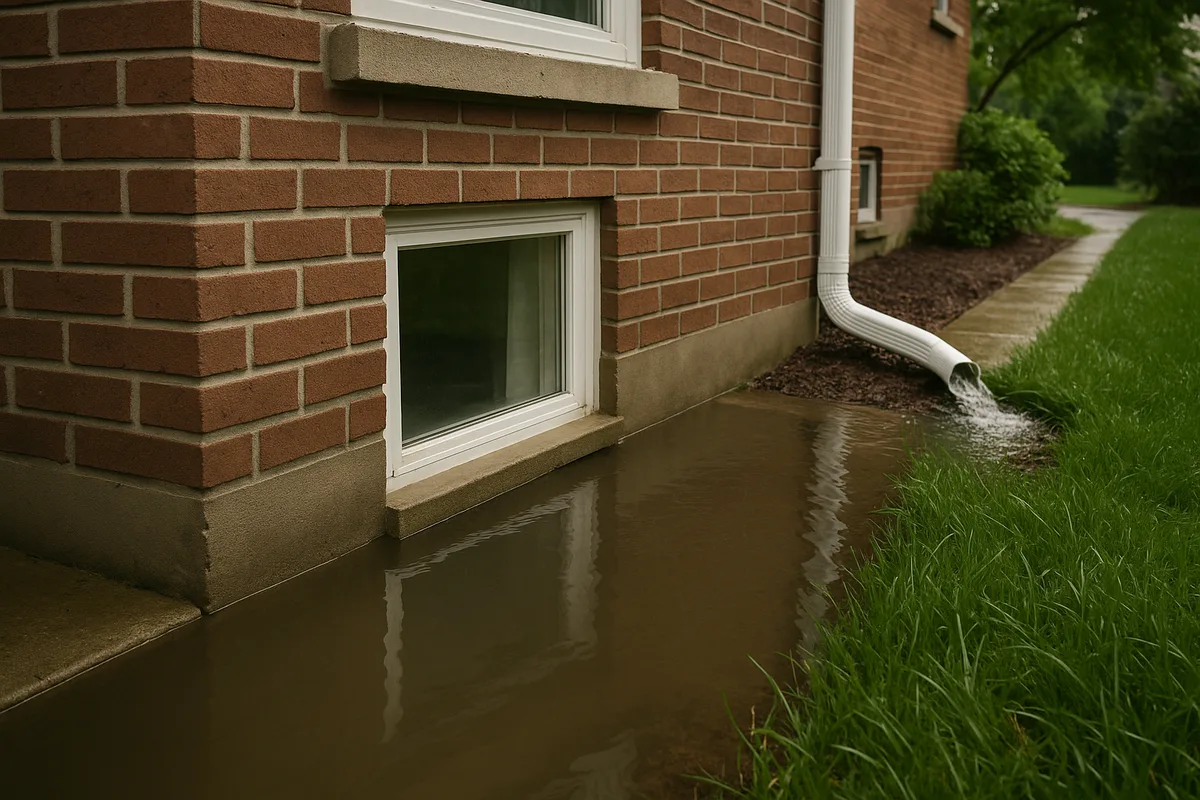
Water in Your Basement After Rain: How to Diagnose the Source
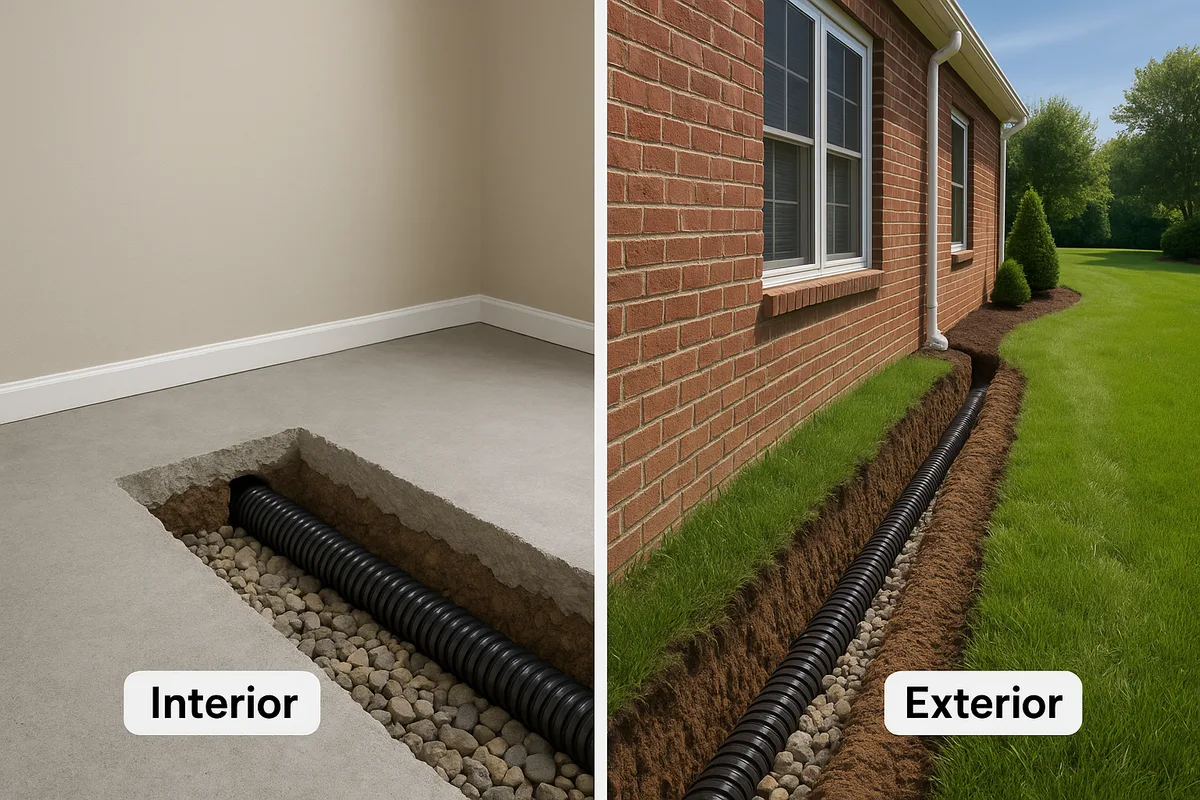
Interior vs. Exterior French Drains: Which One Solves Your Problem?