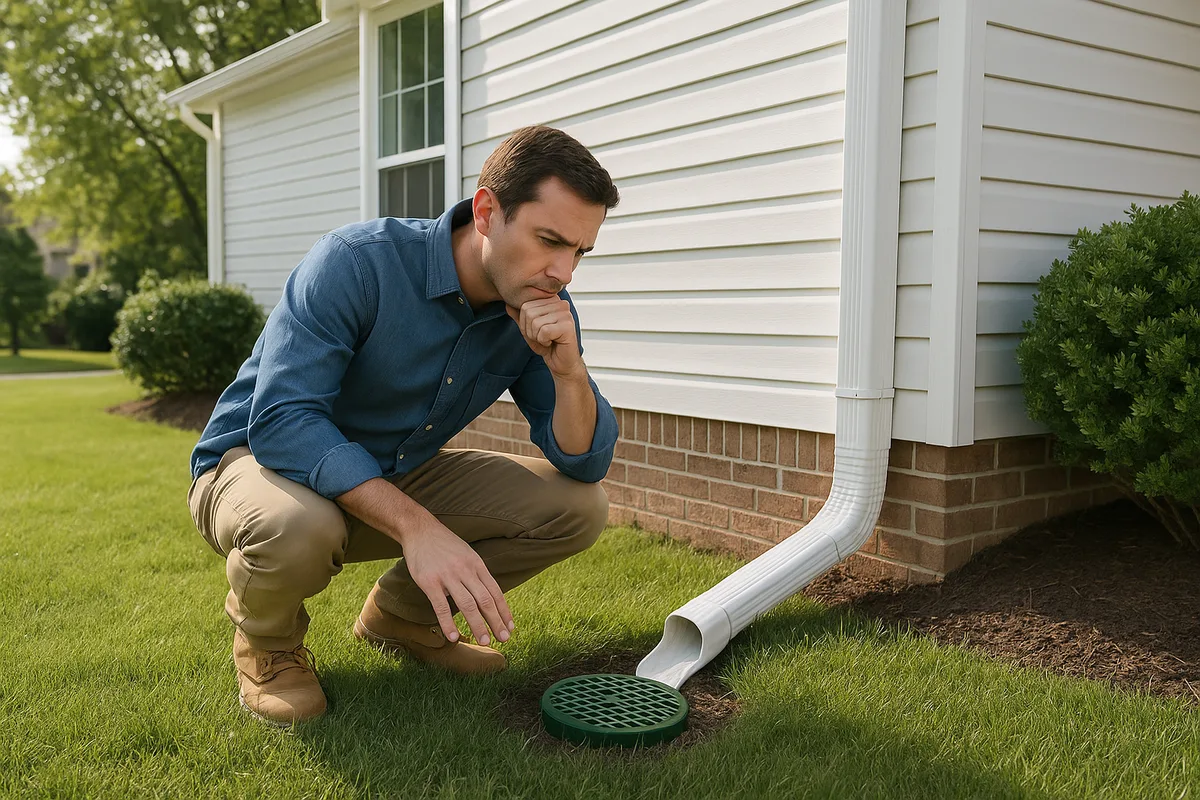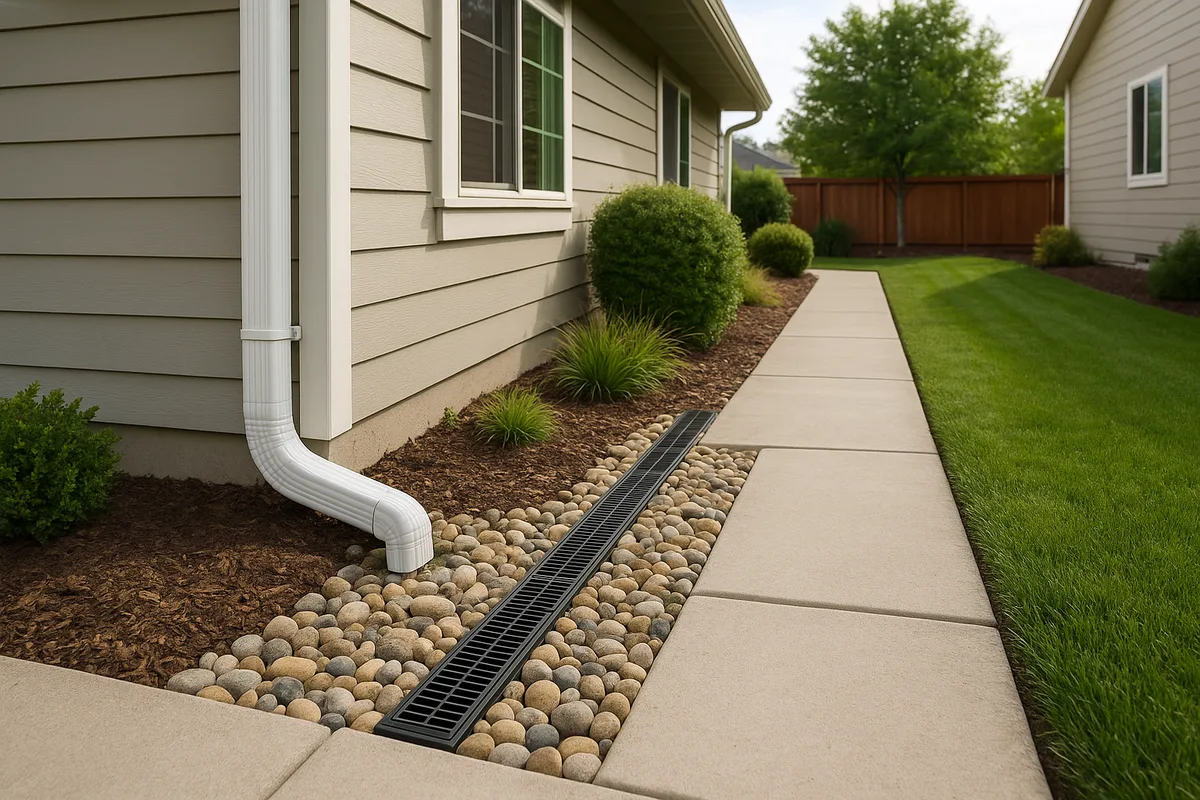
How to Avoid Over-Engineering (or Under-Engineering) Drainage Solutions
Every year, homeowners across the country spend thousands of dollars on drainage systems that are either far more elaborate than necessary or dangerously inadequate for the conditions they face. The sweet spot — a well-optimized drainage design that matches the actual scope of the problem — is where lasting protection and smart budgeting intersect. Getting there requires understanding your property's unique topography, soil conditions, rainfall patterns, and risk profile. It also demands the discipline to resist both the temptation to over-build "just in case" and the urge to cut corners to save a few dollars.
This guide walks you through the principles of right-sizing drainage for residential properties. Whether you're a homeowner planning a backyard renovation, a contractor bidding a grading job, or an inspector evaluating an existing system, the goal is the same: match the solution to the problem — nothing more, nothing less.
What Does It Mean to Over-Engineer or Under-Engineer Drainage?
Before diving into solutions, it's worth defining the problem. Over-engineering a drainage system means installing capacity, materials, or complexity that far exceeds what the site conditions demand. A classic example is a homeowner who installs a full French drain system with a sump pump around the entire perimeter of a home that only has a minor surface grading issue on one side. The system works, sure — but it cost $12,000 when a $2,000 regrading project would have solved the problem completely.
Under-engineering is the opposite and often more dangerous mistake. This happens when a drainage solution is too small, too shallow, poorly routed, or made from materials that can't handle the hydraulic load. A 4-inch corrugated pipe tasked with handling runoff from a 5,000-square-foot impervious area during a 25-year storm event will fail — not a question of if, but when. Under-engineered systems create a false sense of security, and the resulting failures often cause more damage than if nothing had been installed at all, because they concentrate water in unintended locations.
The concept of design optimization sits between these two extremes. An optimized drainage design accounts for the actual volume and velocity of water the system needs to manage, uses appropriately sized components, follows the natural topographic logic of the site, and includes a reasonable margin of safety without gold-plating every element. It's engineering with purpose rather than engineering with anxiety or negligence.
Understanding Your Drainage Scope: The Foundation of Right-Sizing
The single most important step in avoiding both over-engineering and under-engineering is accurately defining your drainage scope. This means answering a series of fundamental questions before any pipe goes in the ground or any dirt gets moved.
Quantify the Water Source
Where is the water coming from? Residential drainage problems generally fall into a few categories: surface runoff from rainfall, subsurface water from a high water table, roof runoff from downspouts, or overland flow from neighboring properties. Each source has different volume characteristics and requires different solutions.
Surface runoff is driven by rainfall intensity, the size of the contributing drainage area (called the catchment or watershed), and the permeability of the surfaces within that area. A 2,000-square-foot roof during a 2-inch-per-hour rainfall event generates roughly 2,500 gallons per hour. That's a quantifiable number you can design around. Subsurface water, by contrast, is driven by soil permeability, water table elevation, and seasonal fluctuation — a fundamentally different problem requiring fundamentally different solutions.
Many over-engineered systems result from conflating these sources. A homeowner sees water in the basement and assumes they need a perimeter drain tile system, when the actual cause is a disconnected downspout dumping 600 gallons per storm event against the foundation wall. Fixing the downspout extension — a $50 solution — eliminates the problem entirely.
Map the Topography
Understanding the elevation changes across your property is non-negotiable for proper drainage design. Water follows gravity, and the micro-topography of a residential lot determines where water collects, where it flows, and where it exits. Even a 1-inch depression across a 20-foot span can create a persistent puddle that feels like a major drainage failure.
Professional topographic surveys provide elevation data accurate to within a tenth of a foot, which is sufficient for most residential drainage design. For larger properties or complex terrain, LiDAR-derived elevation data from the USGS 3D Elevation Program can provide a useful starting point, though it typically lacks the resolution needed for lot-level grading decisions.
The key insight from topographic analysis is identifying the natural drainage pathways — the low points, swales, and ridgelines that define how water moves across the landscape. Effective drainage design works with these natural patterns rather than against them. Over-engineered systems often try to fight topography, installing elaborate pipe networks to move water uphill or across natural divides when a simple swale following the existing grade would accomplish the same thing.
Assess Soil Conditions
Soil type directly determines how much water infiltrates versus how much runs off the surface. The NRCS classifies soils into four hydrologic soil groups (A through D), ranging from well-drained sandy soils (Group A, infiltration rates above 0.30 inches per hour) to poorly drained clay soils (Group D, infiltration rates below 0.05 inches per hour). You can look up your property's soil classification using the NRCS Web Soil Survey.
This data matters enormously for right-sizing. On a Group A sandy soil, a rain garden or dry well can absorb substantial runoff volumes, and you may need minimal piped infrastructure. On Group D clay, infiltration-based solutions are largely ineffective, and you'll need to plan for surface conveyance and discharge. Installing a $4,000 dry well in heavy clay is a textbook over-engineering mistake — not because the system is too big, but because it's the wrong system entirely. Under-engineering on clay soils often looks like undersized surface swales that overflow because the designer assumed more infiltration than the soil can provide.
Common Signs of Over-Engineered Drainage
Recognizing over-engineering after the fact is relatively easy. Recognizing it during the design phase requires more discipline. Here are the most common patterns.
Oversized Pipe and Infrastructure
One of the most frequent over-engineering mistakes is installing pipe that's dramatically larger than the hydraulic calculations justify. A 6-inch smooth-wall PVC pipe can handle approximately 80 gallons per minute at a 1% slope. For most single-family residential applications — roof drainage, yard drains, foundation perimeter drains — 4-inch pipe is adequate, and 6-inch pipe provides a comfortable margin. Yet it's not uncommon to see 8-inch or even 12-inch pipe installed for residential drainage systems where the contributing area is a fraction of an acre.
Oversized pipe isn't just a material cost issue. Larger pipe requires deeper trenches, more gravel backfill, larger catch basins, and more labor. It also creates a self-cleaning velocity problem: water flowing through an oversized pipe moves slowly, allowing sediment to settle and eventually clog the system. Ironically, the over-engineered pipe can perform worse than a properly sized one because it never achieves the 2-3 feet per second flow velocity needed to keep the system clean.
Redundant Systems
Another hallmark of over-engineering is layering multiple drainage systems that serve the same function. A property might have a French drain, a surface swale, a catch basin with piped outlet, and a curtain drain — all addressing the same water source from the same direction. Each system individually might be appropriate, but stacking them creates unnecessary cost and maintenance burden.
Effective design optimization selects the single best approach for each identified problem and implements it well, rather than hedging with multiple overlapping solutions. There are legitimate cases where layered systems make sense — for example, combining a surface swale for heavy rainfall events with a subsurface French drain for chronic groundwater seepage — but each layer should address a distinct problem.
Specifying Premium Materials Where Standard Will Suffice
Using Schedule 40 PVC where SDR 35 is adequate, specifying stainless steel grates where galvanized steel meets the load requirements, or wrapping every drain line in geotextile fabric regardless of soil conditions — these are material-level over-engineering decisions that inflate costs without improving performance. Material selection should be driven by the specific conditions: soil chemistry, expected loads, UV exposure, freeze-thaw cycles, and design life. A 4-inch SDR 35 pipe buried 18 inches deep in a residential yard will last 50+ years and costs roughly half of what Schedule 40 costs per linear foot.
Common Signs of Under-Engineered Drainage
Under-engineering is often harder to spot during installation because the system looks clean and finished. The failures reveal themselves during the first significant storm event — or worse, gradually over years as cumulative damage compounds.
Inadequate Capacity
The most dangerous form of under-engineering is simply not moving enough water. This usually stems from one of three errors: underestimating the contributing drainage area, using outdated rainfall intensity data, or ignoring future development that will increase impervious surface area.
Rainfall intensity data is critical for sizing drainage systems. The Rational Method — the most common approach for small-site hydrology — calculates peak flow as Q = CiA, where C is the runoff coefficient, i is the rainfall intensity for the design storm, and A is the drainage area. Using a 10-year storm intensity when local codes require a 25-year design storm can undersize a system by 30-40%. Similarly, using a runoff coefficient of 0.35 (typical for a lawn) when the actual surface is 60% impervious (driveways, patios, roofs) will dramatically undercount the water volume.
Insufficient Slope
Pipe and channel slope is the engine that drives drainage systems. Without adequate slope, water moves too slowly, sediment accumulates, and the system's effective capacity drops over time. The minimum recommended slope for a 4-inch residential drain pipe is 1% (1/8 inch per foot), though 2% (1/4 inch per foot) is preferred for self-cleaning velocity.
Under-engineered systems frequently have sections of near-zero slope or even negative slope (bellies) caused by poor installation, inadequate compaction of the trench bed, or failure to account for settling. A pipe that was installed at 1% slope but settles unevenly over the first two years can develop low spots that trap water, breed mosquitoes, and eventually clog with sediment and biofilm.
Surface grading follows the same principle. The widely cited standard of maintaining a minimum 5% slope (6 inches of fall over 10 feet) away from the foundation exists because it provides a reliable margin above the practical minimum. Grading at exactly 2% might technically move water, but it leaves almost no margin for settling, landscaping changes, or measurement error.
Poor Outlet Design
Every drainage system needs somewhere to discharge. Under-engineered systems often neglect the outlet, terminating pipe at the property line with no erosion protection, discharging into an area that drains back toward the house, or connecting to a municipal system without verifying capacity or obtaining required permits.
A properly designed outlet includes erosion control (riprap, splash pads, or energy dissipaters), is positioned to discharge onto a stable surface or into an adequate receiving system, and is accessible for maintenance. Skipping these details saves a few hundred dollars during installation and can cost thousands in erosion damage, neighbor disputes, or municipal fines.
The Right-Sizing Framework: A Step-by-Step Approach
Achieving proper design optimization isn't about splitting the difference between too much and too little. It's about following a systematic process that matches each design decision to site-specific data.
Step 1: Define the Problem Precisely
Start by documenting exactly what's happening, where, and when. "The yard floods" is not a problem statement. "Standing water accumulates in the northwest corner of the backyard within 30 minutes of rainfall onset, reaching a depth of 3-4 inches, and takes 24-48 hours to drain" — that's a problem statement you can design around.
Take photos and videos during rain events. Measure the area of ponding. Note whether the water is coming from the surface (rainfall and runoff) or emerging from the ground (springs or high water table). This diagnostic phase is where most right-sizing decisions are actually made, because a precise problem definition eliminates entire categories of solutions.
Step 2: Calculate the Hydraulic Load
Using the Rational Method or a similar approach, calculate the peak flow rate your system needs to handle. For most residential sites, this involves:
- Delineating the drainage area — every square foot that contributes runoff to the problem area, including roof surfaces, driveways, patios, and upslope lawn areas.
- Determining the runoff coefficient — weighted by surface type. Impervious surfaces (roofs, concrete) use C = 0.90-0.95. Lawns on clay soil use C = 0.35-0.45. Lawns on sandy soil use C = 0.10-0.20.
- Selecting the design storm — typically a 10-year or 25-year recurrence interval storm, depending on local codes and the consequences of failure. Foundation protection systems should generally be designed to the 25-year standard or higher.
- Looking up rainfall intensity — for your location and the appropriate storm duration (usually equal to the time of concentration for the drainage area).
The resulting flow rate, in cubic feet per second or gallons per minute, is your design target. Size your pipes, channels, and storage to handle this flow with a reasonable safety factor — typically 10-20% above the calculated peak. Not 100%. Not 200%. A 10-20% margin accounts for calculation uncertainties without driving unnecessary cost.
Step 3: Select the Simplest Adequate Solution
With the hydraulic load defined, evaluate solutions in order of simplicity and cost:
- Regrading — Can the problem be solved by reshaping the ground surface to redirect water? This is almost always the most cost-effective and durable solution when it's feasible.
- Surface conveyance — Swales, berms, and surface channels that move water without buried infrastructure. Lower cost, easier to maintain, and visible for inspection.
- Downspout management — Extensions, splash blocks, or underground piped connections that move roof water away from the foundation. Often the highest-impact, lowest-cost intervention.
- Subsurface piped systems — French drains, yard drains with catch basins, and piped outlets. Appropriate when surface solutions aren't feasible due to space constraints, aesthetics, or the nature of the water source.
- Mechanical systems — Sump pumps, lift stations, and powered systems. Reserved for situations where gravity drainage is impossible, such as basements below the water table or properties with no gravity outlet.
This hierarchy isn't arbitrary. Each step up adds cost, complexity, and maintenance requirements. An optimized design uses the simplest solution that adequately addresses the calculated hydraulic load. Moving up the hierarchy is justified only when a simpler solution genuinely can't meet the performance requirement.
Step 4: Design for Maintenance
A drainage system that can't be maintained is an under-engineered system, regardless of its initial capacity. Every component should be accessible for inspection and cleaning. Cleanouts should be installed at changes in direction and at maximum intervals of 100 feet for buried pipe. Catch basin grates should be removable. Filter fabric, if used, should be appropriate for the soil type — using a fabric that's too fine for silty soil will cause premature clogging that's nearly impossible to remedy without excavation.
Over-engineering often manifests as systems that are too complex to maintain. A homeowner with a 15-catch-basin system connected by 400 feet of buried pipe is unlikely to perform the annual flushing and inspection that system requires. Within 5-10 years, sediment accumulation reduces effective capacity, and the expensive system performs no better than a simple swale would have.
Step 5: Build in Adaptability, Not Excess Capacity
Rather than oversizing every component "just in case," design systems that can be expanded or modified if conditions change. This might mean:
- Installing a wye fitting at a junction point so an additional line can be connected later without excavating the main trunk.
- Grading a swale with a gentle cross-slope that can be deepened if needed.
- Sizing the main trunk line for future capacity while using appropriately sized laterals for current conditions.
- Documenting the as-built system with photographs, measurements, and a simple site plan so future modifications can be designed intelligently.
This approach provides genuine future-proofing at a fraction of the cost of blanket oversizing. It acknowledges uncertainty without paying for it upfront.
Real-World Scenarios: Right-Sizing in Practice
Abstract principles become clearer with concrete examples. Here are three common residential drainage scenarios and how the right-sizing framework applies to each.
Scenario 1: Water Pooling Against Foundation
A homeowner notices water pooling against the foundation wall after moderate rainfall. The pooling area is approximately 6 feet wide and 15 feet long, reaching a maximum depth of 2 inches.
Under-engineered response: Adding a splash block to the nearest downspout and hoping for the best. This addresses one potential contributing factor but ignores the grading deficiency that allows water to collect against the foundation.
Over-engineered response: Installing a full perimeter French drain system with interior sump pump, exterior waterproofing membrane, and new foundation coating. Cost: $15,000-$25,000.
Right-sized response: Measure the existing grade. In this scenario, the grade slopes toward the foundation at approximately 1% for the first 8 feet. The solution is regrading this area to achieve a minimum 5% slope away from the foundation (6 inches of fall over 10 feet), extending the nearest downspout to discharge beyond the regraded area, and adding 3-4 inches of topsoil and seed to establish vegetation. Cost: $1,500-$3,000. This directly addresses the root cause — improper grading — without installing infrastructure the site doesn't need.
Scenario 2: Chronically Wet Backyard
A half-acre property with heavy clay soil (Hydrologic Soil Group D) has persistent standing water across approximately 3,000 square feet of the backyard. The water persists for 3-5 days after rainfall events.
Under-engineered response: Installing a single 4-inch French drain line down the center of the wet area. This is inadequate because the contributing area and low infiltration rate of clay soil generate far more water than a single drain line can intercept, and a French drain relies on water percolating through surrounding soil to reach the pipe — something clay soil does poorly.
Over-engineered response: Excavating the entire 3,000-square-foot area, installing a grid of drain lines on 8-foot centers with 12 inches of gravel, and piping everything to the street. Cost: $20,000-$35,000.
Right-sized response: Install a surface swale system that collects water via graded surface flow rather than subsurface infiltration (which clay soil resists). Two shallow swales (6-8 inches deep, 24-36 inches wide) graded at 1.5-2% slope, converging to a single piped outlet with a 6-inch smooth-wall pipe discharging to the street or a suitable outlet. The yard is regraded to create positive drainage toward the swales, eliminating the flat areas where water currently pools. Cost: $5,000-$8,000. This solution works with the clay soil's characteristics rather than fighting them.
Scenario 3: Basement Seepage During Heavy Rain
A homeowner reports water seeping through the basement wall-floor joint during heavy rainfall events (roughly 3-4 times per year). The seepage is limited to one wall — the uphill side of the house.
Under-engineered response: Applying hydraulic cement to the interior wall-floor joint. This treats the symptom (visible water entry) without addressing the cause (hydrostatic pressure from water accumulating against the foundation). The water will find another entry point.
Over-engineered response: Full interior and exterior waterproofing of all four basement walls, interior perimeter drain tile, sump pump with battery backup, and exterior curtain drain. Cost: $25,000-$40,000.
Right-sized response: Focus on the single affected wall. Exterior excavation along that wall to install a footing drain (4-inch perforated pipe in gravel, wrapped in filter fabric appropriate for the soil type), waterproofing membrane on the exposed foundation wall, and regrading the surface to direct water away from this area. If a gravity outlet exists, pipe the footing drain to daylight. If not, install a sump crock at the low end of the footing drain with a pump. Cost: $6,000-$10,000. This addresses the specific problem at the specific location without treating walls that show no signs of water intrusion.
When Professional Drainage Design Is Worth the Investment
Not every drainage project requires a professional engineer, but certain conditions make professional drainage design not just valuable but essential.
Complex Topography and Multiple Contributing Areas
When water reaches your property from multiple directions, or when the lot has complex elevation changes with several low points and ridgelines, the interactions between drainage pathways can be difficult to predict without modeling. A professional can perform hydrologic calculations for each sub-watershed on the property and design an integrated system that handles all of them without creating new problems.
Regulatory Requirements
Many municipalities require engineered drainage plans for any project that disturbs more than a certain area of land (often 5,000 square feet or more) or alters existing drainage patterns. Some jurisdictions require stormwater detention or retention — meaning you can't simply pipe water off your property faster; you need to temporarily store it and release it at a controlled rate. These requirements add significant complexity that benefits from professional design.
High-Consequence Situations
When the cost of failure is high — a finished basement, a structurally sensitive foundation, a property with a history of flooding, or a site adjacent to a waterway with environmental regulations — the investment in professional design pays for itself by reducing risk. A $3,000-$5,000 engineering fee that prevents a $50,000 foundation repair is an excellent return on investment.
Disputes with Neighbors
Drainage disputes between neighbors are among the most common and contentious property conflicts. If your drainage solution could be perceived as directing water onto a neighbor's property, having a professional engineer's stamp on the design provides both technical assurance and legal protection. Most jurisdictions follow the "reasonable use" doctrine, which means you can't alter natural drainage patterns to concentrate water onto a neighbor's land.
Budgeting for Right-Sized Drainage: What to Expect
One of the drivers of both over-engineering and under-engineering is poor budgeting. Homeowners who don't know what drainage solutions should cost are vulnerable to contractors who either upsell unnecessary work or lowball with inadequate solutions.
Here are realistic cost ranges for common residential drainage solutions in 2026, assuming average soil conditions and moderate site complexity:
- Regrading (per 100 linear feet along foundation): $800-$2,500
- Downspout extensions (per downspout, buried pipe to daylight): $300-$800
- Surface swale (per 50 linear feet, including grading and seeding): $500-$1,500
- French drain (per linear foot, including pipe, gravel, and fabric): $25-$50
- Catch basin with piped outlet (per basin, including 25 feet of pipe): $600-$1,200
- Dry well (each, including excavation and gravel fill): $1,500-$3,500
- Sump pump system (interior, including crock, pump, and discharge line): $1,500-$3,500
- Exterior foundation waterproofing (per linear foot, including excavation): $80-$150
These ranges help calibrate expectations. If a contractor quotes $15,000 for a project that involves 60 feet of French drain and two catch basins, the math doesn't add up — that's a potential over-engineering (or overcharging) situation. Conversely, if a quote for a comprehensive yard drainage system serving 4,000 square feet of contributing area comes in at $2,000, the scope is almost certainly inadequate.
Maintaining the Balance Over Time
Right-sizing isn't a one-time decision. Drainage conditions change as properties age, landscapes mature, and climate patterns shift. A system that was perfectly sized at installation may become under-engineered as trees grow and root systems alter subsurface flow paths, as neighboring properties add impervious surfaces that increase runoff onto your land, or as rainfall intensity increases due to changing climate patterns.
Annual inspection of drainage systems is the minimum maintenance standard. Check for:
- Sediment accumulation in catch basins (clean when sediment reaches one-third of the sump depth)
- Erosion at discharge points
- Settlement or damage to surface grading
- Proper function of sump pumps (test annually at minimum)
- Vegetation growth obstructing swales or inlet grates
- Changes in water behavior — new areas of ponding, faster accumulation, or slower drainage
When you observe changes, resist the urge to add more infrastructure as a first response. Revisit the right-sizing framework: define the new problem precisely, calculate the hydraulic load, and select the simplest adequate solution. Often, the right response to a changing condition is modifying the existing system — regrading a swale that has silted in, extending a pipe that no longer reaches far enough, or adding a single catch basin to intercept a new flow path — rather than layering on an entirely new system.
The goal of right-sizing drainage is not perfection. It's proportionality. A drainage system should be proportional to the problem it solves, proportional to the risk it mitigates, and proportional to the property's value and the owner's tolerance for maintenance. When you achieve that proportionality, you get a system that protects your property reliably, lasts for decades, and doesn't drain your bank account in the process.
At Low Point Labs, we specialize in helping homeowners and professionals understand the drainage dynamics of their properties through detailed topographic and drainage intelligence. Before you design, build, or modify any drainage system, start with the data. Our assessments give you the precise elevation, slope, and flow-path information you need to right-size your solution from the start — so you invest exactly where it matters and not a dollar more. Explore our drainage assessment services to build your next project on a foundation of accurate, site-specific intelligence.
See Drainage Intelligence in Practice
Talk with our team or request an invitation to the platform.
Frequently Asked Questions
Signs of over-engineering include pipe sizes significantly larger than needed (e.g., 8-inch pipe for a single downspout connection), multiple overlapping systems addressing the same water source, and total project costs that seem disproportionate to the problem. If your system includes a sump pump but you have a viable gravity outlet, or if you have French drains in sandy soil where simple regrading would suffice, the system is likely over-engineered.
A 4-inch diameter pipe is the standard minimum for most residential yard drainage applications, including downspout connections and individual yard drain catch basins. For trunk lines collecting flow from multiple inlets, 6-inch pipe is typically appropriate. Pipe should be smooth-wall (not corrugated) for buried applications to maximize flow capacity and minimize clogging.
The minimum recommended slope for a 4-inch residential drain pipe is 1% (1/8 inch per foot of run), though 2% (1/4 inch per foot) is preferred to maintain self-cleaning flow velocity. Insufficient slope leads to sediment buildup and reduced capacity over time. Always verify slope with a level during installation rather than relying on visual estimation.
Simple projects like downspout extensions, minor regrading, and single-line French drains are within the capability of experienced DIYers. However, projects involving multiple drainage areas, connections to municipal systems, foundation waterproofing, or properties with regulatory requirements (stormwater detention, wetland setbacks) should involve a professional. Always check local permit requirements before starting work.
Inspect drainage systems at least once per year, ideally in spring before the wet season. Catch basins should be cleaned when sediment reaches one-third of the sump depth. Sump pumps should be tested annually. After any major storm event, walk the system to check for erosion at outlets, standing water over drain lines, or new areas of ponding that indicate a change in conditions.
The biggest mistake is skipping the diagnostic phase and jumping straight to a solution. Without understanding where the water is coming from, how much there is, and why it's accumulating, homeowners often install the wrong type of system or size it incorrectly. Spending time and a modest budget on site assessment — measuring grades, identifying flow paths, and understanding soil conditions — prevents costly errors in both directions.
Related Articles
How to Turn a Basic Yard Maintenance Customer into a High-Ticket Drainage Client
Building Drainage Estimates Based on Real-World Site Conditions