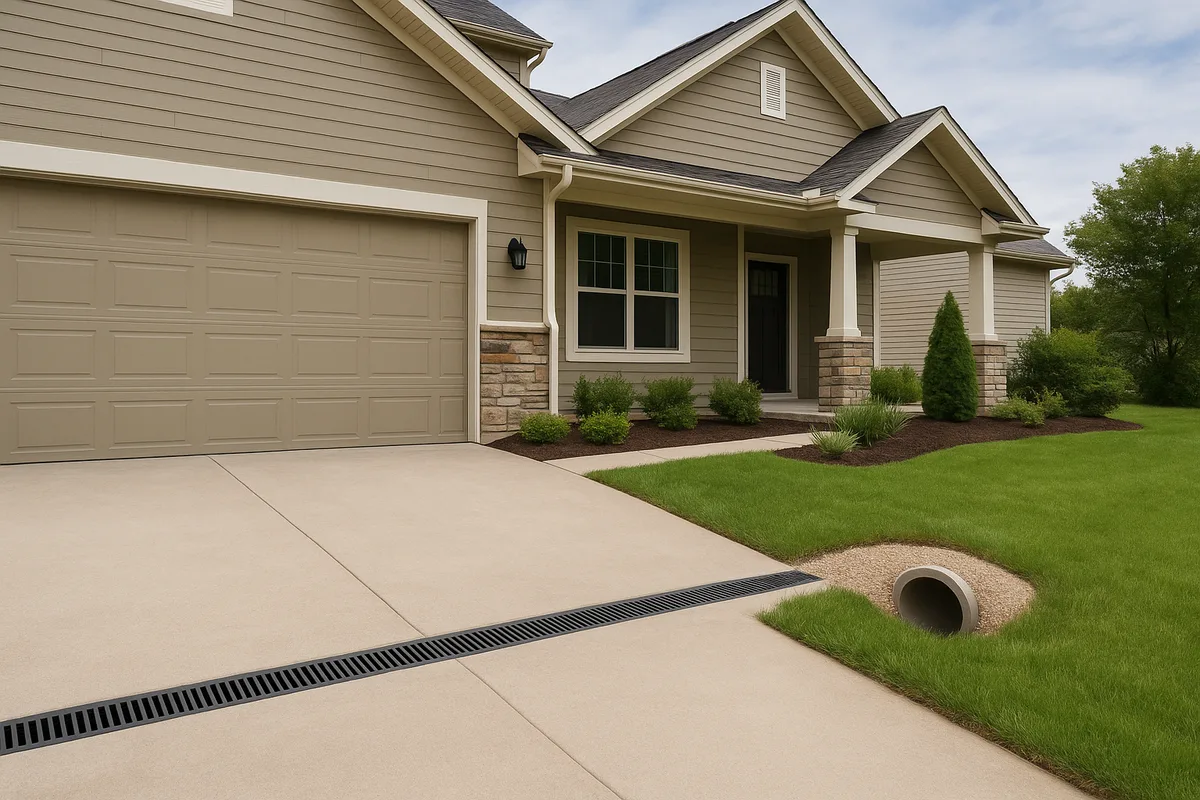
Driveway Drainage Solutions: Channel Drains, Culverts, and Grading
Every time it rains, your driveway becomes a test of how well your property manages water. Poor driveway drainage turns driveways into rivers, creates hazardous standing water, accelerates pavement deterioration, and can funnel thousands of gallons of stormwater directly toward your foundation. Whether you're dealing with a flat driveway that puddles, a sloped driveway that sends a torrent toward your garage, or a rural driveway that crosses a natural drainage path, the right combination of channel drains, culverts, and grading can transform your driveway from a liability into a functional part of your property's stormwater system.
This guide breaks down the three primary driveway drainage strategies — channel drains, culverts, and grading — explaining when each solution applies, how they work together, and what it takes to install them correctly. We'll cover the engineering principles, material choices, sizing calculations, and common mistakes that separate a lasting drainage solution from one that fails in the first heavy storm.
Why Driveway Drainage Matters More Than You Think
Driveways are among the largest impervious surfaces on residential properties. A typical two-car driveway measuring 20 feet wide by 40 feet long creates 800 square feet of surface that sheds virtually 100% of the rain that falls on it. During a moderate rainfall of one inch per hour, that single driveway generates roughly 500 gallons of runoff per hour — water that must go somewhere.
When driveway drainage is inadequate, the consequences compound over time. Standing water infiltrates pavement joints and cracks, then expands during freeze-thaw cycles, causing spalling, heaving, and premature failure in both concrete and asphalt surfaces. Water that pools at the base of a sloped driveway can saturate the soil around your foundation, increasing hydrostatic pressure against basement walls and creating conditions for seepage, cracking, and structural damage. In cold climates, pooled water freezes into sheets of ice that create serious slip-and-fall hazards.
Beyond property damage, poor driveway drainage contributes to broader neighborhood stormwater problems. Uncontrolled runoff from driveways erodes adjacent landscaping, carries sediment and pollutants into storm drains and waterways, and can overwhelm downstream drainage infrastructure. Many municipalities now regulate impervious surface runoff, and homeowners may be required to manage stormwater on-site as part of building permits or local ordinances.
The good news is that driveway drainage problems are solvable. The key is understanding the specific drainage challenge you face and selecting the right tool — or combination of tools — to address it.
Understanding Your Driveway's Drainage Problem
Before selecting a solution, you need to diagnose the specific drainage issue. Driveway drainage problems generally fall into four categories, and each calls for a different approach.
Water Pooling on a Flat or Low-Spot Driveway
If water collects in puddles on the driveway surface, the issue is typically insufficient slope or the presence of low spots (sometimes called "birdbaths"). This is common on older driveways where the subbase has settled, or on driveways that were poured without adequate crown or cross-slope. The solution usually involves regrading the driveway surface, installing a driveway channel drain to intercept water before it pools, or both.
Water Flowing Toward the Garage or House
Sloped driveways that descend toward an attached garage or below-grade entry are among the most dangerous drainage scenarios. A driveway that drops even a few feet over its length can funnel enormous volumes of water toward the structure. A 20-foot-wide driveway collecting runoff from both its own surface and the street above can deliver over 1,000 gallons per hour to the garage door during a heavy storm. Channel drains installed across the driveway at the base of the slope are the standard solution.
Water Crossing the Driveway Path
In rural and semi-rural properties, driveways often cross natural drainage swales, ditches, or seasonal streams. Water needs to pass under or across the driveway without eroding the driveway surface or damming up on the uphill side. Culverts are the primary solution for this scenario, allowing water to flow beneath the driveway through a pipe or box structure.
Sheet Flow from Adjacent Areas
Sometimes the driveway itself drains fine, but water from the yard, hillside, or neighboring property flows across the driveway, causing erosion along the edges and depositing sediment on the surface. This requires a combination of grading to redirect flow and interceptor drains positioned uphill of the driveway to capture water before it reaches the pavement.
To properly assess your situation, observe your driveway during an actual rainstorm. Note where water enters the driveway, the direction it flows, where it pools, and where it exits. Take photos and measurements. This firsthand observation is more valuable than any theoretical analysis. For a more detailed understanding of your property's topography and how water moves across it, elevation data from sources like the USGS 3D Elevation Program can help you understand the broader drainage context of your lot.
Channel Drains: The Workhorse of Driveway Drainage
A driveway channel drain — also called a trench drain or linear drain — is a narrow, elongated drain set flush with the driveway surface. It intercepts sheet flow across its full width, capturing water and routing it through an underground pipe to an appropriate discharge point. Channel drains are the most common and effective solution for driveways that funnel water toward structures, and they're the standard of care for any sloped driveway that terminates at a garage or below-grade entry.
How Channel Drains Work
A channel drain consists of three components: the channel body (a U-shaped or V-shaped trough), a grate that covers the top and supports traffic loads, and an outlet that connects to a drainpipe. Water flowing across the driveway surface hits the grate, drops into the channel body, flows along the channel to the outlet, and is carried away by the drainpipe to a storm drain, dry well, rain garden, or other discharge point.
The channel body is typically made from polymer concrete, fiberglass-reinforced plastic, or high-density polyethylene (HDPE). Polymer concrete channels are the most durable and are preferred for driveways because they resist cracking under vehicle loads, tolerate freeze-thaw cycles, and maintain their shape over decades. HDPE channels are lighter and less expensive but may deform under heavy loads if not properly supported.
Grates come in a variety of materials and load ratings. For residential driveways, Class C (AASHTO H-20) grates are appropriate — these are rated for passenger vehicle traffic up to 16,000 pounds per axle. Grate materials include ductile iron, galvanized steel, stainless steel, and reinforced polymer. Ductile iron grates are the most durable and are standard for driveway applications. Decorative grates in various patterns and finishes are available for homeowners who want the drain to blend with their driveway aesthetic.
Sizing a Driveway Channel Drain
The channel must be wide and deep enough to handle the peak flow rate during a design storm. For residential driveways, engineers typically design for the 10-year, 1-hour rainfall intensity, which varies by location. In much of the eastern United States, this ranges from about 2 to 4 inches per hour.
To calculate the flow rate, use the Rational Method: Q = C × i × A, where Q is the flow rate in cubic feet per second, C is the runoff coefficient (0.90–0.95 for concrete or asphalt), i is the rainfall intensity in inches per hour, and A is the contributing drainage area in acres. For a typical driveway plus adjacent contributing area of 2,000 square feet (0.046 acres) with a rainfall intensity of 3 inches per hour and a runoff coefficient of 0.95:
Q = 0.95 × 3 × 0.046 = 0.131 cfs (approximately 59 gallons per minute)
Most standard 4-inch-wide residential channel drains can handle 40–80 GPM depending on the channel slope, so a single run across a standard driveway will typically suffice. For wider driveways, steeper contributing slopes, or higher rainfall areas, a 6-inch or 8-inch channel may be necessary.
Installation Best Practices
Proper installation is critical to channel drain performance and longevity. The channel must be set in a concrete haunch — a bed of concrete at least 4 inches thick on all sides — that anchors the channel body and prevents it from shifting under traffic loads. The top of the grate should sit approximately 1/8 inch below the surrounding driveway surface to ensure water flows into the drain rather than over it.
The channel itself should slope at a minimum of 0.5% (1/16 inch per foot) toward the outlet to ensure captured water flows to the discharge point rather than sitting in the channel. For long runs, multiple outlets may be needed. The outlet pipe should be a minimum of 4 inches in diameter (6-inch is preferred) and should connect to the discharge point with a continuous fall — no sags or bellies in the pipe.
One of the most common installation mistakes is placing the channel drain in the wrong location. For a driveway that slopes toward a garage, the channel drain should be positioned at least 12 inches in front of the garage door — far enough to intercept all flow before it reaches the door, but close enough that water doesn't bypass the drain by flowing around the ends. The channel should extend at least 6 inches beyond the driveway edges on each side, or connect to curbing that prevents end-run flow.
Maintenance Requirements
Channel drains require regular maintenance to function properly. Leaves, sediment, and debris accumulate in the channel body and can reduce capacity by 50% or more if not cleaned. At a minimum, clean the channel and grate twice per year — once in spring and once in fall — and after any storm that deposits significant debris. Removable grates make cleaning straightforward: lift the grate sections, scoop or flush out accumulated material, and replace the grates.
Inspect the outlet pipe annually for blockages. A garden hose inserted into the channel outlet should produce a strong flow at the discharge point. If flow is weak or absent, the pipe may be clogged and may need to be jetted or snaked.
Culverts: Moving Water Under the Driveway
When a driveway crosses a ditch, swale, or drainage channel, a culvert is the standard solution. A culvert is a pipe or box structure installed beneath the driveway that allows water to flow from one side to the other without overtopping or eroding the driveway surface. Culverts are most common on rural and semi-rural properties where driveways cross roadside ditches at the property entrance, but they're also used in suburban settings where driveways cross natural drainage paths.
Types of Culverts
The most common residential culvert types are corrugated metal pipe (CMP), corrugated HDPE plastic pipe, reinforced concrete pipe (RCP), and concrete box culverts.
Corrugated metal pipe has been the traditional choice for decades. It's strong, relatively inexpensive, and available in diameters from 12 inches to several feet. However, CMP is susceptible to corrosion, especially in acidic soils or areas with high water tables. Galvanized CMP typically lasts 25–50 years depending on soil and water chemistry. Aluminized steel CMP offers better corrosion resistance.
Corrugated HDPE pipe has become increasingly popular for residential culverts. It's lightweight, corrosion-resistant, and easier to install than metal or concrete. Dual-wall HDPE pipe (smooth interior, corrugated exterior) offers excellent hydraulic performance because the smooth interior reduces friction losses. HDPE culverts can last 50–100 years. The primary concern is structural capacity — HDPE pipe relies on proper backfill and compaction for its structural integrity, so installation quality is critical.
Reinforced concrete pipe is the most durable option, with a service life of 75–100+ years. RCP handles heavy loads without depending on backfill support, making it the best choice for driveways that will carry heavy vehicles (delivery trucks, construction equipment). However, RCP is heavy, expensive, and requires equipment to install.
Concrete box culverts are used when the flow volume exceeds what a round pipe can handle, or when the available cover depth (the distance from the top of the culvert to the driveway surface) is limited. Box culverts provide a larger cross-sectional area in a shallower profile.
Sizing a Driveway Culvert
Culvert sizing is more complex than channel drain sizing because it involves not just flow capacity but also headwater depth, tailwater conditions, pipe slope, and inlet configuration. Undersized culverts cause water to back up on the upstream side, potentially flooding adjacent areas or overtopping the driveway. Oversized culverts waste money and may create erosion problems at the outlet due to concentrated flow.
For most residential driveway culverts crossing roadside ditches, local municipalities or county road departments specify minimum culvert sizes — typically 12 to 18 inches in diameter, though larger sizes may be required depending on the watershed area. Always check with your local jurisdiction before installing a culvert, as permits are usually required and specific sizing criteria may apply.
As a general rule of thumb for small watersheds (under 10 acres), a 15-inch diameter culvert handles approximately 10–15 cubic feet per second, which is adequate for most residential ditch crossings. An 18-inch culvert handles 20–25 cfs, and a 24-inch culvert handles 35–50 cfs. These figures assume the culvert is installed at a reasonable slope (1–2%) and is not submerged at the outlet.
Installation Considerations
Culvert installation requires careful attention to several factors:
Invert elevation: The bottom (invert) of the culvert should match the natural channel bottom on both the upstream and downstream sides. Setting the culvert too high creates a dam effect; setting it too low creates a pool at the inlet that collects sediment.
Slope: The culvert should be installed at the same slope as the natural channel, or at a minimum slope of 1% to ensure self-cleaning flow velocities. Steeper slopes increase velocity, which can cause erosion at the outlet.
Cover depth: There must be sufficient soil cover between the top of the culvert and the driveway surface to distribute vehicle loads. Minimum cover is typically one foot for most pipe materials, though manufacturer specifications may vary. For HDPE pipe, minimum cover requirements are especially important because the pipe depends on soil support for its structural capacity.
Bedding and backfill: The culvert should rest on a prepared bed of compacted granular material (not rocks or chunks that create point loads). Backfill should be placed in 6-inch lifts and compacted to at least 95% Standard Proctor density on both sides of the pipe simultaneously to prevent the pipe from shifting.
Headwalls and endwalls: Concrete or stone headwalls at the inlet and outlet of the culvert prevent erosion around the pipe ends, discourage burrowing animals from undermining the installation, and improve hydraulic efficiency. For residential culverts, flared end sections (metal or plastic fittings that flare out at the pipe ends) are a cost-effective alternative to full headwalls.
Erosion protection: Place riprap (loose stone) at the culvert outlet to dissipate flow energy and prevent scour. An apron of 4–6-inch stone extending at least 4 feet beyond the outlet and twice the pipe diameter in width is a standard detail for residential culverts.
Grading: The Foundation of All Driveway Drainage
Before installing any drain or culvert, proper grading is the first and most fundamental driveway drainage strategy. Grading — shaping the ground surface to direct water flow — determines whether water moves away from structures, stays off the driveway surface, and reaches drainage infrastructure efficiently. No channel drain or culvert can compensate for fundamentally poor grading.
Driveway Cross-Slope
Every driveway should have a cross-slope — a slight side-to-side tilt that sheds water off the pavement surface to one or both sides. The minimum recommended cross-slope for a residential driveway is 2% (1/4 inch per foot of width). For a 20-foot-wide driveway with a single-direction cross-slope, this means one edge is 5 inches higher than the other. A crowned driveway (higher in the center, sloping to both edges) sheds water to both sides with a 2.5-inch rise at the center.
Cross-slope is especially important for long, relatively flat driveways where water would otherwise travel the full length of the driveway before reaching a low point. With proper cross-slope, water exits the pavement within a few feet of where it lands, reducing the volume of flow at any single point.
Longitudinal Slope
The longitudinal slope — the slope along the length of the driveway — controls how quickly water moves from the high end to the low end. For flat driveways, a minimum longitudinal slope of 1% (1/8 inch per foot) is needed to prevent ponding. Steeper slopes move water faster but increase flow velocity and erosion potential at the discharge point.
For driveways that slope toward a garage or house, the longitudinal slope is both the drainage challenge and the drainage driver. The steeper the slope, the faster and more voluminous the flow at the bottom, and the more critical it becomes to install an adequately sized channel drain before the water reaches the structure.
Grading Adjacent to the Driveway
The land on both sides of the driveway must be graded to either accept water shed from the driveway surface or direct water away from the driveway. Ideally, the ground adjacent to the driveway should slope away from the pavement edge at a minimum of 2% for at least 6–10 feet. If the adjacent ground slopes toward the driveway, water from the yard will flow onto the driveway, increasing the volume the driveway drainage system must handle.
Swales — shallow, vegetated channels — along the edges of the driveway are an effective way to collect water shed from the pavement and convey it to a discharge point. A typical driveway edge swale is 12–18 inches wide and 4–6 inches deep, with side slopes no steeper than 3:1 (horizontal to vertical) for mowability and safety. The swale should slope at a minimum of 1% toward its outlet.
Grading for New Driveway Construction
If you're building a new driveway, grading is your opportunity to get drainage right from the start. Work with your contractor to establish finish grades that incorporate proper cross-slope, adequate longitudinal slope, and positive drainage away from all structures. The subgrade (the soil surface beneath the pavement) should mirror the finish grade — subgrade depressions will settle over time and create surface low spots even if the pavement was initially smooth.
Compaction of the subgrade is essential. Poorly compacted subgrade settles unevenly, creating the low spots and reverse slopes that cause ponding. The subgrade should be compacted to at least 95% Standard Proctor density and proof-rolled (driven over with a loaded vehicle) to identify soft spots before paving.
Regrading an Existing Driveway
Regrading an existing driveway is more challenging and may involve partial or full replacement of the pavement surface. For concrete driveways with minor low spots, mud-jacking (pumping a slurry beneath the slab to raise it) or polyurethane foam injection can level the surface without full replacement. For asphalt driveways, an overlay (a new layer of asphalt over the existing surface) can correct minor grade issues, though the overlay must be thick enough (minimum 1.5 inches) to be structurally viable.
For severe grading problems — reverse slopes, major settlement, or driveways that were built at the wrong elevation — full removal and replacement may be the only lasting solution. While expensive, this approach allows you to correct the subgrade, install proper drainage infrastructure, and build the driveway to current standards.
Combining Solutions for Complex Driveway Drainage
Most real-world driveway drainage problems require a combination of grading, channel drains, and sometimes culverts working together as an integrated system. Understanding how these elements interact is essential to designing a solution that works.
The Sloped Driveway System
Consider a common scenario: a driveway that slopes down from the street to an attached garage. The complete drainage system for this situation typically includes:
- Street-level grading that directs street runoff away from the driveway entrance, preventing off-site water from entering the driveway.
- Driveway cross-slope that sheds rainwater falling directly on the driveway surface to the edges, reducing the volume that reaches the bottom.
- Edge swales or landscaped areas along the driveway sides that collect and absorb water shed from the cross-slope.
- A driveway channel drain installed across the full width of the driveway at the base of the slope, positioned in front of the garage door to intercept all remaining flow.
- A discharge pipe that carries water from the channel drain to an appropriate outlet — typically the street gutter, a storm drain, or a dry well located away from the foundation.
Each element reduces the burden on the next. Without cross-slope and edge swales, the channel drain at the bottom must handle the entire driveway's runoff. With them, the channel drain only handles the flow that wasn't captured upstream.
The Rural Driveway System
A rural driveway that extends from a county road across a drainage ditch and up to a house presents a different set of challenges:
- A culvert at the road ditch that allows ditch water to flow beneath the driveway without interruption. The culvert must be sized for the ditch's peak flow and installed at the proper elevation and slope.
- Driveway grading that crowns the driveway surface and sheds water to both sides, preventing the driveway from becoming a channel during storms.
- Additional culverts or low-water crossings where the driveway crosses natural drainage paths on the property.
- Ditch maintenance along the driveway edges to convey water to natural drainage outlets.
- A channel drain or diversion berm near the house if the driveway slopes toward the structure.
The Flat Lot System
Flat properties present unique challenges because there's minimal natural slope to drive water movement. Solutions for flat driveway drainage include:
- Engineered cross-slope and longitudinal slope — even 1% slope is enough to move water if the surface is smooth and continuous.
- Multiple channel drains placed at intervals along the driveway to capture water before it accumulates.
- Subsurface drainage — perforated pipe in a gravel trench beneath the driveway edge to lower the water table and prevent water from welling up through joints.
- Dry wells or infiltration chambers at the discharge point, since flat lots often lack a convenient gravity outlet for drainage pipes.
Materials, Costs, and Choosing the Right Products
Selecting the right materials for your driveway drainage project affects both performance and longevity. Here's a practical breakdown of the most common options and what to expect.
Channel Drain Materials Comparison
Polymer concrete channels are the gold standard for driveway applications. They're impervious to water, resist chemical attack from deicing salts and petroleum products, and maintain dimensional stability across temperature extremes. Expect to pay $15–$40 per linear foot for the channel body alone, depending on width and depth. Leading manufacturers include ACO, Zurn, and NDS.
HDPE channels (such as the NDS Dura Slope or similar products) are a budget-friendly alternative at $5–$15 per linear foot. They're adequate for light-duty residential driveways but may deform under heavy loads or in extreme heat. HDPE channels are a reasonable choice for driveways that only see passenger vehicle traffic and are in moderate climates.
Grate costs range from $5–$25 per linear foot depending on material. Cast iron and ductile iron grates are the most durable. Galvanized steel grates are less expensive but may corrode over time, especially in coastal or high-salt environments. Plastic grates are the least expensive but are only suitable for pedestrian areas — never use plastic grates on a driveway.
Culvert Materials Comparison
Corrugated HDPE pipe (dual-wall) is the most popular choice for residential culverts. A 15-inch diameter pipe costs approximately $5–$10 per linear foot. It's lightweight enough for two people to handle, cuts easily with a reciprocating saw, and connects with simple snap or bell-and-spigot joints.
Corrugated metal pipe costs $8–$15 per linear foot for 15-inch diameter, depending on gauge and coating. It's heavier and harder to cut but provides greater structural strength without depending on backfill quality.
Reinforced concrete pipe costs $15–$30 per linear foot for 15-inch diameter and requires heavy equipment for installation. It's the most durable option and is justified for driveways that will carry heavy truck traffic or where the culvert is in a location that makes future replacement extremely difficult.
Total Project Costs
A typical residential driveway channel drain installation — including the channel, grate, outlet pipe, concrete haunch, and connection to an existing storm drain — runs $1,500–$5,000 for a 20-foot run. Costs increase significantly if the discharge pipe must run a long distance or if a new dry well or infiltration system is needed at the outlet.
A residential culvert installation at a ditch crossing typically costs $1,000–$4,000, including the pipe, headwalls or end sections, bedding material, backfill, and surface restoration. Costs vary widely based on pipe size, ditch depth, and whether the driveway surface must be removed and replaced.
Regrading a driveway without replacing the pavement (adjusting adjacent grades, adding swales, modifying berms) typically costs $500–$2,000. Full driveway removal and replacement with corrected grades can cost $5,000–$15,000 or more depending on size and material.
Common Mistakes and How to Avoid Them
Driveway drainage projects have a high failure rate when done without proper planning. Understanding the most common mistakes can save you from costly rework.
Undersizing the Drainage System
The single most common mistake is installing drainage infrastructure that's too small for the actual flow volume. Homeowners and even some contractors size drains based on average rainfall rather than peak storm intensity. Your driveway drainage system doesn't need to handle average rain — it needs to handle the worst storm it will reasonably encounter. Design for the 10-year storm at a minimum. If the consequences of failure are severe (flooding a finished basement, for example), design for the 25-year or even 100-year storm. You can look up local rainfall intensities for various return periods using NOAA Atlas 14, which provides precipitation frequency estimates for any location in the United States.
Ignoring the Discharge Point
A channel drain or culvert is only as good as its outlet. If the discharge pipe empties into a low area with no outlet, you've simply moved the flooding problem from the driveway to the yard. Before installing any drain, identify where the water will go and confirm that the discharge point can handle the volume. Acceptable discharge points include municipal storm drains (with permission), roadside ditches, natural drainage channels, dry wells sized for the expected volume, and rain gardens designed for stormwater infiltration.
Never discharge concentrated driveway runoff onto a neighboring property. This can create legal liability and is prohibited in most jurisdictions.
Poor Pipe Slope and Connections
Drainage pipes must maintain continuous downhill slope from the drain inlet to the discharge point. Even a small sag or belly in the pipe will collect sediment, reduce capacity, and eventually clog. Use rigid pipe (Schedule 40 PVC or solid-wall HDPE) rather than flexible corrugated pipe for discharge runs, as rigid pipe maintains its slope over time while flexible pipe can sag between support points.
All pipe connections should be watertight. Loose joints allow soil infiltration, which clogs the pipe from the outside in. Use solvent-welded PVC joints or gasketed connections — never rely on friction-fit connections for buried drainage pipe.
Neglecting Maintenance Access
Every drainage system needs maintenance access points. Channel drains should have removable grates for cleaning. Long discharge pipe runs should include cleanout fittings every 50–75 feet and at every change in direction. Culverts should have clear access at both ends for inspection and cleaning. Without maintenance access, even a well-designed system will eventually fail due to sediment accumulation and debris blockage.
Forgetting About Freeze-Thaw
In cold climates, water trapped in drainage infrastructure expands when it freezes, potentially cracking channels, bursting pipes, and heaving concrete. Ensure all drainage pipes are installed below the frost line or at a slope steep enough that they drain completely between storms. Channel drains in freeze-thaw zones should be polymer concrete (which tolerates freeze-thaw better than standard concrete) and should be designed to drain completely rather than holding standing water.
Permits, Regulations, and Professional Help
Driveway drainage work often requires permits, especially when it involves connecting to municipal storm drains, installing culverts in public rights-of-way, or altering natural drainage patterns. Before starting any project, check with your local building department and public works department about permit requirements.
When Permits Are Typically Required
Culvert installations at road ditch crossings almost always require a permit from the local road authority (city, county, or state department of transportation). The permit will typically specify minimum culvert size, material, and installation standards. Some jurisdictions will install the culvert for you as part of a driveway approach permit; others require you to hire a contractor and have the work inspected.
Connections to municipal storm drains require permission from the local stormwater utility. Some jurisdictions prohibit new connections entirely, requiring on-site stormwater management instead. Others allow connections but require a stormwater management plan showing that the volume and rate of discharge won't exceed the system's capacity.
Grading work that changes natural drainage patterns may require a grading permit, especially if it affects neighboring properties or wetlands. In many jurisdictions, any earthwork exceeding a certain volume (often 50–100 cubic yards) triggers a grading permit requirement.
When to Hire a Professional
Simple channel drain installations on flat or gently sloped driveways are within the capability of experienced DIYers. However, professional help is strongly recommended for sloped driveways where failure risks flooding a structure, culvert installations that involve significant earthwork or must meet regulatory standards, projects requiring connection to municipal storm systems, and any situation where the drainage area exceeds the driveway itself (hillside runoff, neighboring property contributions).
A civil engineer or licensed drainage contractor can perform proper flow calculations, design the system to handle design storms, ensure compliance with local regulations, and take responsibility for the work. The cost of professional design — typically $500–$2,000 for a residential driveway drainage plan — is modest compared to the cost of a failed installation or a flooded garage.
Driveway drainage may not be the most glamorous home improvement project, but it's one of the most consequential. A well-designed system combining proper grading, strategically placed channel drains, and correctly sized culverts protects your pavement, your foundation, and your property value for decades. The investment in getting driveway drainage right — whether through professional design or careful DIY planning — pays dividends every time it rains.
See Drainage Intelligence in Practice
Talk with our team or request an invitation to the platform.
Frequently Asked Questions
A driveway should have a minimum cross-slope of 2% (1/4 inch per foot of width) to shed water to the sides, and a minimum longitudinal slope of 1% (1/8 inch per foot of length) to prevent ponding. Driveways that slope toward a garage should have a channel drain at the base to intercept runoff before it reaches the structure.
Most residential driveways are adequately served by a 4-inch-wide channel drain, which can handle 40–80 gallons per minute depending on the channel slope. For wider driveways, steep slopes, or high-rainfall areas, a 6-inch or 8-inch channel may be necessary. The drain should extend the full width of the driveway.
A typical driveway channel drain installation costs $1,500–$5,000 for a 20-foot run, including the channel body, grate, outlet pipe, concrete haunch, and connection to a discharge point. Costs increase if a long discharge pipe run or a new dry well is needed.
Most residential driveway culverts crossing roadside ditches are 12–18 inches in diameter, though your local road department may specify a minimum size. A 15-inch culvert handles approximately 10–15 cubic feet per second, which is sufficient for most small ditch crossings. Always check local permit requirements before installation.
Simple channel drain installations on flat or gently sloped driveways are feasible for experienced DIYers with concrete skills. However, driveways that slope toward a garage or house should be handled by a professional, since an improperly installed drain could result in structural flooding. Professional design is recommended when failure consequences are significant.
Clean the channel and grate at least twice per year — in spring and fall — by removing the grate sections and scooping or flushing out accumulated leaves, sediment, and debris. Inspect the outlet pipe annually by running a garden hose through the system and checking for strong flow at the discharge point. Clear any blockages promptly.
Related Articles
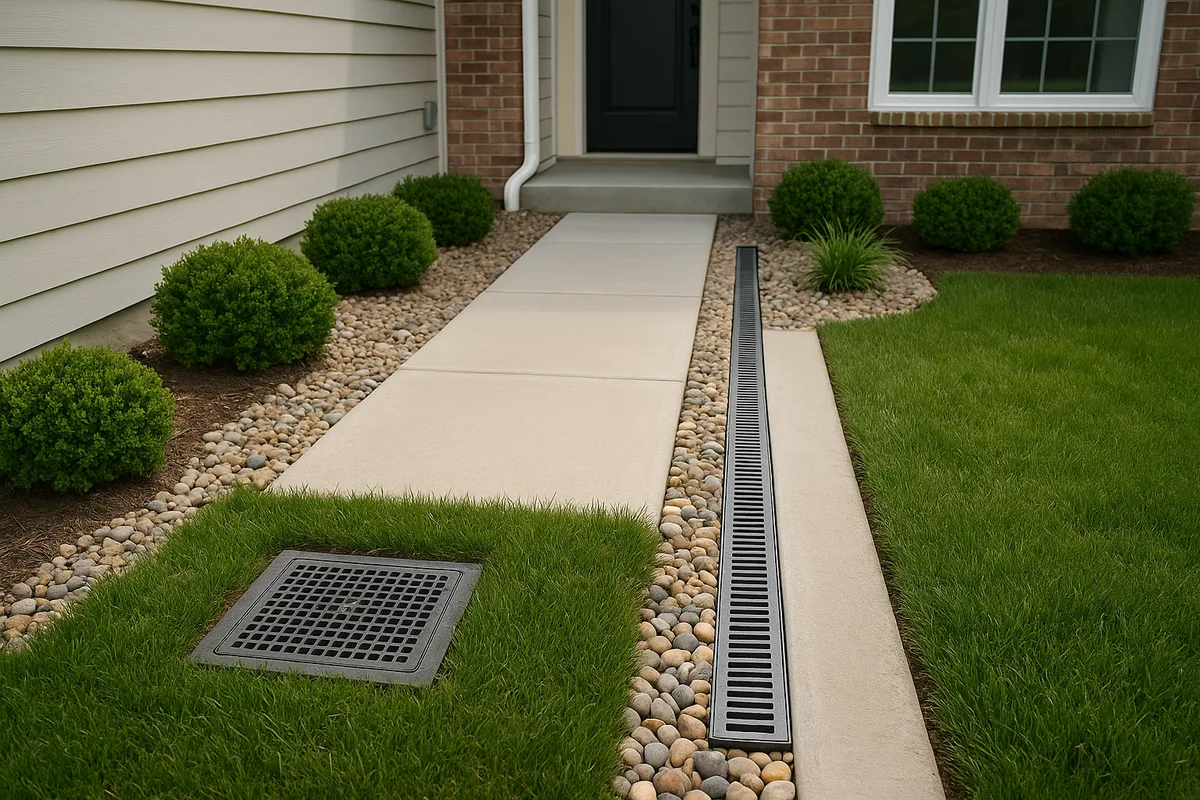
Catch Basins vs. Channel Drains: Choosing the Right Surface Drainage
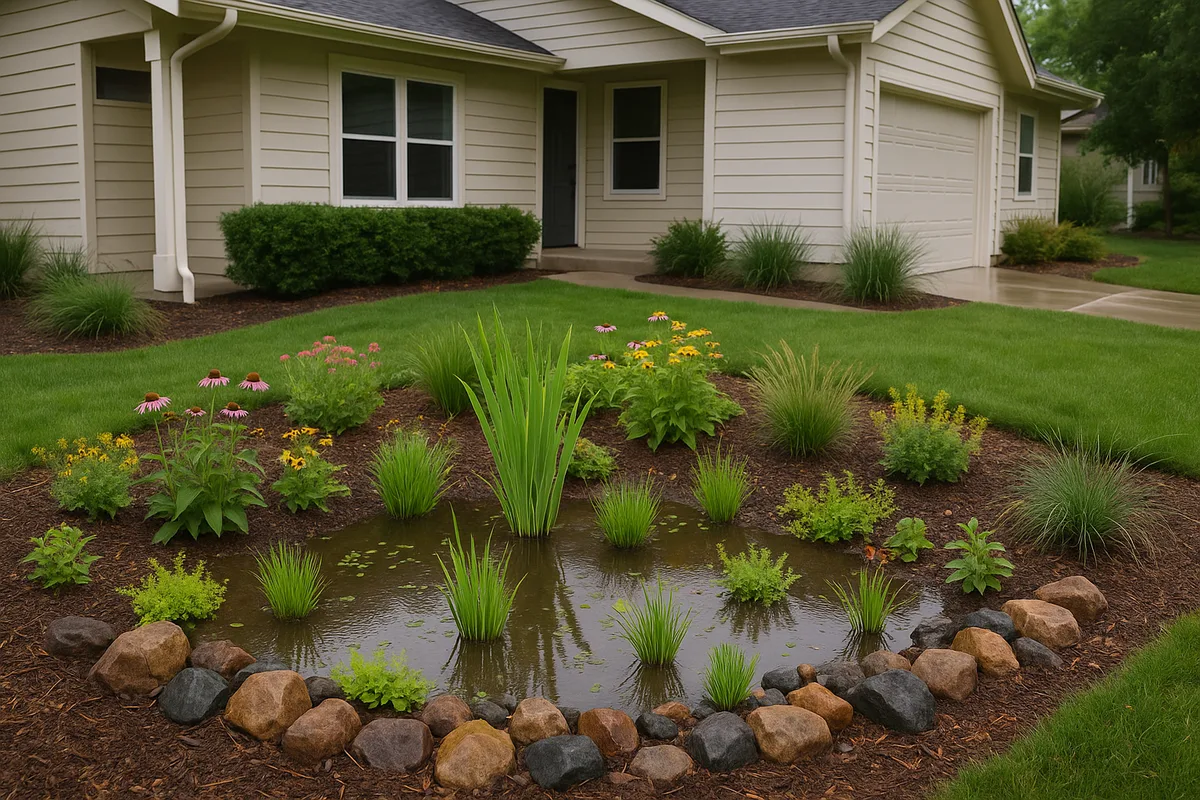
Rain Gardens: Do They Actually Solve Drainage Problems?