Dry Creek Beds for Drainage: When Function and Decoration Collide
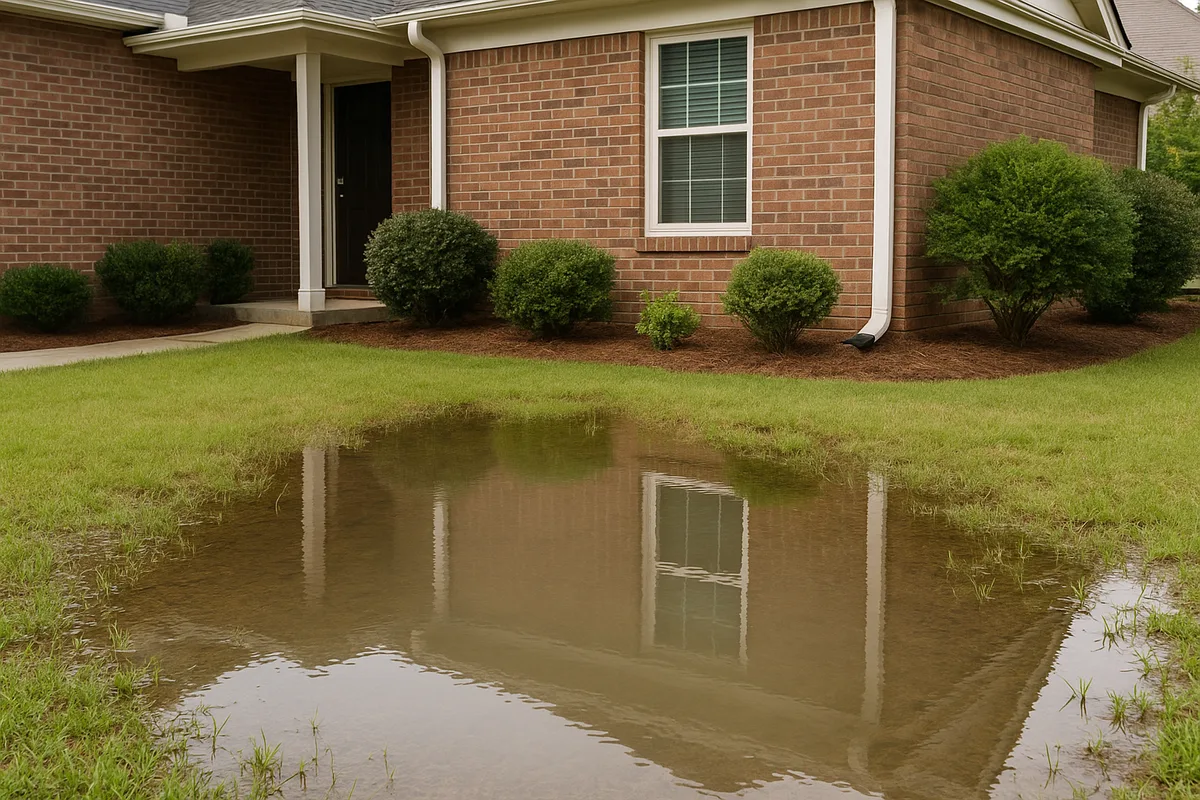
A dry creek bed can be one of the most effective and visually appealing drainage solutions for a residential property — or it can be an expensive pile of rocks that traps water in your yard. The difference comes down to whether the creek bed was designed to actually move water or simply to look like it does.
The popularity of dry creek bed drainage has surged over the past decade, driven by landscaping shows, Pinterest boards, and a genuine need for attractive stormwater solutions. But this popularity has also led to a flood of poorly designed installations that prioritize aesthetics over hydraulics. At Low Point Labs, we see the consequences regularly: homeowners who invested thousands of dollars in a beautiful dry creek bed only to discover it ponds water, erodes during storms, or diverts runoff toward their foundation instead of away from it.
This guide draws a clear line between decorative creek beds and functional ones, explains the engineering principles that make them work, and gives you the knowledge to ensure your dry creek bed does what it's supposed to do — move water safely and efficiently across your property.
What Is a Dry Creek Bed and How Does It Work?
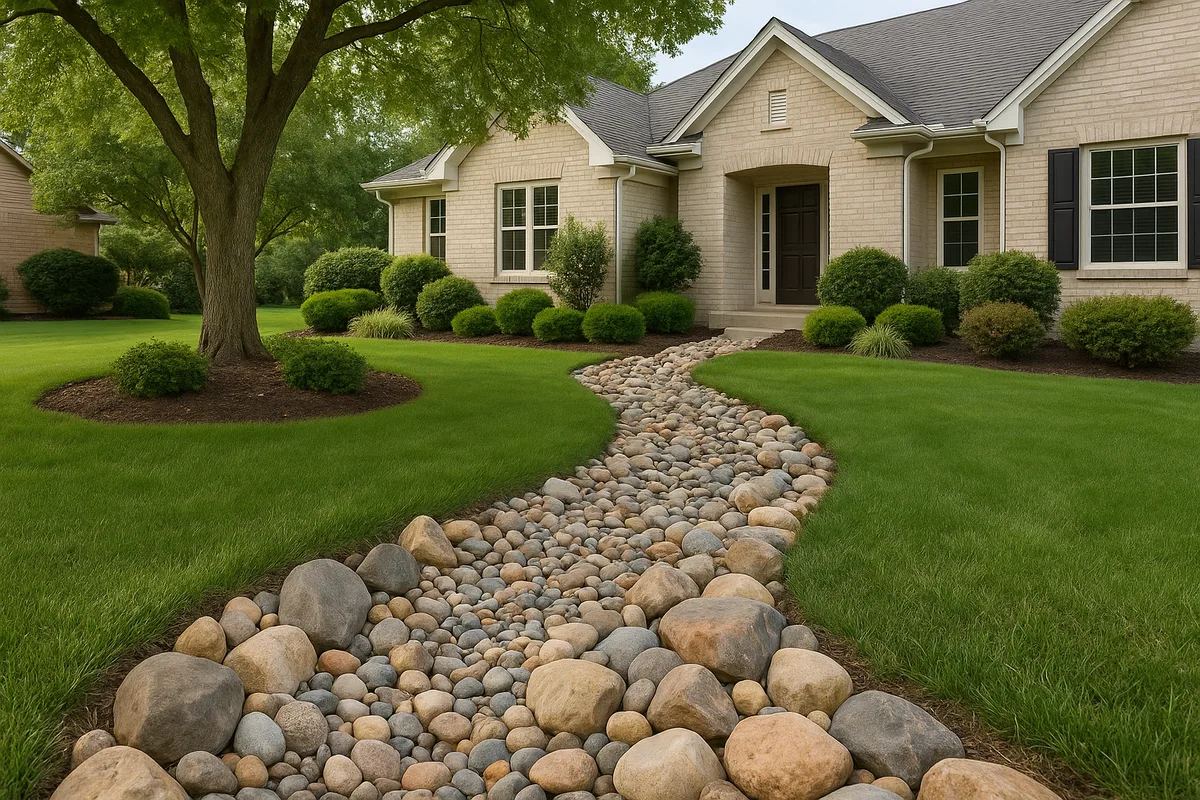
A dry creek bed is a shallow, rock-lined channel designed to mimic the appearance and function of a natural stream. During dry weather, it looks like a dried-up streambed — an attractive landscape feature filled with river rock, boulders, and sometimes native plantings. During rain events, it becomes an active waterway, collecting surface runoff and conveying it to a designated discharge point.
The concept is borrowed from nature. In arid and semi-arid climates, ephemeral streams — channels that only carry water after rainfall — are a dominant landscape feature. They've evolved over millennia to handle intermittent flows efficiently, using natural grade changes, rock armoring, and meandering paths to slow and direct water without catastrophic erosion. A well-designed residential dry creek bed replicates these principles at a smaller scale.
Functionally, a dry creek bed operates as an open channel conveyance system. Water enters at an upstream collection point (often a downspout discharge, a slope transition, or a natural low point in the yard), flows through the rock-lined channel under the force of gravity, and exits at a downstream discharge point (such as a rain garden, infiltration area, storm drain, or property boundary). The rocks serve multiple purposes: they armor the channel against erosion, slow the velocity of flowing water through friction, and filter sediment and debris.
The critical distinction is that a functional dry creek bed requires a continuous downhill grade from inlet to outlet. Without that grade, water has nowhere to go. It simply fills the channel and sits there — or worse, overflows in unintended directions. This is the single most common failure point, and it's where the gap between decorative and functional design becomes a chasm.
Decorative vs. Functional: Understanding the Critical Differences
Not every dry creek bed needs to carry water. Some are purely decorative landscape features — visual elements that add texture, contrast, and a sense of natural movement to a garden design. There's nothing wrong with a decorative creek bed, as long as you know that's what you're building and it doesn't interfere with your property's existing drainage patterns.
The problems arise when homeowners or landscapers build a decorative creek bed and expect it to solve a drainage problem, or when a decorative installation inadvertently blocks or redirects natural drainage pathways. Here's how the two types differ across every critical dimension:
Grade and Flow Path
A functional dry creek bed follows a carefully surveyed grade — typically a minimum of 1% to 2% slope along the channel bottom from inlet to outlet. The flow path is continuous, meaning there are no high points, dams, or dead ends that would interrupt the movement of water. Every inch of the channel is designed to keep water moving toward the discharge point.
A decorative creek bed, by contrast, often follows whatever path looks most natural or fits the landscape design. It may meander through flat areas, terminate at a planting bed, or even run slightly uphill in places. These design choices look fine when the creek is dry but become serious liabilities during a storm.
Channel Sizing
Functional creek beds are sized to handle a specific volume of water. Engineers and experienced contractors calculate the expected flow rate based on the contributing drainage area, soil type, slope, and local rainfall intensity data. The channel width, depth, and rock size are all selected to accommodate that flow without overtopping.
Decorative creek beds are typically sized based on visual proportion — what looks right relative to the surrounding landscape. A 12-inch-wide decorative creek bed might look charming winding through a perennial garden, but if it's receiving runoff from 2,000 square feet of roof and hardscape, it will be overwhelmed in any moderate rain event.
Substrate and Underlayment
Functional installations typically include a carefully designed substrate. This might include a layer of compacted base material to prevent undermining, landscape fabric or geotextile to suppress weed growth while allowing water infiltration, and properly graded subsoil beneath the rock. Some functional designs incorporate a perforated pipe (essentially creating a hybrid French drain/creek bed system) buried beneath the rock to handle subsurface flow.
Decorative creek beds often place rocks directly on existing soil or over a simple weed barrier, with little attention to what happens beneath the surface. This can lead to settlement, shifting rocks, weed infiltration, and — if the soil is clay-heavy — water pooling beneath the rock layer with nowhere to drain.
Discharge Point
This is perhaps the most telling difference. A functional dry creek bed always has a defined discharge point — a specific location where water exits the system. This might be a rain garden, a dry well, a municipal storm drain connection, a bioswale, or simply a graded area that disperses flow across a vegetated surface.
Decorative creek beds frequently just... end. They trail off into a mulch bed, terminate at a fence line, or simply stop where the homeowner ran out of rocks. Without a discharge point, any water that enters the system has no way to leave, turning the creek bed into an elongated puddle.
Designing a Dry Creek Bed That Actually Drains
If your goal is a dry creek bed drainage solution that genuinely manages stormwater, the design process needs to start with hydrology, not aesthetics. Here's the systematic approach that separates successful installations from expensive failures.
Step 1: Assess the Drainage Problem
Before sketching a single curve, you need to understand what water you're dealing with. Walk your property during a rainstorm and observe where water collects, where it flows, and where it causes problems. Identify the source (roof runoff, overland sheet flow, neighbor's property, rising water table), estimate the contributing area, and note the soil conditions.
The NRCS Web Soil Survey at https://websoilsurvey.nrcs.usda.gov is an invaluable free resource for understanding your soil's hydrologic characteristics. Soils are classified into Hydrologic Soil Groups A through D, with Group A soils (sandy, well-drained) infiltrating water rapidly and Group D soils (clay-heavy, poorly drained) generating significant runoff. This classification directly affects how much water your creek bed will need to handle and whether infiltration along the channel length is a realistic expectation.
Step 2: Establish the Grade
Using a laser level, builder's level, or even a long straightedge with a spirit level, establish the existing grade along your proposed creek bed route. You need a continuous downhill slope from the water source to the discharge point. A minimum slope of 1% (1 foot of drop per 100 feet of length) is needed to move water, but 2% to 3% is preferable for residential applications. Slopes steeper than 5% require additional erosion control measures such as check dams or step pools.
If your yard doesn't have enough natural grade to support a continuous slope, you have three options: regrading the channel path (excavating deeper at the upstream end and/or building up the downstream end), selecting a different route that follows existing contours, or choosing a different drainage solution altogether. Forcing a creek bed into a flat area without regrading is a recipe for standing water.
Step 3: Size the Channel
Channel sizing depends on the peak flow rate you need to convey. For residential applications, a simplified approach works well:
- Estimate the contributing drainage area in square feet (roof area, driveway, lawn sections that drain toward the creek bed).
- Determine the design rainfall intensity — for most residential drainage, designing for a 10-year, 1-hour storm event is appropriate. In much of the eastern United States, this is roughly 2 to 3 inches per hour.
- Apply the Rational Method: Q = C × I × A, where Q is the flow rate (cubic feet per second), C is the runoff coefficient (0.9 for roofs and concrete, 0.3-0.4 for lawns on clay soil, 0.1-0.2 for lawns on sandy soil), I is the rainfall intensity in inches per hour, and A is the area in acres.
- Size the channel to carry the calculated flow at the design slope. For most residential dry creek beds, a channel 18 to 36 inches wide and 8 to 12 inches deep is sufficient for drainage areas up to about 5,000 square feet.
When in doubt, oversize. A wider, shallower channel is almost always better than a narrow, deep one — it handles higher flows more gracefully, looks more natural, and is less prone to erosion.
Step 4: Select Appropriate Rock
Rock selection is where function and aesthetics genuinely overlap. The rocks need to be large enough to resist displacement by flowing water, varied enough in size to create natural-looking texture, and arranged to maximize friction and slow water velocity.
For the channel bottom, 3- to 6-inch river rock is the workhorse size for most residential applications. This is large enough to stay in place during moderate flows but small enough to create a natural, visually appealing streambed. Along the channel edges, larger boulders (12 to 24 inches) anchor the design and prevent lateral erosion. Smaller gravel (1 to 2 inches) fills gaps between larger stones and helps filter sediment.
Avoid using uniform, perfectly round decorative pebbles as your primary channel material. They look beautiful in a bag at the garden center, but they're easily displaced by flowing water and provide less friction than angular or mixed-size rock.
Step 5: Plan the Discharge
Every drop of water that enters your creek bed needs somewhere to go. Common discharge options include:
- Rain garden: A planted depression that receives and infiltrates creek bed outflow. This is the gold standard for residential applications — it manages water, supports pollinators, and looks beautiful.
- Dry well: A buried chamber filled with gravel that stores water and allows it to infiltrate slowly into surrounding soil. Best suited for sandy or loamy soils.
- Dispersal area: A broad, gently sloped vegetated area where concentrated flow from the creek bed spreads out into sheet flow and infiltrates or evaporates.
- Storm drain connection: Where permitted by local codes, a direct connection to the municipal storm drainage system.
- Property boundary discharge: Directing flow to a natural drainage course or easement. Be aware that many jurisdictions have regulations about concentrating flow and discharging it onto neighboring properties.
Common Mistakes That Turn Creek Beds Into Problems
After analyzing hundreds of residential drainage situations, we've identified the mistakes that most frequently undermine dry creek bed installations. Avoiding these pitfalls is as important as following best practices.
No Outlet (The Dead-End Creek Bed)
This is the number one failure mode. A creek bed that terminates in a mulch bed, a planting area, or against a fence is not a drainage solution — it's a water collection trench. During storms, water fills the channel, saturates the surrounding soil, and either overflows unpredictably or creates a persistent soggy area. If you can't identify a clear discharge point for your creek bed, you need to rethink the design.
Insufficient or Reversed Grade
Many homeowners eyeball the slope and assume their yard falls in a particular direction. Human perception of grade is notoriously unreliable — a slope that looks downhill can actually be flat or even slightly uphill. Always verify grade with a level. Even a short section of reversed grade (a low point in the middle of the channel) creates a dam that traps water and sediment.
Undersized Channel for the Contributing Area
A narrow, shallow creek bed receiving runoff from a large roof or driveway will overtop during any significant rain event. Overtopping isn't just ineffective — it can cause erosion along the channel banks and redirect water toward areas you were trying to protect, including your foundation. Size the channel for the worst-case scenario, not average conditions.
Directing Water Toward the Foundation
This sounds obvious, but it happens with alarming frequency. A creek bed that runs parallel to the foundation, or one that curves toward the house at any point along its path, can channel concentrated water directly to the most vulnerable part of your property. The universal rule is that all drainage features should direct water away from the foundation, maintaining a minimum clearance of 10 feet from the foundation wall at the nearest point.
Using Landscape Fabric as a Waterproof Barrier
Standard landscape fabric is designed to suppress weeds while allowing water to pass through. Some homeowners mistakenly use heavy-duty plastic sheeting or non-permeable barriers beneath their creek bed, thinking it will keep water in the channel. Instead, it prevents infiltration, creates a slippery surface that allows rocks to shift, and can cause water to pool and overflow. Use permeable geotextile fabric, not plastic sheeting.
Ignoring Sediment Management
Over time, sediment from upstream areas washes into the creek bed and accumulates between rocks. This gradually reduces the channel's capacity and can eventually clog the system entirely. Functional creek beds should include a sediment trap near the inlet — a slightly wider, deeper section where sediment settles and can be periodically cleaned out.
The Hybrid Approach: French Drain Meets Dry Creek Bed
One of the most effective residential drainage solutions combines the subsurface water management of a French drain with the surface conveyance and aesthetic appeal of a dry creek bed. This hybrid approach handles both surface runoff and subsurface water, providing redundancy that pure surface systems can't match.
The construction is straightforward: excavate the creek bed channel to a depth of 12 to 18 inches, line the bottom with permeable geotextile fabric, lay a 4-inch perforated PVC or corrugated pipe along the channel bottom (with perforations facing down), backfill around the pipe with clean drainage gravel (¾-inch to 1½-inch washed stone), and top with your decorative river rock and boulders.
During light rains, surface water flows through the rock layer and infiltrates into the gravel bed, where it enters the perforated pipe and is conveyed to the discharge point. During heavier rains, the surface channel activates, handling overflow that exceeds the pipe's capacity. The system essentially has two modes of operation — subsurface drainage for routine moisture and surface conveyance for storm events.
This hybrid design is particularly valuable in areas with clay soils (Hydrologic Soil Group C or D), where surface infiltration is limited and subsurface water management is critical. It's also ideal for situations where the creek bed receives both direct rainfall and concentrated flows from downspouts or other sources.
The perforated pipe should maintain a minimum slope of 1% (¼ inch per foot) and discharge to a positive outlet — a pop-up emitter, dry well, or storm drain connection. Ensure the pipe's discharge point is lower than any point along the pipe run to prevent backflow.
Maintenance: Keeping Your Creek Bed Functional for Years
A well-built dry creek bed is relatively low-maintenance compared to other drainage solutions, but "low maintenance" doesn't mean "no maintenance." Neglected creek beds gradually lose their effectiveness as organic debris accumulates, rocks shift, and sediment fills the channel.
Seasonal Inspection and Cleaning
Inspect your creek bed at least twice a year — once in spring after snowmelt and freeze-thaw cycles, and once in fall after leaves have dropped. During each inspection, look for:
- Displaced rocks: Stones that have been pushed downstream by water flow, creating gaps in the channel lining or accumulating at bends and constrictions.
- Sediment buildup: Fine soil, sand, or decomposed organic matter filling the spaces between rocks. When sediment fills more than half the depth between rocks, it's time to clean.
- Vegetation encroachment: Weeds, grass, and volunteer seedlings growing in the channel. While some edge vegetation is desirable for bank stabilization, plants growing in the channel bottom impede flow.
- Erosion at inlet or outlet: Scour holes forming where water enters or exits the creek bed, indicating flow velocities that exceed the erosion resistance of the surrounding soil.
- Standing water: Any persistent ponding more than 24 hours after rainfall indicates a grade problem, a blockage, or a failed discharge point.
Annual Rock Maintenance
Once a year, typically in spring, rake the channel rocks to redistribute them evenly, remove accumulated leaves and organic debris, and reposition any boulders that have shifted. If sediment buildup is significant, you may need to remove the top layer of rock, scoop out accumulated sediment, and replace the rock. For hybrid systems with a buried pipe, check that the pipe outlet is clear and flowing freely.
Addressing Erosion and Scour
If you notice erosion at bends, at the inlet, or at the outlet, the water velocity at those points is too high for the existing rock size. Solutions include adding larger boulders at the erosion point, installing a check dam (a line of larger rocks spanning the channel width) upstream to slow flow, or widening the channel at the problem area to reduce velocity.
For steep sections where erosion is persistent, consider installing step pools — a series of small rock dams that create a staircase effect, breaking the channel into a series of flat pools connected by short drops. Each pool dissipates energy and dramatically reduces downstream erosion.
Permits, Codes, and Neighbor Considerations
Before breaking ground on a dry creek bed, you need to understand the regulatory landscape. While most residential creek beds don't require permits, there are important exceptions that can result in fines, required removal, or liability for damages.
When Permits May Be Required
Most municipalities don't require permits for simple landscape features, but a dry creek bed drainage system that alters the natural flow of water on your property may trigger grading permit requirements. Common thresholds include:
- Moving more than 50 cubic yards of earth (varies by jurisdiction)
- Altering drainage patterns that affect neighboring properties
- Connecting to municipal storm drainage infrastructure
- Working within a designated floodplain or flood zone
- Disturbing areas near wetlands, streams, or other regulated water features
Check with your local building department or public works office before starting. A quick phone call can save you from costly violations.
The Neighbor Factor
Water law varies significantly by state, but a common principle across most jurisdictions is that you cannot concentrate and discharge water onto a neighboring property in a manner that causes damage. A dry creek bed that collects diffuse sheet flow from your yard and concentrates it into a channel that discharges onto your neighbor's property can create legal liability.
The safest approach is to manage water on your own property — discharge to an infiltration area, rain garden, or dry well within your property boundaries. If you must discharge toward a property boundary, ensure the flow is dispersed back into sheet flow before it crosses the boundary, and consider discussing your plans with affected neighbors before construction.
Flood Zone Considerations
If your property is in a FEMA-designated flood zone, additional regulations may apply. Any grading or fill work in a floodplain typically requires a floodplain development permit and must demonstrate that it doesn't increase flood elevations or redirect floodwaters. You can check your property's flood zone designation using the FEMA National Flood Map Service Center.
When a Dry Creek Bed Isn't the Right Solution
Dry creek beds are versatile, but they're not universal. Recognizing when a different approach is needed saves time, money, and frustration.
High Water Table
If your drainage problem is caused by a high water table rather than surface runoff, a creek bed won't help. Creek beds manage water flowing across the surface — they don't lower the water table or address hydrostatic pressure against your foundation. For high water table issues, you need subsurface drainage solutions such as a curtain drain, sump pump system, or interior perimeter drain.
Extremely Flat Properties
Properties with virtually no grade change (less than 0.5% slope across the entire yard) make functional creek bed design extremely challenging. Without adequate grade, you can't generate the gravitational flow needed to move water through the channel. In these situations, consider a rain garden or bioretention area that stores and infiltrates water in place, rather than trying to convey it across a flat surface.
Heavy Clay Soils With No Outlet
On properties with Group D clay soils and no access to a storm drain or natural drainage course, a surface creek bed alone may not provide enough capacity. Water flows across the surface into the creek bed but can't infiltrate through the clay beneath. Without a positive outlet, the system simply fills up. The hybrid French drain approach with a piped outlet is essential in these conditions.
Very Large Contributing Areas
If your creek bed would need to handle runoff from more than about 10,000 square feet of contributing area (roughly a quarter acre), the required channel size starts to exceed what's practical for most residential lots. At this scale, you're essentially building a stormwater conveyance system that may require engineering review and permitting. Consider breaking the contributing area into smaller zones, each served by its own drainage feature.
Foundation-Adjacent Drainage
While a creek bed can be part of a foundation drainage strategy, it should never be the primary defense against water intrusion at the foundation. Foundation drainage requires a dedicated system — typically a footing drain (perimeter drain) connected to a sump or gravity outlet, proper waterproofing or damp-proofing of the foundation wall, and correct surface grading (minimum 6 inches of fall in the first 10 feet from the foundation). A creek bed can receive and convey water from downspouts and surface grading away from the house, but it supplements rather than replaces proper foundation drainage.
Making Your Dry Creek Bed Beautiful AND Functional
The good news is that function and beauty are not mutually exclusive. In fact, the most visually appealing dry creek beds tend to be the ones that are designed to actually carry water, because natural streams are inherently beautiful and a well-engineered creek bed mimics their characteristics.
Natural Meandering
Straight channels look artificial and, paradoxically, are more prone to erosion than gently curving ones. Natural streams meander because curves dissipate energy — water slows on the inside of a bend and accelerates on the outside, creating a self-regulating flow pattern. Design your creek bed with gentle S-curves, keeping the radius of each curve at least twice the channel width. Place larger boulders on the outside of curves where erosion forces are highest.
Varied Rock Sizes
Natural streambeds contain a mix of rock sizes, from fine gravel to large boulders. Replicate this variety in your creek bed. Use 1- to 2-inch gravel as a base layer, 3- to 6-inch river rock as the primary channel fill, and strategically placed boulders (12 to 36 inches) as accent features and bank stabilizers. The varied sizes create visual interest and improve hydraulic performance by creating turbulence that dissipates energy.
Native Plantings Along the Banks
Edge plantings transform a rock channel into a landscape feature. Use native grasses, sedges, ferns, and low shrubs along the banks to soften the transition between the creek bed and the surrounding landscape. These plants also serve a functional purpose — their root systems stabilize the channel banks and their foliage filters sediment from overland flow entering the creek bed. Avoid planting directly in the channel bottom where vegetation would impede flow.
Focal Points and Transitions
Create visual interest with intentional design moments: a cluster of large boulders at a bend, a small bridge crossing, a wider pool area with a single specimen boulder, or a transition from rock to native plantings at the discharge point. These focal points draw the eye and make the creek bed feel like a natural discovery rather than an engineered feature.
Lighting
Low-voltage landscape lighting can transform a dry creek bed into a stunning nighttime feature. Uplighting on key boulders, path lighting along the creek edge, or underwater-rated fixtures in pool areas create dramatic shadows and highlights that showcase the natural texture of the rock.
The key principle is this: design for function first, then enhance with aesthetics. A creek bed that moves water effectively will naturally look more convincing than one that was designed purely for appearance, because it follows the same physical principles that shape real streams.
At Low Point Labs, we believe that understanding your property's topography is the foundation of every successful drainage project — including dry creek beds. Our drainage intelligence assessments reveal the precise elevation contours, flow paths, and low points on your property, giving you the data you need to design a creek bed that works as beautifully as it looks. Before you move the first rock, explore how Low Point Labs can help you get the grade, the flow path, and the discharge point exactly right.
See Drainage Intelligence in Practice
Talk with our team or request an invitation to the platform.
Frequently Asked Questions
A functional dry creek bed for drainage should be 8 to 12 inches deep for most residential applications. The depth depends on the volume of water you need to convey — larger contributing areas (roof, driveway, lawn) require deeper channels. For hybrid systems with a buried perforated pipe, excavate 12 to 18 inches to accommodate the pipe, gravel, and surface rock.
Yes, dry creek beds work effectively for drainage when properly designed with a continuous downhill grade (minimum 1-2% slope), adequate channel sizing for the contributing drainage area, and a defined discharge point. Creek beds that lack these elements — particularly those without a clear outlet — will pond water rather than drain it.
Use a mix of rock sizes for both function and aesthetics: 3- to 6-inch river rock for the main channel fill, 1- to 2-inch gravel between larger stones, and 12- to 24-inch boulders along the edges and at bends for bank stabilization. Avoid uniform small pebbles, which are easily displaced by flowing water.
Use permeable geotextile fabric, not plastic sheeting. Geotextile suppresses weed growth while allowing water to infiltrate into the soil below. Plastic sheeting prevents infiltration, causes water to pool, and creates a slippery surface that allows rocks to shift. For hybrid French drain systems, geotextile also prevents soil from clogging the drainage gravel and pipe.
A functional dry creek bed should discharge to a rain garden, dry well, dispersal area, or municipal storm drain connection. The discharge point must be lower than the channel and capable of handling the volume of water the creek bed delivers. Never terminate a creek bed without an outlet, and avoid concentrating discharge onto neighboring properties.
Most residential dry creek beds don't require permits, but exceptions exist. You may need a grading permit if you move more than 50 cubic yards of soil, alter drainage affecting neighbors, connect to municipal storm systems, or work in a flood zone or near wetlands. Check with your local building department before starting construction.
Related Articles
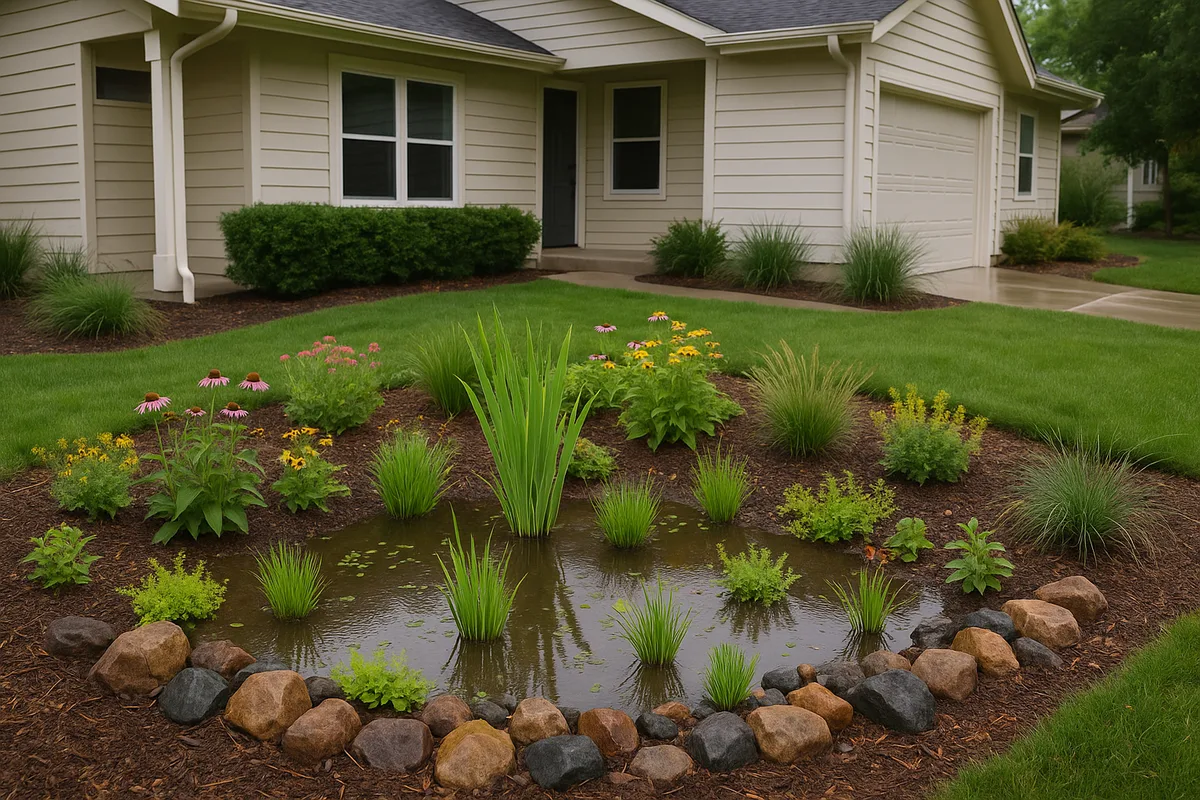
Rain Gardens: Do They Actually Solve Drainage Problems?
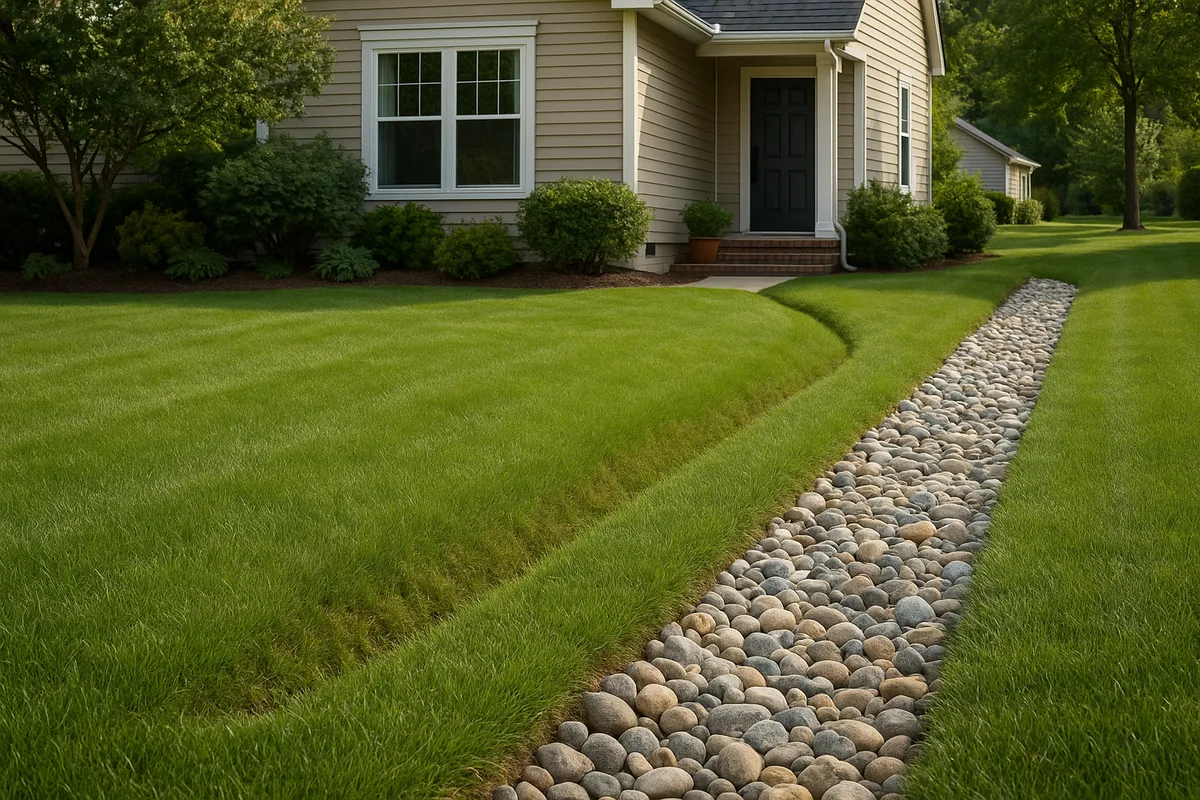
Designing a Swale vs French Drain: How to Choose the Right System